


How to Sew Curtains: Easy Step-by-Step Guide for Beginners


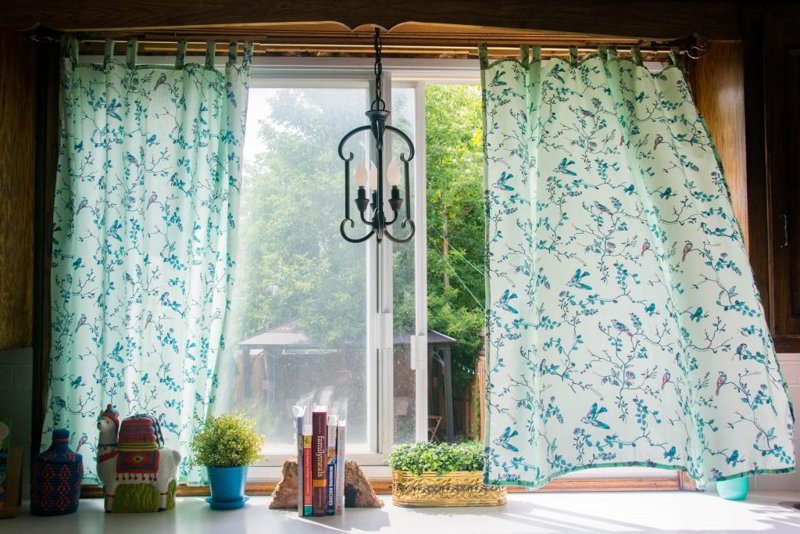
Embark on a fulfilling journey of transforming your living space with custom-made curtains. This guide provides a detailed, step-by-step approach, empowering even beginners to create beautiful, personalized window treatments. Sewing curtains is surprisingly straightforward, offering cost savings, full customization, and the unique satisfaction of a DIY project. You’ll gain not only elegant curtains but also a valuable new skill.
1. Why sew your own curtains?
Choosing to sew curtains opens up a world of possibilities beyond what’s available in stores. Pre-made curtains often fall short in terms of size, style, or fabric choices. Custom-made options can be expensive. Sewing empowers a homeowner to craft window dressing perfectly tailored to the home’s style and functional needs.
- Cost savings: Fabric and supplies are significantly cheaper than purchasing ready-made or custom curtains.
- Personalization: Achieve a look that is truly unique, reflecting individual style and taste.
- Fabric freedom: Select from a wide range of textures, colors, and patterns, including upcycling existing materials for an eco-friendly approach.
- Perfect fit: Tailor the curtains to precise window dimensions, ensuring a flawless look and proper coverage.
- Creative control: Control every step of the process.
2. Choosing your fabric and materials
Selecting the right fabric is crucial for both the aesthetic and functional aspects of the curtains. Consider the room’s purpose, the amount of light desired, and personal style.
2.1 Fabric types
Different fabrics offer unique characteristics:
- Linen: Provides a relaxed, natural look with a beautiful drape. It’s durable but prone to wrinkling. Linen allows diffused light to filter through, creating a bright and airy atmosphere.
- Cotton: A versatile and affordable option, available in various weights and weaves. Cotton is easy to care for and offers good light-blocking capabilities, depending on the thickness.
- Polyester: A durable, wrinkle-resistant, and budget-friendly choice. Polyester is easy to maintain but may not drape as elegantly as natural fibers.
- Blends: Combine the benefits of different fibers. For instance, a cotton-polyester blend offers durability and wrinkle resistance while maintaining some of the softness of cotton.
- Lining (optional): Adding a lining enhances light control, insulation, and privacy.
- Blackout fabric (optional): For rooms requiring maximum darkness, blackout fabric is an excellent choice. It blocks light effectively, providing optimal sleep conditions and energy efficiency.
2.2 Other materials
- Sewing machine
- Thread (matching fabric color)
- Fabric scissors
- Measuring tape
- Pins
- Iron
- Ironing board
- Curtain rod
- Curtain hardware (rings, hooks, etc.)
- Pleater tape (optional, for creating pleats)
- Weights (optional, for improving drape)
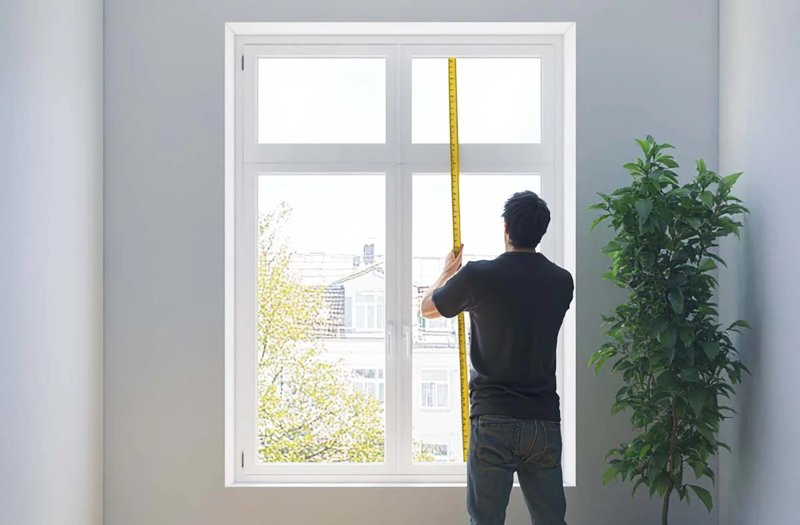
3. Measuring your windows
Accurate measurements are the foundation of well-fitting curtains. Measure both the width and height of the windows, considering rod placement and desired curtain length.
- Determine rod placement: Decide where the curtain rod will be installed. Typically, rods are placed a few inches above the window frame and extend a few inches beyond the sides.
- Measure width: Measure the width of the area the curtains will cover, including the rod’s extension beyond the window frame.
- Measure height: Measure from the top of where the rod will be placed to the desired curtain length. Common lengths include just below the windowsill, to the floor, or a “puddle” effect (extra length pooling on the floor).
- Fullness: For a gathered or pleated look, multiply the width measurement by 1.5 to 2. This “fullness factor” determines how much extra fabric is used, creating folds and volume. For example, if the window width (including rod extension) is 60 inches, a 2x fullness would require 120 inches of fabric width.
- Calculate the number of panels: Decide how many panels are needed.
4. Calculating fabric yardage
After making measurements. Follow this formula for calculation
4.1 Formula for width
(Window width + rod extension) x fullness factor (1.5 to 2) / number of the panels = fabric width needed per panel.
4.2 Formula for length
Finished curtain length + top hem allowance (varies by hanging method) + bottom hem allowance (typically 4-8 inches) = fabric length needed per panel.
4.3 Example calculation
Assume:
- Window width (including rod extension): 60 inches
- Desired fullness: 2x
- Finished curtain length: 84 inches
- Top hem allowance: 5 inches (for rod pocket)
- Bottom hem allowance: 8 inches
- Number of the panels: 2
Calculations:
- Fabric width per panel: (60 inches x 2) /2 = 60 inches
- Fabric length per panel: 84 inches + 5 inches + 8 inches = 97 inches
4.4 Tips for patterned fabrics
When using patterned fabrics, consider the pattern repeat. Purchase extra fabric to ensure the pattern matches across panels and aligns correctly. It’s advisable to center a prominent motif or design element within each panel.
5. Cutting your fabric
Proper preparation and precise cutting are essential for a professional-looking finish.
5.1 Preparing the fabric
Before cutting, it’s crucial to prepare the fabric:
- Ironing: Iron the fabric thoroughly to remove wrinkles. Wrinkles can distort measurements and lead to inaccurate cuts.
- Squaring: Ensure the fabric is “square,” meaning the lengthwise and crosswise grains are perpendicular. This prevents the finished curtains from hanging crookedly. To square the fabric, align one edge with a straight line (like the edge of a table or a cutting mat) and check if the opposite edge also aligns. If not, gently pull the fabric diagonally until it squares up.
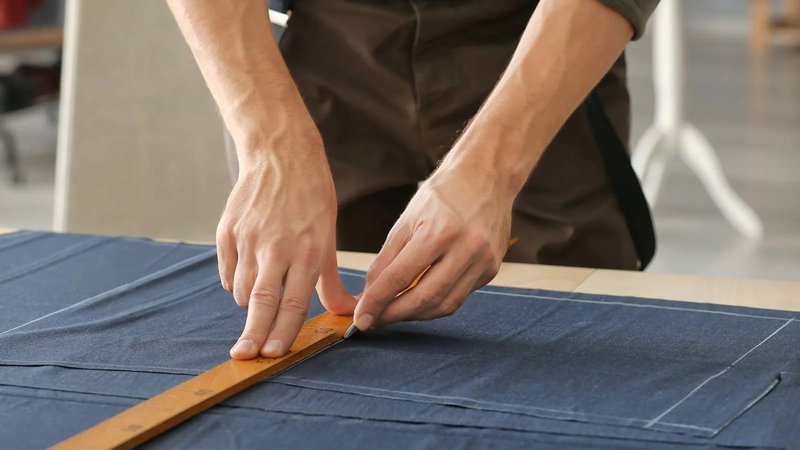
5.2 Marking and cutting
Accurate marking and cutting are paramount:
- Marking: Using the calculated fabric width and length measurements, mark the cutting lines on the wrong side of the fabric. Use a fabric marker or tailor’s chalk. A yardstick or a long ruler is essential for drawing straight lines.
- Cutting: Use sharp fabric scissors to cut along the marked lines. Slow, deliberate cuts are better than fast, jagged ones.
6. Sewing the curtains
With the fabric cut, it’s time to assemble the curtain panels.
6.1 Sewing the side hems
The side hems create clean, finished edges:
- Fold and press: On each side of the fabric panel, fold the raw edge over by ½ inch and press with an iron.
- Double fold: Fold the pressed edge over again by another ½ inch, enclosing the raw edge. Press again.
- Pin: Secure the double-folded hem with pins, placing them perpendicular to the edge.
- Sew: Using a sewing machine, stitch along the inner fold of the hem, close to the edge. Use a straight stitch and a thread color that matches the fabric. Backstitch at the beginning and end of the seam to secure the stitching.
6.2 Sewing the bottom hem
The bottom hem adds weight and helps the curtain hang properly:
- Fold and press: Fold the bottom raw edge up by 4 inches and press.
- Double fold: Fold the pressed edge up again by another 4 inches, creating a double-fold hem. Press thoroughly.
- Pin: Secure the hem with pins.
- Sew: Stitch close to the inner fold of the hem, using a straight stitch. Backstitch at the beginning and end.
- Weights (optional): For improved drape, consider adding curtain weights inside the bottom hem before sewing it closed.
6.3 Creating the top hanging method
Choose from these methods
Option 1: Rod pocket
A rod pocket is a casing sewn at the top of the curtain, through which the curtain rod is inserted:
- Measure and fold: Fold the top raw edge down by an amount sufficient to accommodate the curtain rod’s diameter, plus ease for sliding. Typically, this is about 2-3 inches, plus a ½-inch seam allowance. Press.
- Double fold: Fold the pressed edge down again by ½ inch to create a clean finish. Press.
- Pin: Secure the folded edge with pins.
- Sew: Stitch along the inner fold of the hem, creating the pocket. Backstitch at the beginning and end. Ensure the pocket is wide enough for the rod to slide through easily.
Option 2: Using pleater tape
Pleater tape provides a professional, evenly pleated look:
- Position tape: Place the pleater tape along the top edge of the wrong side of the curtain, aligning the top edge of the tape with the top raw edge of the fabric.
- Pin: Pin the tape in place.
- Sew: Stitch along both the top and bottom edges of the pleater tape, securing it to the curtain.
- Insert hooks: Insert curtain hooks into the pockets of the pleater tape at regular intervals, according to the desired fullness.
Option 3: Using curtain rings
Curtain rings offer a simple and versatile hanging method:
- Attach rings: Use clip-on curtain rings or sew-on rings.
- Spacing: Space them out evenly
Option 4: Tab top curtains
Tab top curtains have fabric loops (tabs) at the top:
- Create tabs: Cut fabric strips to the desired length and width for the tabs.
- Fold and sew: Fold each strip in half lengthwise, right sides together, and stitch along the long edge. Turn each strip right side out and press it flat.
- Attach tabs: Space the tabs evenly along the top edge of the curtain, pinning them to the right side of the fabric with raw edges aligned. Baste (sew temporarily) the tabs in place.
- Add facing: Cut a strip of fabric for the facing, the same width as the curtain panel. Place this facing strip right sides together over the top of the curtain, sandwiching the pinned tabs.
- Sew top edge: Stitch across the top edge, securing the facing, tabs, and curtain panel together in one seam.
- Turn and press: Turn the facing strip to the back of the curtain and press it flat. This creates a clean, finished top edge with the tabs standing up neatly.
6.4 Lining curtains (optional)
Adding a lining improves light control, insulation, and the overall drape of the curtains:
- Cut lining: Cut the lining fabric slightly smaller than the main curtain fabric (usually 1 inch shorter in length and narrower in width).
- Hem lining: Hem the bottom and sides of the lining fabric separately.
- Attach lining: With wrong sides together, align the top edge of the lining with the top edge of the curtain fabric (before creating the chosen hanging method).
- Sew together: The lining can be attached during the process of creating the rod pocket, attaching pleater tape, or sewing on rings/tabs. Essentially, treat the lining and main fabric as one layer during the top hem construction.
7. Hanging your curtains
With the sewing complete, it’s time to hang the finished curtains.
7.1 Installing the rod
Install the curtain rod according to the manufacturer’s instructions. Ensure the rod is level and securely mounted to the wall, using appropriate anchors for the wall type.
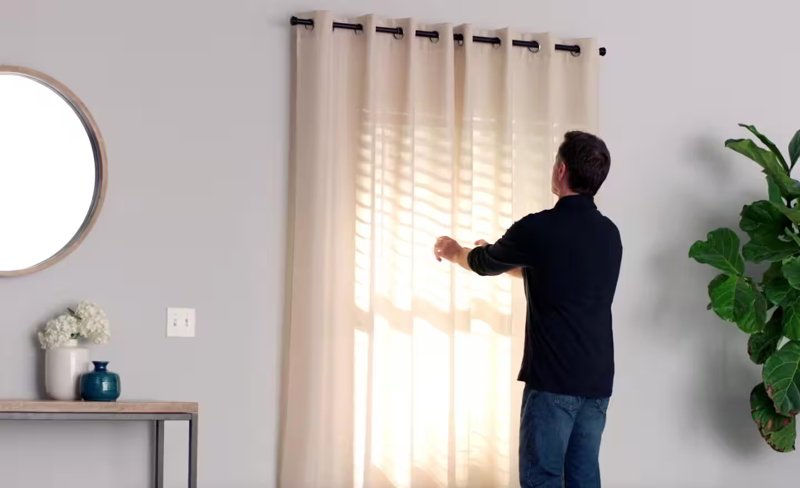
7.2 Attaching the curtains
Attach the curtains to the rod based on the chosen hanging method:
- Rod pocket: Slide the curtain rod through the pocket created at the top of the curtain panel.
- Pleater tape: Attach curtain hooks to the rings or clips on the curtain rod, then insert the hooks into the pockets of the pleater tape.
- Curtain rings: Clip the rings onto the curtain rod, then clip the rings to the top edge of the curtain, or insert the hooks into curtain rings
- Tab top: Slide the curtain rod through the fabric tabs.
7.3 Steaming/ironing
Once hung, steam or iron the curtains to remove any remaining wrinkles and create a polished look. This final step ensures the curtains hang beautifully and showcase your work. Use a low heat setting and test on an inconspicuous area of the fabric first, especially for delicate materials.
8. Troubleshooting common problems
Even experienced sewers may encounter occasional challenges. Here are solutions to common issues:
- Uneven hems: If hems are uneven, carefully unpick the stitching and re-hem, ensuring accurate measurements and consistent folding. It’s helpful to hang the curtains before finalizing the bottom hem to double-check the length.
- Fabric puckering: Puckering can occur if the thread tension is too tight or if the fabric is not fed evenly through the sewing machine. Adjust the tension and practice on scrap fabric to achieve smooth seams. Using a walking foot can also help with feeding multiple layers evenly.
- Curtains too short/long: If curtains are slightly too short, consider adding a decorative trim or a contrasting fabric band to the bottom hem. If they are too long, re-hem them to the desired length.
- Pleater tape problems: If experiencing difficulty with pleater tape, ensure it is positioned correctly and securely sewn. Refer to the manufacturer’s instructions for specific guidance. Make sure the hooks are inserted correctly and evenly spaced.
9. Related questions
9.1 What is the standard curtain length?
Standard curtain lengths vary depending on personal preference and window style. Common lengths include reaching the windowsill, the floor, or creating a “puddle” effect with extra fabric pooling on the floor. Consider the room’s function and overall aesthetic when choosing a length.
9.2 What is the best fabric for blackout curtains?
Specialty blackout fabrics are designed to block light effectively. These fabrics typically have a dense weave or a special coating that prevents light penetration. Blackout linings can also be added to regular curtain fabrics to achieve light-blocking capabilities.
9.3 How do you measure a window that has a curve?
Measuring a curved or arched window requires extra care. Measure the width at the widest point and the height at the highest point. For a more precise fit, consider making a template of the curve using paper or cardboard.
Read more:
Sewing curtains combines customization, cost savings, and the satisfaction of creating beautiful, functional window treatments. This comprehensive guide equips beginners with the confidence to take on this rewarding DIY project. Through a strong grasp of basic measurement, cutting, and sewing techniques, anyone can easily enhance a living space, one window at a time. Continue exploring, learning, and creating with fabric.


