


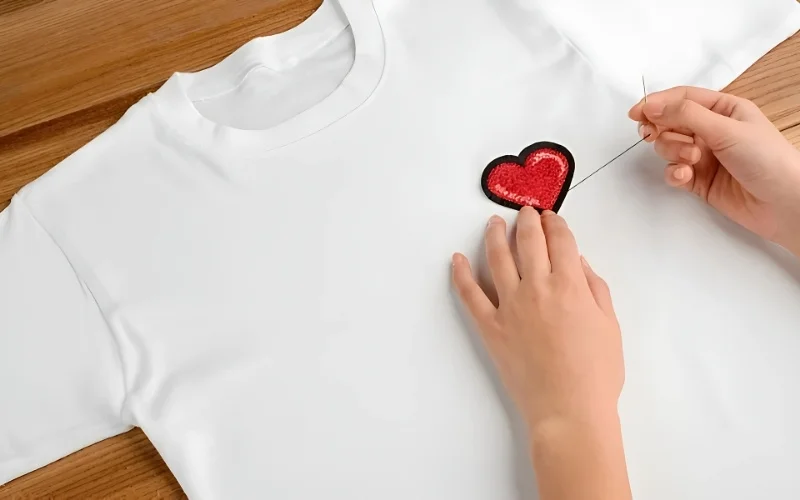
How To Sew Iron-On Patches For Lasting Durability


Iron-on patches offer a quick way to customize garments, but apparel businesses and dedicated DIYers often face the frustration of patches peeling or lifting after just a few washes. While the heat-activated adhesive provides initial placement, it frequently lacks long-term durability. This article provides valuable insights for achieving lasting patch attachment and maintaining apparel quality.
Learn why sewing is the superior method for securing iron-on patches, how to properly prepare your materials, detailed instructions for both hand sewing and machine sewing, and essential tips for a professional finish on any garment embellishment. You’ll understand the best thread and needles to use for reliable results.
1. Why sewing is essential for patch longevity?
The convenience of iron-on patches comes with a significant drawback: the heat-activated adhesive has limitations. Over time, exposure to washing cycles, friction from wear, and the natural stretching of the garment fabric inevitably degrades the bond. This often leads to patch attachment failure, resulting in peeling edges or complete detachment – a common issue observed across many applications.
Adding stitches provides critical iron-on patch reinforcement. Sewing offers distinct advantages:
- Secures edges: Stitching physically anchors the patch perimeter, preventing the edges from lifting or curling, which is the first sign of adhesive failure.
- Withstands washing & wear: Unlike adhesive alone, stitches create a durable mechanical bond that holds up against repeated laundering and the stresses of daily use, ensuring patch durability.
- Professional integration: Stitching patches lends a more finished, integrated, and professional appearance compared to simply relying on adhesive.
Supplementing the iron-on application with sewing is essential for anyone requiring reliable, long-lasting patch attachment.
2. Prep school: Setting up your patch and garment for success
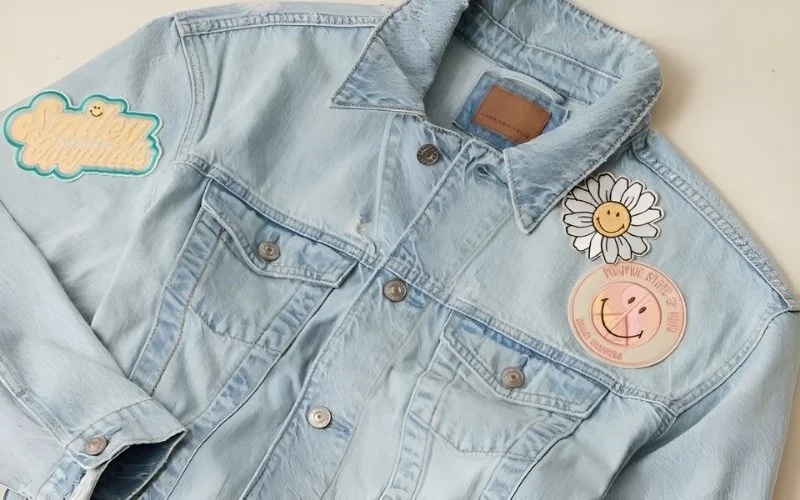
2.1 Strategic placement: Choosing the right spot
Effective patch placement considers both aesthetics and function. Think about how the garment moves and where it experiences stress.
- Visibility: Place the patch where it achieves the desired visual impact.
- Avoid high-stress areas: Be cautious placing patches directly on areas prone to constant stretching or bending, like knees or elbows, unless the garment’s structure is very stable or the patch is intended for reinforcement. The constant movement can strain stitches over time.
- Avoid bulky seams: Placing a fabric patch directly over thick seams can make sewing difficult and may result in an uneven finish. Position the patch adjacent to seams for a smoother application.
2.2. Fabric preparation: Clean canvas, clean stitching
Proper fabric preparation ensures a smoother sewing process and a stronger bond.
- Clean and dry: Always start with a clean, dry garment. Oils, dirt, or fabric treatments can interfere with both temporary adhesives and potentially impede clean stitching.
- Smooth surface: Iron the area where the patch will be placed (if the fabric allows) to create a flat, wrinkle-free surface.
- Mending holes: If using the fabric patch to cover a hole, trim away any loose, frayed threads around the damaged area before applying the patch. This prevents fraying from showing around the patch edge later.
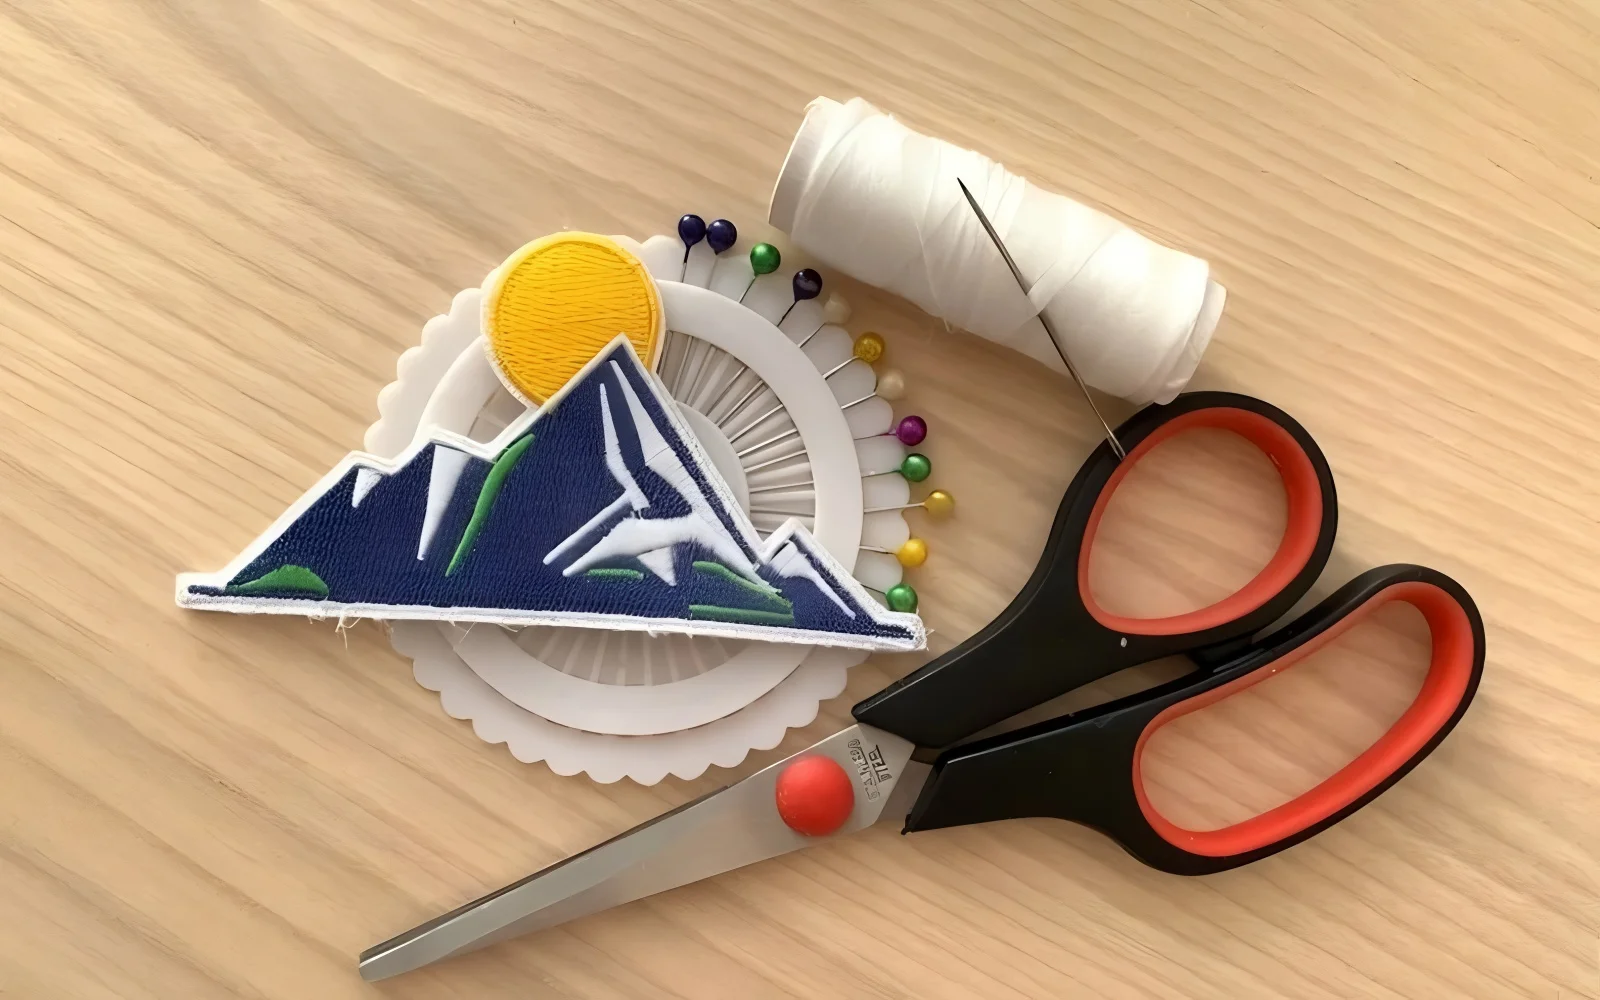
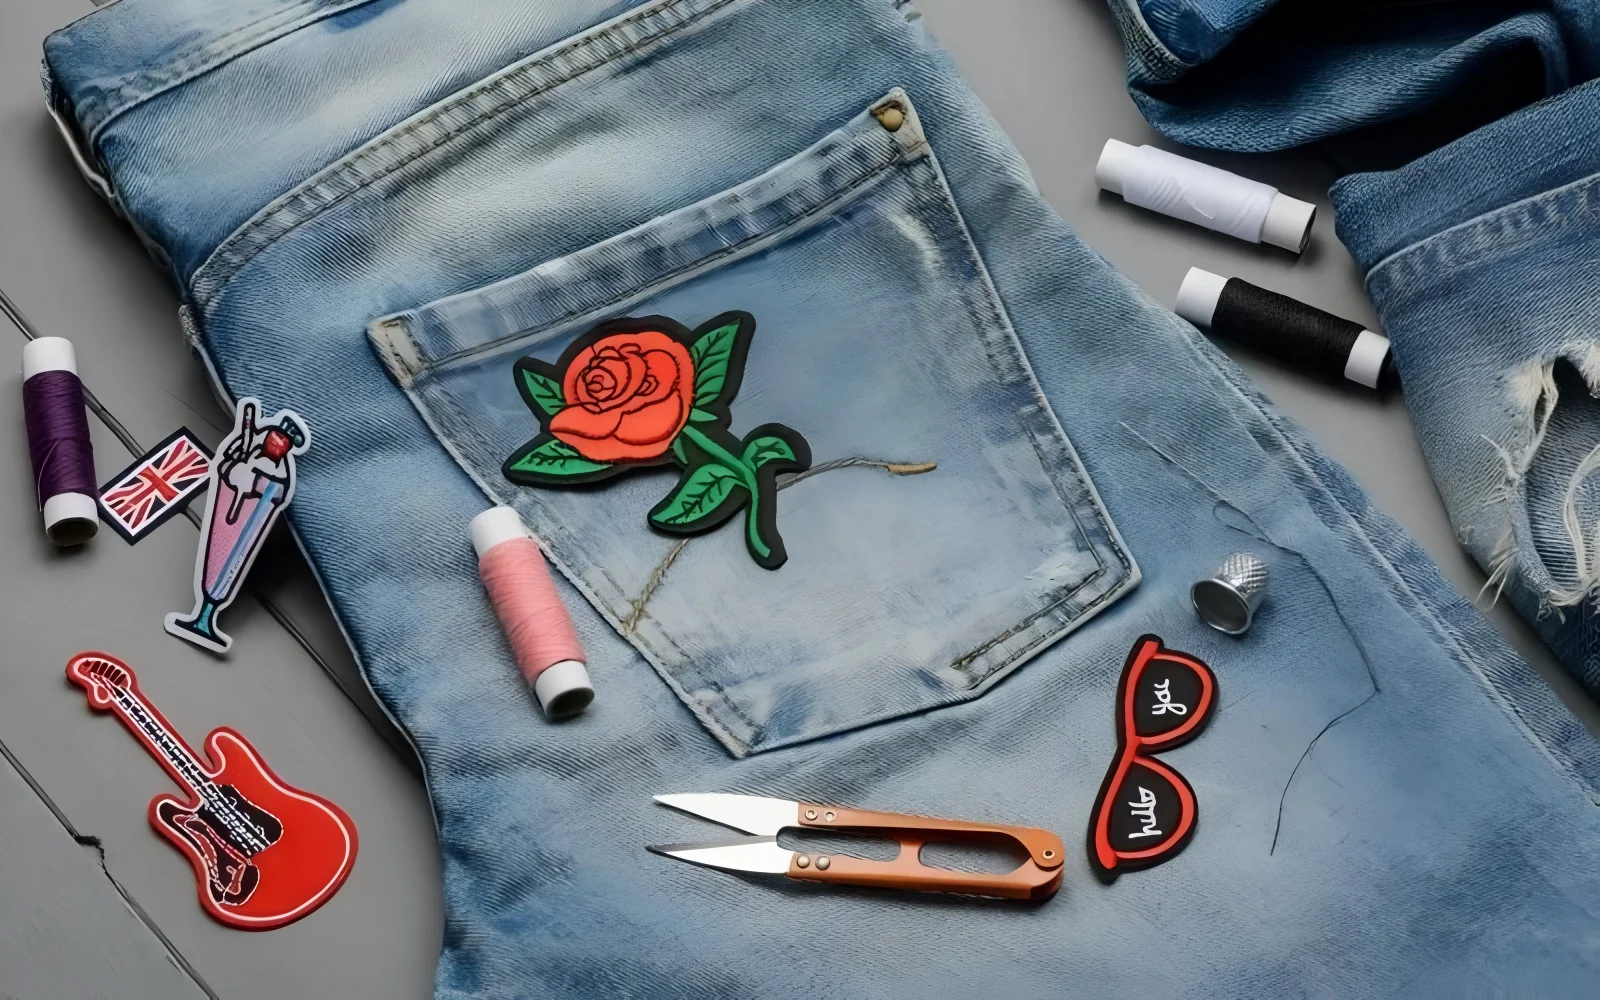
2.3. Your sewing toolkit: Gathering the essentials
Having the right tools makes the job easier and yields better results.
Essential tools:
Sewing needles: Choose based on fabric weight.
- Sharps: Good general-purpose needles for medium-weight fabric (sizes 7-9 recommended).
- Jeans/Denim: Essential for thick materials like denim or canvas (sizes 90/14 or 100/16). These have a stronger shaft and sharper point.
- Polyester All-Purpose: Strong, durable, minimal shrinkage, suitable for most applications. Match the patch edge or garment color, or choose a contrasting color for a decorative effect.
- Heavy-Duty/Upholstery Thread: Consider for very thick fabrics or items receiving heavy wear. Offers superior strength.
Sharp scissors: Crucial for cleanly cutting thread.
Optional tools:
- Thimble: Protects your finger during hand sewing, especially through thick layers.
- Straight pins: Useful for temporarily holding the patch if not using adhesive or ironing lightly. Use strong, sharp pins.
- Temporary fabric adhesive spray: Offers a quick way to hold the patch in place (Pros: easy, effective; Cons: requires ventilation, can sometimes gum up needles).
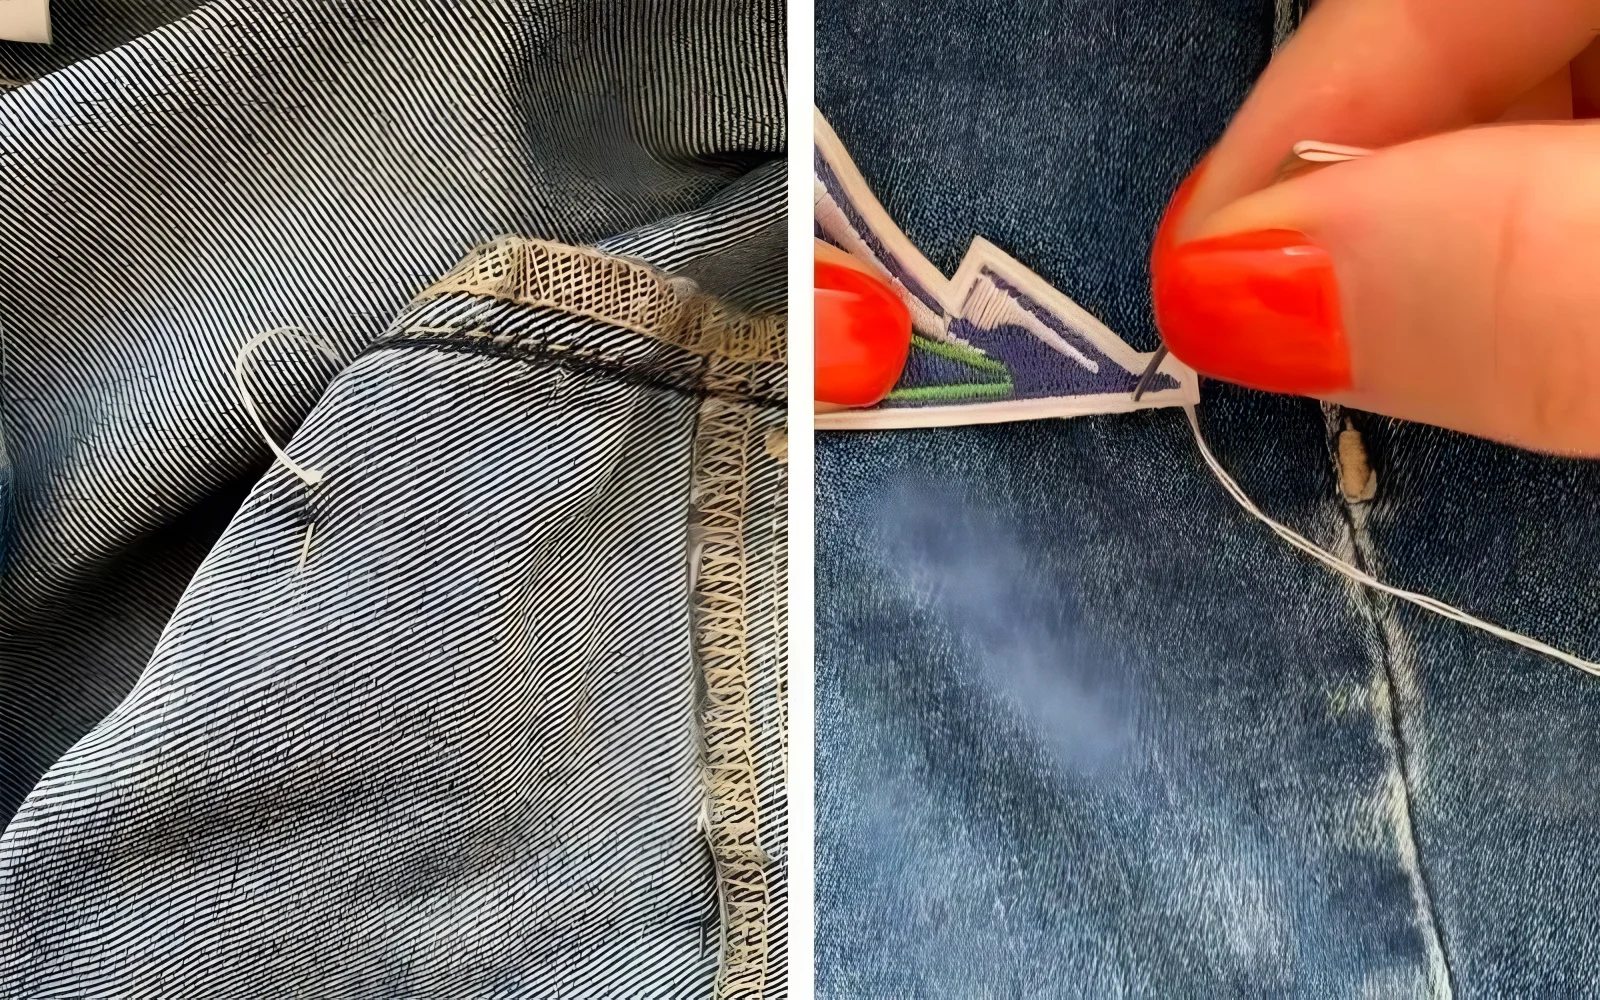
2.4. Anchoring your patch: Temporary securing methods
Before permanent stitching, temporarily securing the patch prevents shifting and ensures accurate placement.
- Iron-on feature (lightly): If the patch has an iron-on backing and the fabric can tolerate heat, use the iron (tool) briefly to tack the patch in place. Important: This is only for temporary positioning, not permanent attachment. Follow patch instructions, use a pressing cloth, and avoid overheating.
- Pinning: Use strong, sharp pins placed perpendicular to the patch edge, pointing inwards. Pin sparingly to avoid distorting the patch. This method works well for fabrics unsuitable for ironing or adhesives.
- Temporary adhesives: A light mist of temporary fabric adhesive spray (specifically designed for sewing) on the back of the patch can hold it securely. Allow the spray to become tacky before positioning the patch on the garment. This method is excellent for intricate shapes or precise placement needed for applique.
Remember, these methods only hold the patches temporarily, making the sewing step easier and more accurate.

3. Method 1: Hand-sewing patches – The artisan’s touch
3.1. Choosing your hand stitch: Balancing speed and strength
Several hand stitch options exist, each offering different benefits:
- Running stitch: The simplest and fastest stitch. Creates a dashed line effect. While quick, it’s less durable than other options as there are gaps between stitches. Best suited for decorative patches on low-wear items.
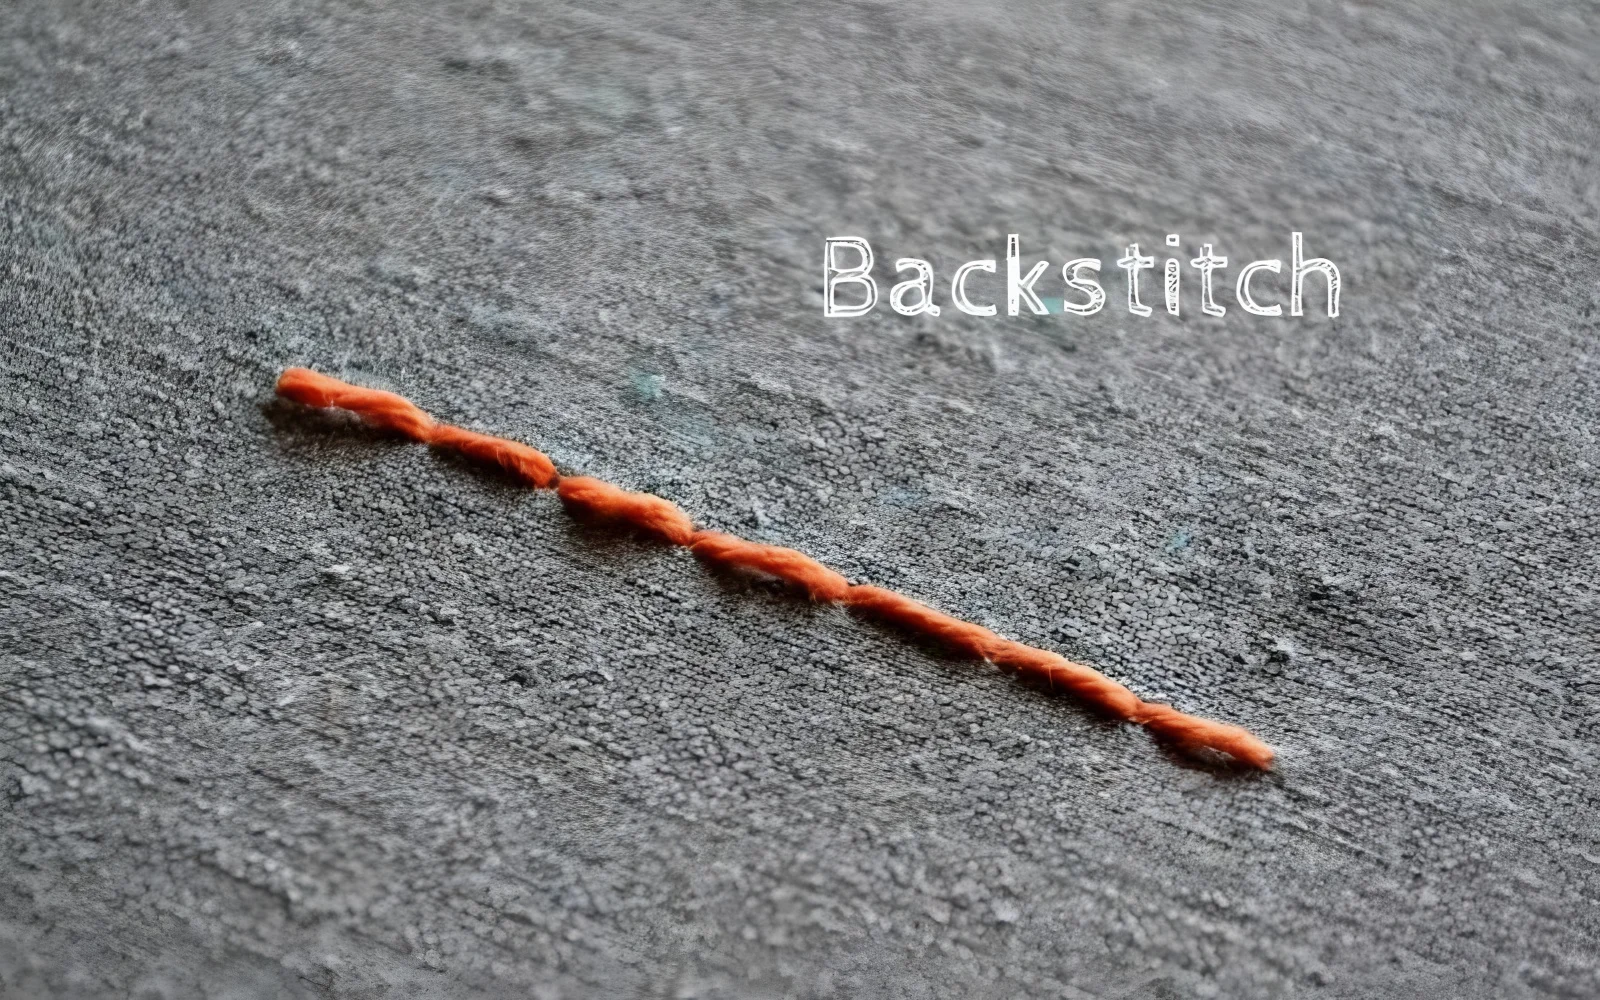
- Backstitch: Creates a solid, strong line of stitching resembling machine sewing. Each stitch overlaps the previous one slightly, providing excellent durability. Highly recommended for securing patch edges firmly, especially on items that will be washed frequently.
- Whip stitch / blanket stitch: These stitches wrap around the edge of the patch. The whip stitch creates angled stitches over the edge, while the blanket stitch adds a decorative, interlocking border. Both are effective at preventing edge fraying and offer good security, though they can be more time-consuming than a backstitch. Using embroidery floss with a blanket stitch can add a decorative element.
For maximum security and longevity, the backstitch is generally the preferred choice.
3.2. Step-by-step hand-sewing
Follow these steps for a secure hand-sewing application using the backstitch:
- Thread needle & knot: Cut a manageable length of thread (about 18-20 inches). Thread your needle. Doubling the thread provides extra strength but can be bulkier; single thread is often sufficient with polyester. Tie a secure knot at the end of the thread.
- Start stitch: From the wrong side (inside) of the garment, push the needle up through the fabric and emerge just inside the patch edge. Pull the thread until the knot rests securely against the fabric on the wrong side.
- First backstitch: Take the needle down through the patch and fabric approximately 1/8 inch (2-3 mm) behind where the thread first emerged. Then, bring the needle back up 1/8 inch ahead of the initial emergence point. This creates the first secure stitch.
- Continue stitching: Insert the needle back down into the same hole where the previous stitch ended. Bring the needle up again 1/8 inch ahead of the current thread emergence point. Continue this backward-down, forward-up motion.
- Maintain consistency: Keep your stitches small, even, and close to the patch edge for a neat appearance and secure hold.
- Navigate corners: At corners or curves, slightly shorten your stitch length to follow the shape smoothly.
- Finish securely: Once you’ve stitched all the way around and reached your starting point, push the needle to the wrong side of the garment. Make two or three tiny locking stitches directly over each other in the fabric (not going through the patch). Tie another secure knot close to the fabric and trim the excess thread.
4. Method 2: Machine sewing patches – Speed and consistency
4.1. Gearing up: Machine settings for patchwork
Using a sewing machine offers speed and a uniform stitch. Select appropriate settings for sewing through multiple thick layers:
Machine needle: Use a strong Jeans/Denim needle, size 90/14 or 100/16. These are designed to penetrate dense fabric like denim jackets and thick patches without breaking or skipping stitches.
Thread: Use polyester all-purpose thread in both the top spool and the bobbin. Match the color to the patch edge (especially if it has merrowed edges) or the garment for a subtle look, or choose a contrasting color for visibility.
Stitch type:
- Straight stitch: The most common choice for securing patches. Provides a clean, strong seam.
- Zigzag stitch: An alternative that can enclose the raw edge of the patch, particularly useful if the patch doesn’t have a finished border. Adjust width and length as needed.
Stitch length: Set to a slightly longer length than usual for garment sewing, typically 2.5 mm to 3.0 mm. This helps the machine feed the thick layers more smoothly.
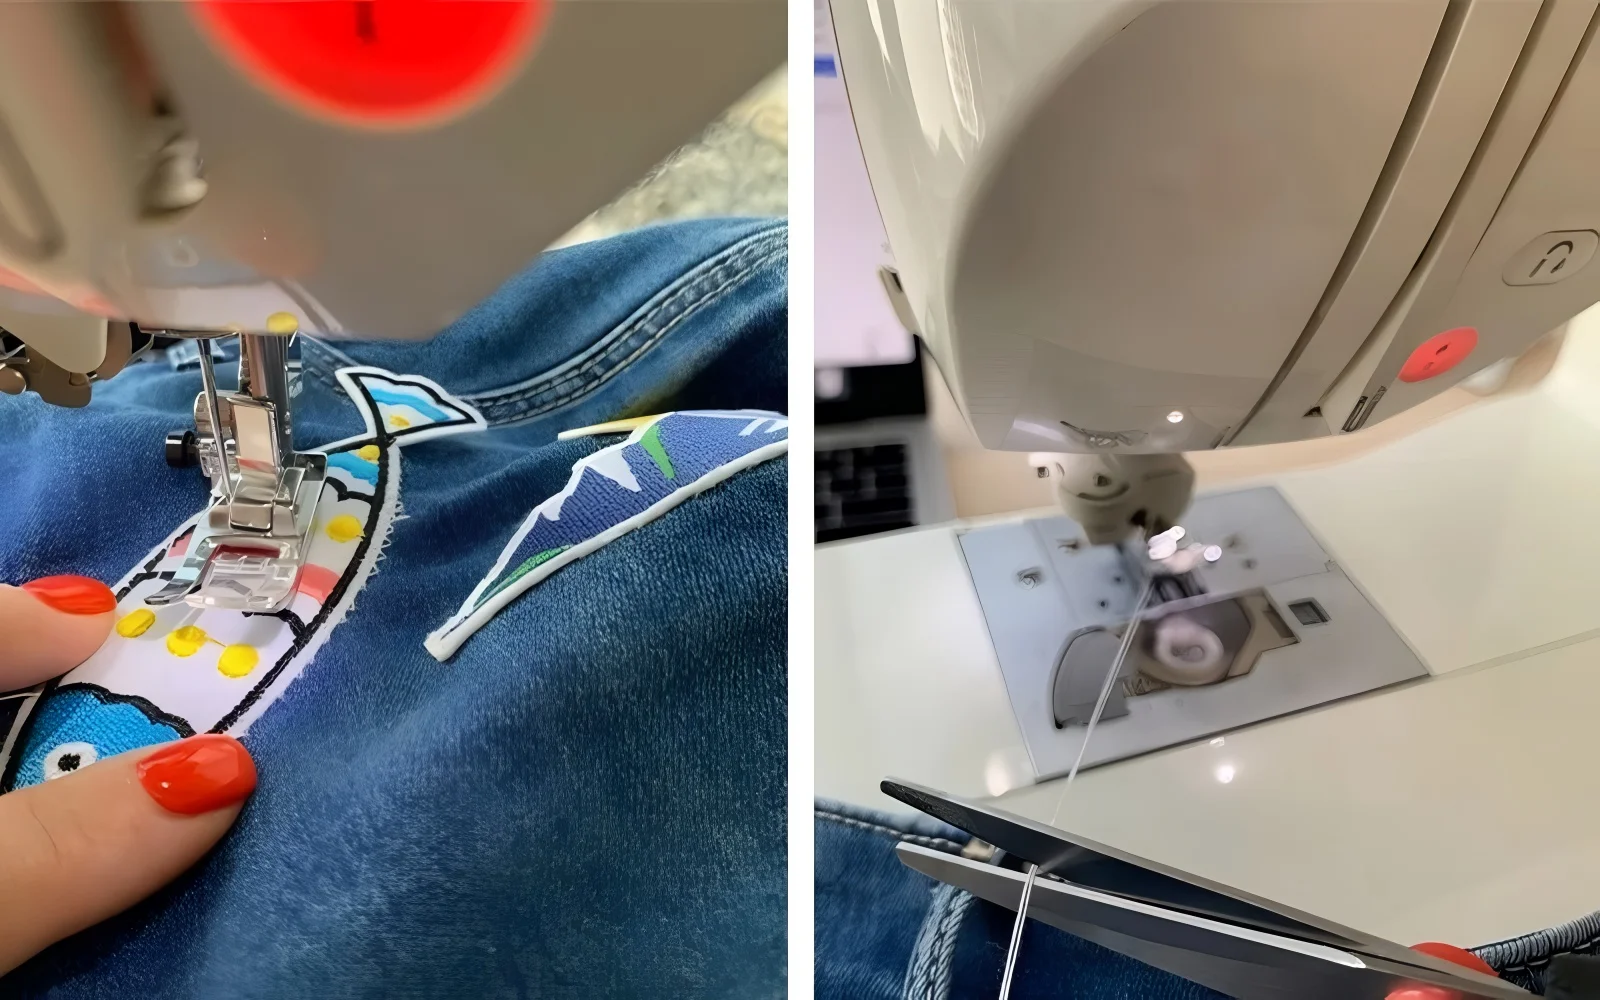
4.2. Step-by-step machine sewing guide
Accurate machine sewing requires control and attention to detail:
- Position fabric: Place the garment section with the temporarily secured patch under the sewing machine presser foot. Align the patch edge so the needle will stitch just inside the border.
- Lower presser foot: Lower the presser foot to hold the fabric layers firmly in place.
- Lower needle: Hand-turn the flywheel towards you or use the needle-down button to lower the needle into the starting point on the patch edge.
- Lock starting stitches: Sew 2-3 stitches forward, then use the reverse lever/button to backstitch 2-3 stitches over the initial ones to secure the thread.
- Sew forward: Stitch slowly and steadily, guiding the fabric with both hands to keep the stitching line parallel and close to the patch edge. Do not push or pull the fabric; let the machine’s feed dogs do the work.
- Pivot at corners/curves: To navigate sharp corners or curves, stop with the needle down in the fabric. Lift the presser foot, pivot the garment carefully, lower the presser foot, and continue sewing.
- Overlap end: When you reach the starting point, sew directly over the first few stitches for about 1/2 inch (1 cm).
- Lock ending stitches: Backstitch for 2-3 stitches to secure the end of the seam.
- Finish: Raise the needle and presser foot. Gently remove the garment from the sewing machine and trim the top and bobbin threads close to the fabric.
5. Polishing the look: Finishing touches and care advice
Achieving a professional result involves attention to detail during and after sewing.
- Stitch consistency: Whether sewing by hand or machine, strive for even stitch length and maintain a consistent distance from the patch edge. This greatly improves the final appearance.
- Secure edges: Stitching close to the patch perimeter is crucial for preventing the edges from lifting or fraying over time.
- Laundering & garment care: To maximize patch longevity and protect the garment, follow gentle washing practices. Turn the item inside out before laundering. Use a gentle cycle with cool water and mild detergent. Air drying is preferred over machine drying, as high heat can sometimes affect patches or adhesives over the long term.
These simple steps ensure your sewn-on patch looks great and stays put for the long haul.
6. Related questions
6.1 Can I sew a patch on without ironing it first?
Yes, absolutely. The ironing step for iron-on patches is primarily for temporary placement. If you choose not to iron it first (or if the fabric is heat-sensitive), you must secure the patch reliably using pinning or a temporary adhesive spray before you sew the patch. Skipping the temporary securing step makes it very difficult to keep the patch perfectly positioned while sewing.
6.2 What’s the best thread for sewing patches on jeans or jackets?
For sturdy fabrics like jeans and jackets, strength is key. Polyester thread is the best choice due to its durability and low shrinkage. Use either an All-Purpose Polyester thread or, for maximum strength on very heavy materials, a Heavy-Duty or specific Jeans thread. You can choose a color that matches the patch edge for invisibility or a contrasting color to make the stitching a design element.
6.3 How do I remove a patch that has been sewn on?
To remove a patch that has been sewn, you’ll need patience and care to avoid damaging the garment fabric. Turn the garment inside out. Using a seam ripper or the very tip of small, sharp scissors, carefully snip the stitches visible on the back, working between the patch backing and the garment fabric.
Pull the cut threads out. Work slowly around the entire patch. Be aware that removing tightly sewn patches, especially those also ironed on, might leave faint marks or needle holes on the garment.
Read more:
Securing iron-on patches with sewing is the definitive method for ensuring durability and a professional finish in apparel customization. Relying solely on heat-activated adhesive often leads to disappointment down the line. By mastering the preparation steps and applying either hand sewing or machine sewing techniques outlined here, you are now equipped to attach patches that last, wash after wash.
This approach elevates the quality and longevity of your customized garments or products. For businesses needing reliable, high-volume custom patches designed for secure sewing, partners like Packlove can provide expertly crafted products that streamline the process and ensure optimal results. Apply these skills confidently to enhance your apparel.


