


Garment Assembly Guide: Seams, Stitches And Tech Packs


Every clothing brand starts with a creative vision, a unique design sketched onto paper or digitally rendered. However, transforming that initial concept into a tangible, high-quality garment involves navigating the complex world of clothing production and manufacturing.
A critical, yet often underestimated, stage in this journey is garment assembly. Without a solid grasp of this process, businesses risk encountering production errors, inflated costs, and inconsistent garment quality, ultimately hindering brand growth.
This guide aims to demystify garment assembly, providing practical insights into its core concepts, importance, key elements, and effective communication strategies. By understanding the fundamentals of how garments are put together, clothing businesses can better control quality, manage costs, ensure consistency, and successfully translate their design specifications into finished products that resonate with customers.
1. Defining garment assembly: More than just sewing
1.1 The core concept: Putting the pieces together
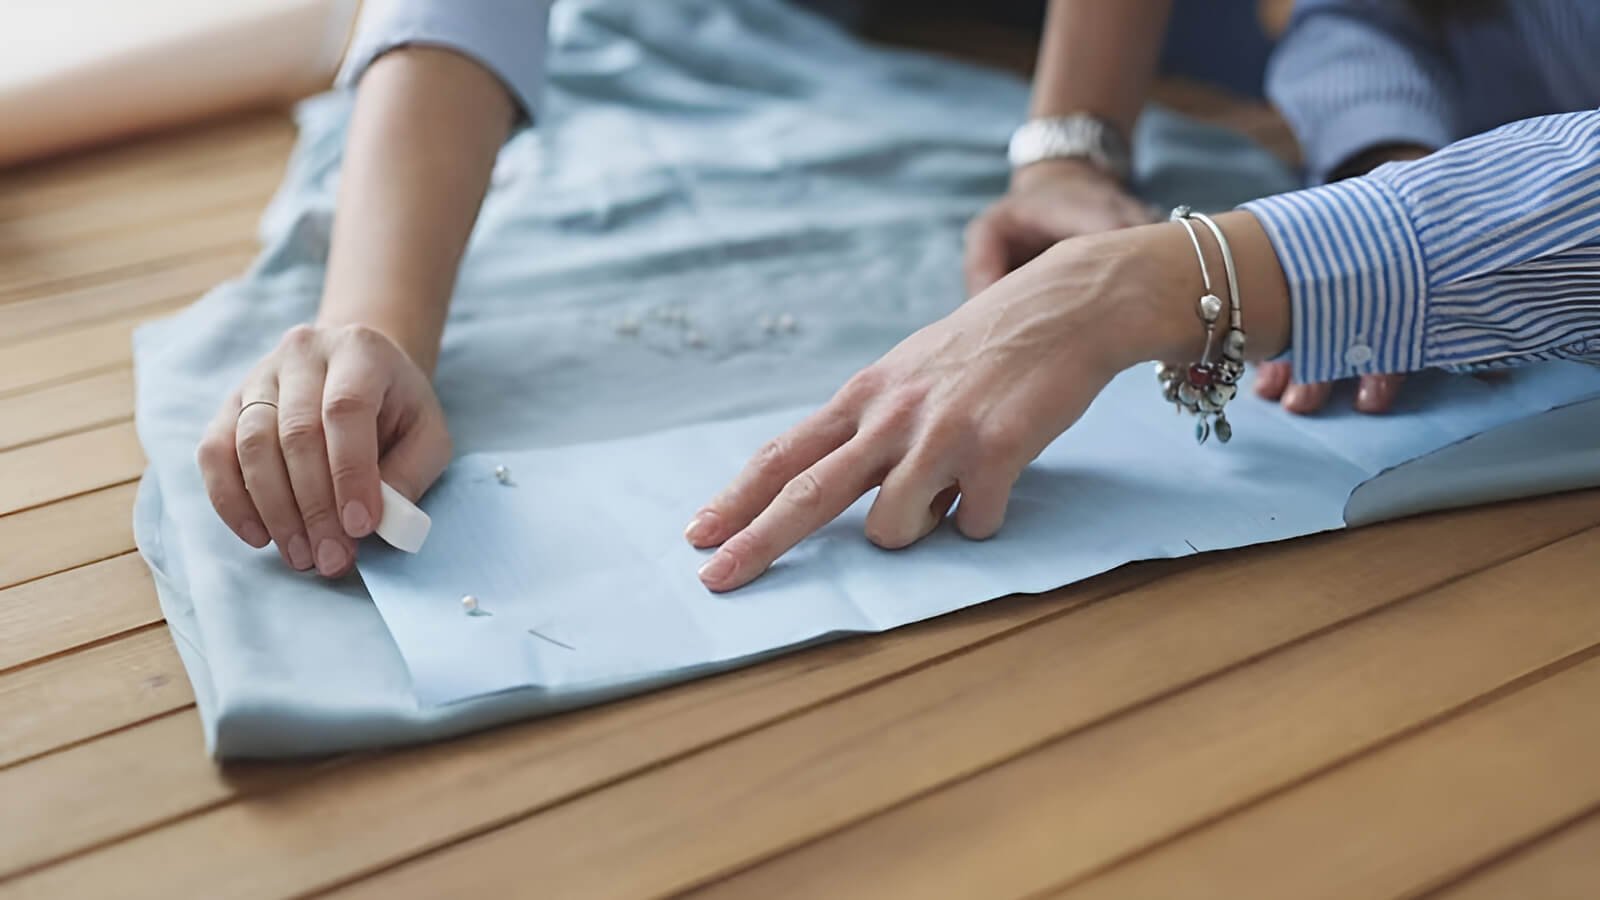
Garment assembly refers to the specific industrial process where cut fabric components, known as pattern pieces, are systematically joined together using various sewing techniques. This crucial step follows the design specifications outlined by the brand, transforming flat pieces of material into a three-dimensional, wearable item of clothing. Fundamentally, garment assembly is the component-based manufacturing stage that brings a garment’s structure to life.

1.2 Garment assembly within the larger apparel production cycle
Understanding where garment assembly fits within the overall apparel production timeline provides essential context. A typical manufacturing process follows a sequential flow:
- Design: Concept creation and technical sketching.
- Pattern making: Creating the blueprint pieces for the garment.
- Cutting: Separating the fabric into the required pattern pieces.
- Assembly: The core sewing stage where components are joined.
- Finishing: Adding final touches like pressing, buttonholes, washing, and attaching certain labels or tags.
- Quality control: Inspection to ensure standards are met.
- Packing: Preparing garments for shipment.
Garment assembly receives bundles of precisely cut fabric pieces and outputs sewn garments that are ready for the final finishing procedures. On an assembly line (a common setup in apparel manufacturing), different workstations often handle specific sewing operations.
1.3 Key differences: Assembly vs. cutting vs. finishing
While interconnected, these three stages have distinct functions within garment manufacturing:
| Stage | Main Activity | Output |
|---|---|---|
| Cutting | Separating bulk fabric into individual pattern pieces based on markers. | Stacks or bundles of precisely cut fabric shapes. |
| Assembly | Joining cut pattern pieces together using sewing machines and specific techniques. | A fully sewn, three-dimensional garment structure (before final pressing, etc.). |
| Finishing (Garment) | Applying final processes and elements to the sewn garment. | A completed, ready-for-sale garment (pressed, inspected, tagged, etc.). |
2. Why mastering garment assembly matters for your brand’s success
2.1 The direct link to garment quality, durability, and longevity
The techniques employed during garment assembly directly dictate the final garment quality and how well the product withstands use. Selecting the appropriate seam type for high-stress areas, using the correct stitch type and density (number of stitches per inch), and ensuring secure stitching are paramount.
For example, a weak seam construction on a shoulder might split after minimal wear, while an inappropriate stitch type on a delicate fabric can cause unsightly puckering. These assembly choices significantly impact the garment’s performance, durability, longevity, and ultimately, the customer’s perception of your brand’s quality standards.
2.2 How assembly techniques influence fit, drape, and overall aesthetics
Beyond durability, assembly methods profoundly affect a garment’s fit, how the fabric drapes on the body, and the overall visual appeal. The choice between a bulky seam versus a flat one, the tension of the stitches, and the skill used in handling curves and corners during sewing all contribute to the final garment appearance.
Precise assembly ensures that the intended design lines are achieved, darts shape the garment correctly, and the clothing hangs as envisioned, contributing significantly to the structural design and aesthetic success.
2.3 Managing production costs: Efficiency in assembly
Garment assembly constitutes a significant portion of the overall production costs. Factors influencing this include the complexity of the garment’s construction, the number of individual sewing steps required, the types of specialized machinery needed, the skill level of the labor involved, and the time taken to assemble each unit.
Efficient assembly, facilitated by clear specifications and optimized workflows (often seen in well-managed assembly line environments), minimizes production time per garment. Furthermore, detailed instructions reduce the likelihood of errors and the need for costly rework, directly impacting the final garment price and profitability.
Understanding assembly allows for better costing (apparel cost estimation) and informed decisions.
2.4 Ensuring consistency across your product line
For any clothing brand, consistency is key to building trust and reputation. Standardized garment assembly procedures, clearly documented in detailed specifications within documents like a tech pack (a comprehensive technical package detailing production requirements), are essential for producing identical garments across different production runs or batches.
When assembly instructions are precise and followed meticulously, customers receive products that consistently meet the expected quality standards, reinforcing brand reliability and satisfaction. This adherence to the manufacturing process is crucial.
3. Unpacking the essentials: Key elements of garment assembly
3.1 Understanding seams: The foundation of construction
A seam is the line where two or more layers of fabric are joined together, typically by stitching. Seams form the fundamental structure of any garment.
3.1.1 Basic seam types explained simply
While numerous seam types exist, understanding a few common ones provides a good foundation:
- Plain Seam (or Superimposed Seam – SS): The most basic type. Two pieces of fabric are placed right sides together and stitched along the seam line. The seam allowances (fabric edges beyond the stitch line) are then typically pressed open or to one side. Common for side seams, shoulder seams in woven fabrics.
- Overlocked Seam (or Serged Seam): Often used for knit fabrics or as an edge finish. This seam uses an overlock machine that stitches, trims, and encloses the raw fabric edge simultaneously, providing a clean, stretchable finish. Frequently seen on T-shirt side seams and interiors.
- Lapped Seam (LS): One piece of fabric overlaps another, and they are joined with one or more rows of stitches. Common in sturdy garments like jeans (e.g., yoke attachment).
- Flat Seam (FS): Two fabric edges abut or overlap slightly and are joined with a coverstitch that covers the raw edges on both sides. Often used in activewear for comfort as the resulting seam is flat against the skin.
3.1.2 Considerations for choosing the right seam
Selecting the appropriate seam involves several factors:
- Fabric Type: Woven fabrics behave differently from knit fabrics. Knits require seams that can stretch with the fabric. Fabric weight and tendency to fray also influence choices.
- Garment Type/Style: Sportswear might prioritize flat, non-chafing seams, while formal wear might use enclosed seams for a cleaner look.
- Desired Appearance: Should the seam be hidden (like a French seam) or visible as a design feature (like flat-felled seams on jeans)?
- Required Strength/Durability: Seams in high-stress areas (e.g., crotch seams) need robust construction for better performance.
- Cost Implications: Some seams are faster and require less specialized machinery than others, impacting production cost.
3.2 Stitch types: The threads that bind
Stitches are the individual loops of thread formed by sewing machines that hold the fabric layers together within a seam or create decorative effects.
3.2.1 Common stitches and their uses
Several fundamental stitch types form the basis of garment assembly:
- Lockstitch (Type 301 – ISO 4915 standard): The most common stitch, formed by interlocking a needle thread with a bobbin thread. Creates a secure, flat stitch that looks the same on both sides. Widely used for seams in woven fabrics but has limited stretch. Found on standard home and industrial sewing machines.
- Chainstitch (Type 101 – ISO 4915 standard): Formed with a single thread that loops around itself. Offers more stretch than a lockstitch but can unravel easily if the thread breaks. Often used for temporary basting or in areas needing stretch, like waistbands.
- Overedge Stitch / Serging (e.g., Type 504 – ISO 4915 standard): Stitches formed over the edge of the fabric, often trimming the edge simultaneously. Used for seaming knits, finishing raw edges to prevent fraying (serged edges), and providing stretch. Requires an overlock machine (serger).
3.2.2 Stitch selection based on fabric and function
The core principle is matching the stitch to the material and purpose:
- Fabric: Knit fabrics require stitches with inherent stretch (like chainstitches or overedge stitches) to prevent threads from breaking when the garment is worn or stretched. Woven fabrics often utilize secure lockstitches.
- Function: High-stress areas like armholes or crotch seams may require reinforced stitches or specific stitch types known for strength. Decorative topstitching uses stitches chosen for appearance. Stitch density (SPI – Stitches Per Inch) also impacts strength and appearance; higher SPI generally means stronger but potentially less flexible seams. Choosing correctly ensures optimal performance and prevents damage.
3.3 Essential hardware: A brief look at findings & trims
Garment assembly frequently involves attaching various hardware components, known as findings or trims. Common examples include:
- Zippers
- Buttons and buttonholes (often created during finishing)
- Snaps
- Hooks and eyes
- Brand labels and care labels (can be attached during assembly or finishing)
- Elastic
The precise placement and method for attaching these closures and other components are critical parts of the assembly instructions within the garment’s specifications.
3.4 The role of shaping materials
Shaping materials are fabrics used internally to provide structure, support, or a smooth finish to specific areas of a garment. Key types include:
- Interfacing: Applied to areas like collars, cuffs, plackets, and waistbands to add stiffness, body, and stability.
- Interlining: An additional layer between the main fabric and the lining for warmth or added structure.
- Lining: A separate fabric layer on the inside of a garment for comfort, opacity, concealing inner construction, or ease of wearing.
These materials are typically cut and sewn into the garment during the assembly process, following specific guidelines to ensure they integrate correctly and provide the intended structure.
4. Communicating your vision: Effective specification for manufacturers
4.1 The power of a detailed tech pack for assembly instructions
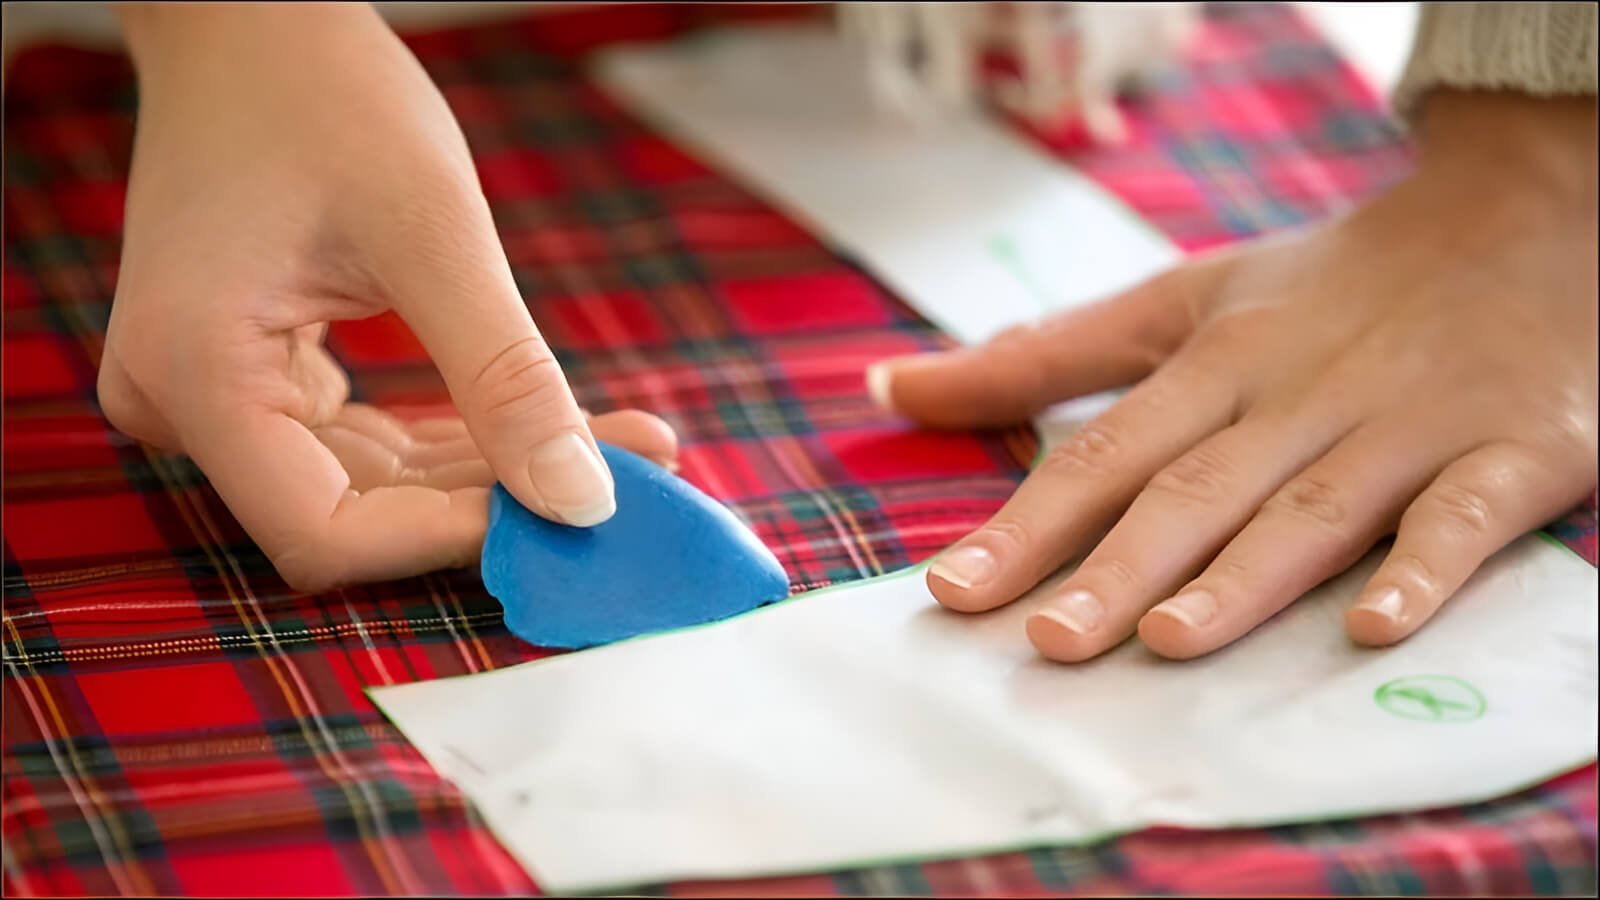
Clear communication with your manufacturer is paramount, and the tech pack (technical package) is the single most important tool for this. A comprehensive tech pack acts as the blueprint for your garment. Within the tech pack, a dedicated ‘Assembly Sheet’ or ‘Construction Details’ section translates your design vision into precise, actionable manufacturing steps.
This section details exactly how the garment should be sewn together, often referencing the Bill of Materials (BOM) for specific threads or trims. A well-executed tech pack minimizes misunderstandings, reduces errors, and streamlines production.
4.2 Crucial assembly information to specify
For clear and unambiguous assembly instructions, ensure your tech pack details the following for each major seam and construction step:
- Seam type: Specify the exact seam required (e.g., “Plain seam, press open”, “5-thread safety stitch overlock”, “Flat-felled seam”). Using standard names or reference codes is helpful.
- Stitch type: Indicate the necessary stitch (e.g., “Lockstitch Type 301”, “Coverstitch Type 406”).
- Stitches Per Inch (SPI) / Density: Specify the required number of stitches per inch or centimeter, impacting seam strength and appearance.
- Seam allowance width: Define the distance from the fabric edge to the stitching line (e.g., 1cm, 3/8 inch). Consistency here is vital for fit.
- Thread type/color: Specify thread material (e.g., polyester, cotton), size/weight, and color (often referencing a standard color system like Pantone).
- Placement measurements: Provide exact measurements for elements like hem width, pocket positioning, topstitching distance from edge, label placement, etc.
- Specific techniques: Detail any special handling or techniques required, such as how to finish corners, attach elastic, or apply topstitching.
4.3 Leveraging sketches and reference photos effectively
Words alone are sometimes insufficient. Visual aids greatly enhance manufacturer communication:
- Technical sketches: Use clear, flat line drawings (not just fashion illustrations) with callouts (arrows and notes) pointing to specific construction details. Show seam types, stitch locations, measurements, and complex assembly points (e.g., collar attachment, cuff placket construction). Good technical skills in sketching are invaluable.
- Reference photos: Include photos of existing garments (prototypes or inspirational pieces) to illustrate the desired look of a specific finish, a complex detail, the drape of a fabric, or precise placement that’s difficult to describe purely with text or sketches. Ensure photos are clear and highlight the specific feature you want to replicate.
4.4 Tips for clear communication to avoid costly prototype revisions
Proactive and clear communication is key to minimizing errors and avoiding multiple rounds of expensive prototype adjustments:
- Use standard terminology: Where possible, utilize industry-standard terms for seams, stitches, and techniques.
- Eliminate ambiguity: Avoid vague instructions. Be precise and quantitative wherever possible.
- Provide critical measurements: Specify measurements for all key placements and dimensions. Assume nothing is obvious.
- Confirm understanding: Ask your manufacturing partner to confirm they understand the specifications before starting production. Discuss any potential challenges.
- Review prototypes meticulously: Compare submitted prototypes against your tech pack specifications point by point. Provide clear, concise feedback referencing the tech pack.
- Build a relationship: Foster a good working relationship with your manufacturer based on mutual respect and clear communication. This facilitates problem-solving.
5. Integrating assembly insights into smart design choices
5.1 Thinking about assembly early: Designing for manufacturability
Truly effective design considers production realities from the outset. This concept, often called ‘Design for Manufacturing’ or designing with specification-driven thinking, encourages designers and brands to think about the complexity and cost implications of garment assembly techniques during the creative phase.
While innovation is vital, balancing unique design ideas with practical assembly methods is crucial. Sometimes, a small modification to a design detail that doesn’t compromise the core aesthetic can significantly simplify assembly, reducing production time and overall production cost.
5.2 How assembly impacts functional vs. structural design decisions
Garment assembly choices are the direct execution of both functional design (how the garment performs) and structural design (how the garment achieves its shape and silhouette). Consider the difference between:
- Functional/Structural choice: Using a robust flat-felled seam on jeans provides durability (functional) and a specific look (structural).
- Aesthetic/Structural choice: Employing a delicate French seam on a silk blouse conceals raw edges for a clean interior finish (aesthetic) and contributes to the garment’s drape (structural).
Understanding how different assembly methods achieve specific functional needs (like stretch or strength) or structural shapes allows designers to make more informed choices, ensuring the selected seam types and assembly techniques effectively realize their design intentions.
6. Related questions
6.1 What’s the difference between garment assembly and garment construction?
The terms ‘garment assembly’ and ‘garment construction’ are often used interchangeably in the industry. However, ‘garment construction’ can sometimes be viewed as a broader term encompassing the entire physical creation process, potentially including pattern making, cutting, assembly (sewing), and finishing.
‘Garment assembly’ more specifically refers to the stage where the cut fabric pieces are actually sewn together. While the distinction isn’t always strictly maintained in conversation, understanding assembly focuses specifically on the sewing and joining part of the manufacturing process.
6.2 How much detail is really needed in assembly instructions for a simple T-shirt?
Even for seemingly simple garments like a T-shirt, providing core assembly instructions is crucial for achieving consistent results and maintaining quality control. While less complex than a tailored jacket, specifications should still include: seam types for key areas (e.g., shoulder seams, side seams, sleeve insertion – often overlocked), stitch types, precise hem width measurements, and label placement details.
Skipping these basic specifications can lead to variations in fit, appearance, and durability between batches. Effective T-shirt construction relies on these details.
6.3 Can choosing the wrong stitch type actually ruin a garment?
Absolutely. Selecting an inappropriate stitch type can compromise garment quality and even lead to failure. For instance, using a non-stretch stitch, like a standard lockstitch, on a seam in a stretchy knit fabric (like leggings or a fitted tee) will likely cause the threads to break when the garment is worn or stretched, rendering the garment useless.
Similarly, incorrect stitch tension or using a stitch type unsuitable for a delicate fabric can cause puckering, holes, or damage to the material itself, resulting in costly errors.
6.4 Are there standard ways to refer to common seams and stitches internationally?
Yes, international standards do exist, such as ISO 4915 for stitch types and ASTM D6193 for seam types. These provide standardized codes and classifications. However, the practical reality is that not all manufacturers, particularly smaller factories or those in different regions, may be familiar with or actively use these specific codes.
Therefore, while referencing standards can be helpful for precision, the most effective manufacturer communication strategy typically involves using clear, common names for seam types and stitch types, supplemented with detailed diagrams, technical sketches, and reference photos within the tech pack to avoid any ambiguity.
Read more:
Garment assembly is far more than just sewing pieces together; it’s a critical stage in the apparel production process that fundamentally impacts garment quality, durability, fit, aesthetics, and production costs.
Mastering the essentials – understanding seam and stitch types, recognizing the importance of findings and shaping materials, and most crucially, communicating precise specifications through detailed tech packs – empowers clothing businesses to navigate manufacturing more effectively.
By integrating assembly considerations early in the design phase and maintaining clear communication with manufacturers, brands can minimize errors, control costs, ensure consistency, and ultimately build better garments that meet customer expectations.
Applying this knowledge leads to smoother production cycles and stronger products. For businesses seeking further support with elements that complement well-assembled garments, such as high-quality labels, tags, and packaging solutions, resources like Packlove offer specialized expertise.


