


End Fold Label: Flat, Pro Choice For Branding


This guide provides comprehensive information on End Fold labels, covering their structure, advantages, limitations, comparisons with other types, and practical tips for design and application. Readers will gain the understanding needed to decide if this label style is suitable for their garments and brand identity, along with best practices for achieving a professional result. Let’s start!
1. Decoding the End Fold: Structure and Variations
1.1 Defining the End Fold: How this garment label is made
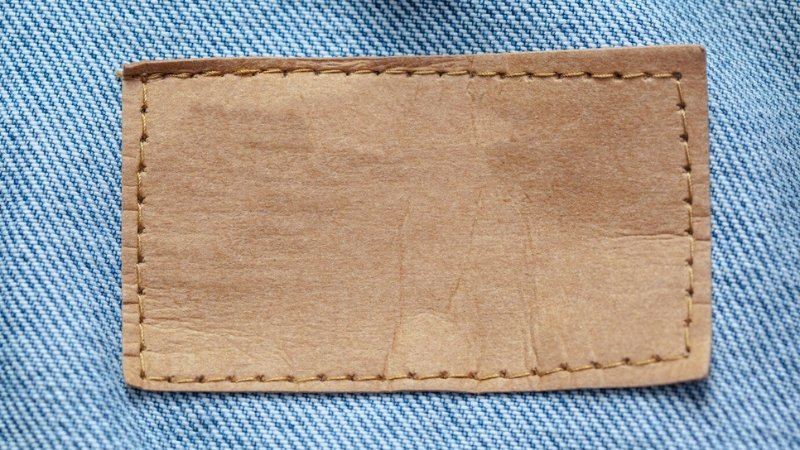
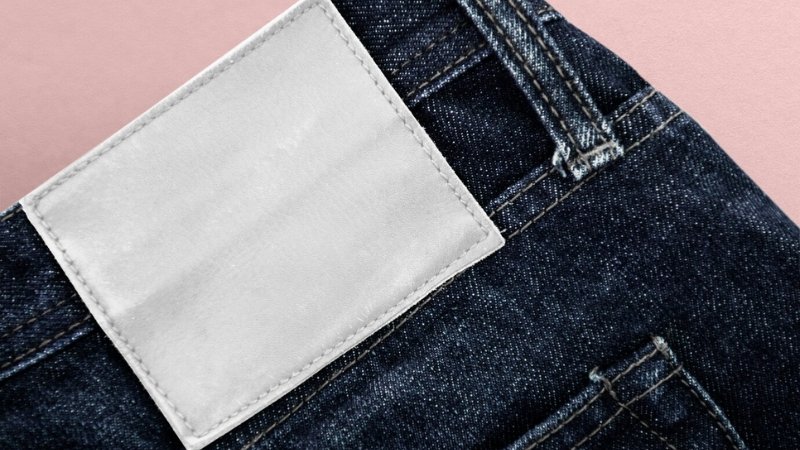
An End Fold label begins as a simple, flat rectangular piece of material, typically a woven fabric like damask (a tightly woven fabric known for detailed designs) or satin (a fabric with a smooth, glossy surface), although printed materials can also be used. The two shorter ends of the rectangular shape are precisely folded backwards or underneath the main body of the label.
The amount folded under is known as the fold allowance (the designated margin for folding, often around 7mm or 1/4 inch). This process creates a garment label with clean, non-fraying edges specifically where the folded ends will be sewn down, while the central part of the label lies flat against the garment.
1.2 Left/Right vs. Top/Bottom End Folds: Understanding the orientation difference
End Fold labels primarily come in two orientations, determined by which sides receive the fold:
- End Fold Left/Right Label: This is the most frequently encountered type. Folds are applied to the left and right short sides of the rectangular label. The resulting label typically has dimensions that are wider than tall, creating a landscape-oriented format. This orientation makes the label well-suited for displaying wider brand names or horizontal logos effectively.
- End Fold Top/Bottom Label: This variation is less common but serves specific design needs. Folds are applied to the top and bottom longer sides of the rectangle. This construction results in a label taller than wide, presenting a portrait-oriented format. This can be useful for vertically aligned branding elements or fitting into narrower spaces.
1.3 Key Characteristics: Flat attachment, folded edges, visible stitch lines
Several key traits define End Fold labels:
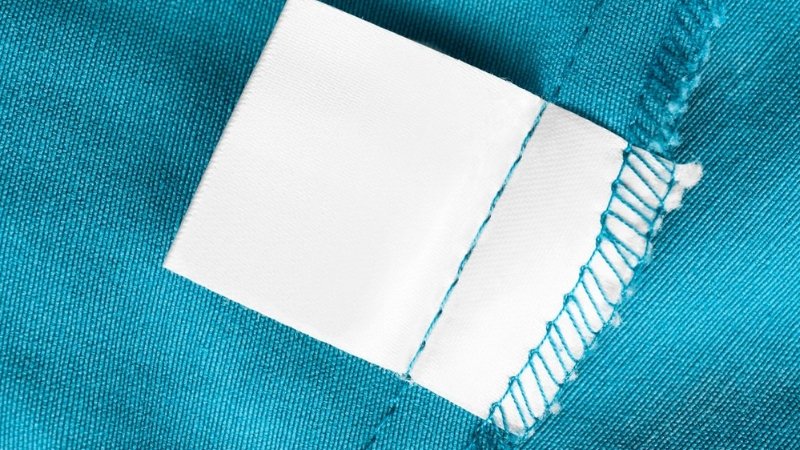
- Flat application: Unlike loop or center fold labels sometimes inserted into a seam allowance (the area between the fabric edge and the stitching line), the End Fold label is designed to lie completely flat, directly on top of the garment’s fabric surface.
- Neat folded edges: The folding process yields clean, soft, finished edges only on the two ends that are sewn down. This edge finish prevents the fabric from fraying at the attachment points.
- Visible stitch lines: A critical characteristic to understand is that because the label attaches onto the garment surface, the stitches used to secure the folded ends will be visible on the reverse side of the garment fabric. This is inherent to this sewing method.
2. Why Choose an End Fold Label? Advantages and Ideal Uses
2.1 The professional aesthetic: Achieving a clean, flat finish
The End Fold label contributes significantly to a garment’s visual appeal, offering a remarkably clean, tailored, and professional look. Its flat application and neatly finished folded edges create an appearance of being intentionally designed and integrated into the garment, rather than an afterthought. This style often appears in higher-quality apparel, enhancing the overall aesthetics and contributing to a polished brand presentation.
2.2 Ideal applications: Outerwear, bottoms, and wider branding areas
This label fold excels in specific applications. Examples include:
- Outerwear: Often found on jacket waistbands or back yokes.
- Bottoms: Suitable for the waistbands of trousers, jeans, or skirts, and sometimes sewn onto back pockets.
- Other garments: Can be used on sturdy shirt hems or cuffs.
- Accessories & textiles: Effective on bags and certain home textiles.
The suitability stems from several factors: these locations often require a durable, flat label. Additionally, the common landscape-oriented format of Left/Right End Folds provides ample space for visible branding, especially accommodating wider logos/text elements. The placement allows the brand logo to be prominently displayed.
2.3 Durability and security when properly attached
Functionally, when sewing occurs correctly along the two folded ends, the label attachment results in a secure fastening, flat against the garment. This method makes the label less prone to catching, snagging, or ripping compared to labels attached only at a single point or those forming a loose loop, particularly during regular wear and washing cycles. Proper sewing is crucial to achieving this level of durability and security.
2.4 Design flexibility for landscape-oriented logos and text
The standard Left/Right End Fold format provides generous horizontal space, offering excellent design flexibility. This makes the fold type an ideal choice for brands whose logos are wider than they are tall. The space also accommodates incorporating a brand name alongside a small icon or adding a short tagline directly onto the main label design.
This format generally offers more uninterrupted width compared to the often narrower dimensions associated with loop or center folds, making space for wider logos/text and brand names.
3. Important Considerations: Limitations of the End Fold
3.1 Stitch visibility: The trade-off for a flat attachment
The primary drawback of the End Fold label relates directly to its method of attachment. Because the label is sewn directly onto the surface of the main garment fabric (not hidden within a seam), the securing stitch lines will be visible on the garment reverse.
This stitch visibility is an unavoidable consequence of the flat attachment method. Careful consideration is needed to determine if visible stitching is acceptable for the specific garment. Such stitching might be undesirable on very thin or sheer materials, or on reversible garments where both sides require a clean finish. This is less suitable for some delicate fabrics.
3.2 Potential for added bulk compared to simpler folds
Where the label ends are folded under, a small area contains three layers of material: the garment fabric plus two layers of the label fabric. While typically insignificant, this construction does introduce slightly more thickness or bulk right at the sewn ends compared to a single-layer Straight Cut label sewn down on all sides, or a Center Fold label where the bulk is neatly tucked into a seam allowance.
3.3 When other folds might be better
Understanding alternative folds provides context for choosing the best option. The most common scenario where End Folds are less ideal is the inside back necklines of T-shirts, sweaters, or dresses. In these high-contact areas, comfort against the skin is paramount.
A Loop Fold Label or a Center Fold Label, whose raw edges are typically concealed within the neck seam, often provides a smoother sensation compared to the folded edge of an End Fold label. Similarly, for very delicate garments, minimizing surface stitching and the resultant visible reverse stitches might lead to preferring alternative folds.
4. End Fold vs. The Alternatives: A Direct Comparison
4.1 End Fold vs. Center Fold Label
Comparing End Fold and Center Fold labels highlights key differences:
| Feature | End Fold Label | Center Fold Label |
|---|---|---|
| Attachment | Sewn flat onto garment surface | Raw edges sewn into a seam or hem |
| Structure | Flat rectangle with folded ends | Folded in half, forms a Loop Fold label |
| Appearance | Lies flat, defined border | Looped, often info on inside/back |
| Stitch Visibility | Shows on garment reverse | Hidden within seam allowance |
| Common Uses | Waistbands, hems, pockets, wide logos | Necklines, side seams, care instructions |
This table contrasts the sewing method, visual appearance, resulting stitch visibility, and typical use cases for End Fold label vs Center Fold label.
4.2 End Fold vs. Straight Cut Label
Comparing End Fold and Straight Cut labels reveals differences mainly in edge treatment and aesthetics:
| Feature | End Fold Label | Straight Cut Label |
|---|---|---|
| Edge Finish | Folded clean edges where sewn | Cut edges (need sealing or sewing under) |
| Sewing | Sewn along two folded ends | Sewn on all 4 sides, or adhesive/heat seal |
| Fraying Potential | None at folded edges | Fraying if not sealed/finished properly |
| Aesthetics | More traditional, finished look | Simpler, can be minimalist or look raw |
This table contrasts the edge finish, sewing requirements, fraying risk, and overall aesthetics of End Fold label vs Straight Cut label.
4.3 Making the right choice for your garment and brand identity element
Selecting the most appropriate label fold requires evaluating several factors related to your specific garment and brand identity element:
- Placement: Determine if the label will be sewn onto a surface (favoring End Fold or Straight Cut) or into a seam (favoring Center Fold or Loop Fold).
- Desired look: Decide if a flat, defined label (End Fold) or a loop (Center/Loop Fold) is preferred. Assess the importance of a clean reverse side appearance.
- Logo/Design shape: Consider whether your branding elements are wide/landscape (well-suited for End Fold) or narrow/vertical.
- Comfort: Evaluate if the label will be in a high-contact area like a neckline, where comfort might steer the choice toward a Center or Loop Fold.
- Edge finish: Decide between the guaranteed clean edge of a fold (End Fold) or managing sealed or sewn-under straight edges (Straight Cut). Understanding these points helps choose among label fold types based on placement, logo shape, comfort, sewing technique, and edge finish.
5. Expert Tips for Working with End Fold Labels
5.1 Design best practices: Size, orientation, information placement
Effective label design requires attention to detail:
- Account for folds: Always reserve space for the fold allowance (typically 5-7mm or ~1/4 inch) on each end designated for folding. Avoid placing critical text or logo elements near the edge where they will be folded under. Clearly mark this “no-go” zone in design files.
- Optimize for flat area: Focus the primary design elements within the visible flat area of the label after folding.
- Consider proportions: While suitable for wide designs, extremely tall and narrow End Fold labels (Top/Bottom fold) might appear unconventional. Ensure the label size and orientation complement the intended placement.
- Keep it readable: Select text size and font choices that remain legible, particularly if including small details or care instructions.
5.2 Material matters: Woven vs. Printed End Folds
The choice of material significantly impacts the label’s look, feel, and performance:
- Woven Labels (damask, satin, taffeta): These offer a premium feel, excellent durability, and sharp detail, ideal for intricate designs. Woven materials hold the fold crispness effectively. Damask provides the highest detail resolution, while satin offers a noticeable sheen. Woven options are often considered the standard for higher-quality garments, influencing aesthetics.
- Printed Labels (satin polyester, cotton twill): These can be more cost-effective, especially for designs featuring multiple colors, gradients, or photographic elements. Printed labels can offer a softer feel. Ensure the printing method used provides good durability through washing cycles. The quality of edge sealing before folding is crucial to prevent potential fraying from becoming visible. Options include Printed labels on satin, polyester, or cotton.
5.3 Precise placement and sewing techniques for optimal results
Achieving a professional finish requires careful placement and sewing:
- Preparation is key: Accurately position the label on the garment. Use pins placed within the folded ends (avoiding the main body if possible) or a temporary fabric adhesive spray to hold the label perfectly straight and prevent shifting during sewing. This is crucial for small business clothing production.
- Machine sewing: Utilize a standard sewing machine equipped with a straight stitch. Select a thread color that matches either the label edge or the garment fabric, depending on the desired visual outcome.
- Stitch placement: Sew close to the inner edge of the fold allowance (the edge nearer the label center) for the neatest appearance. Aim for approximately 1-2mm away from that inner folded edge. Follow this sewing method consistently.
- Execution: Employ a consistent stitch length. Begin with a backstitch, sew straight along the width of the folded end, and secure the thread with a final backstitch. Repeat the process for the other folded end. These sewing techniques ensure a clean result when learning how to sew End Fold labels.
6. Related Questions
6.1 Can End Fold labels be ironed on instead of sewn?
Yes, requesting labels, including the End Fold style, with a heat-activated adhesive backing (iron-on label) is possible. However, for clothing subjected to regular use and washing, sewing offers substantially better longevity and the professional finish expected in retail apparel.
Iron-on adhesion can degrade over time due to washing and heat exposure. While convenient for crafts or temporary branding, sewing remains the industry standard for achieving durable durability in garment labeling.
6.2 What’s the typical fold allowance needed for an End Fold label design?
The standard fold allowance for End Fold labels generally ranges from 5mm to 7mm (approximately 1/4 inch) on each end that is folded under. Confirming the exact allowance specified by your chosen label supplier or manufacturer when placing an order is essential. Ensure your artwork accurately accounts for this space in the label design, keeping critical elements outside the fold zone.
6.3 Are End Fold labels comfortable against the skin?
Comfort is subjective and depends heavily on placement and label material. Because they lie flat, End Folds are generally quite comfortable, especially when compared to potentially scratchy straight-cut edges. However, the folded edge remains an edge.
For highly sensitive areas like the inside back neck, a Loop Fold Label or Center Fold Label sewn into a seam might feel marginally smoother. The material choice is also critical – a soft woven satin End Fold will naturally be more comfortable than a stiffer printed alternative.
6.4 Where is the best place to put an End Fold label on a T-shirt?
While necklines frequently utilize other fold types, End Fold labels can be effectively placed elsewhere on a T-shirt. Consider sewing the label flat onto the outside of the bottom hem label, either on the front or back. Another popular location is horizontally on the sleeve label hem.
Alternatively, position the label vertically along a side seam near the hem, or horizontally across the upper back yoke area for visible exterior label branding. These placement options showcase the End Fold’s flat, neat appearance advantageously.
Read more:
In summary, the End Fold label distinguishes itself with a clean, professional finish achieved through its unique flat application method – folding the ends under before sewing onto the garment surface. This style proves an excellent choice for durable branding on waistbands, hems, and areas requiring space for wider logos, contributing to a polished brand aesthetic.
The primary consideration remains the visible attachment stitches on the garment’s reverse side. Weigh this aesthetic trade-off carefully, alongside your garment type, intended placement, and overall brand style, against the label’s inherent benefits.
Selecting the appropriate label fold, though seemingly a small detail, significantly influences the perceived quality of your apparel. If you’re still deciding or want to explore high-quality woven or printed End Fold labels tailored to your needs, the team at Packlove is here to offer expert advice and solutions.


