


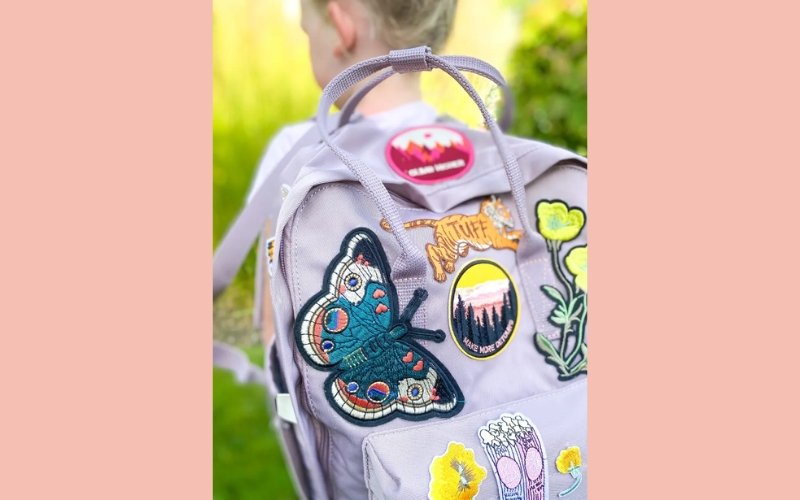
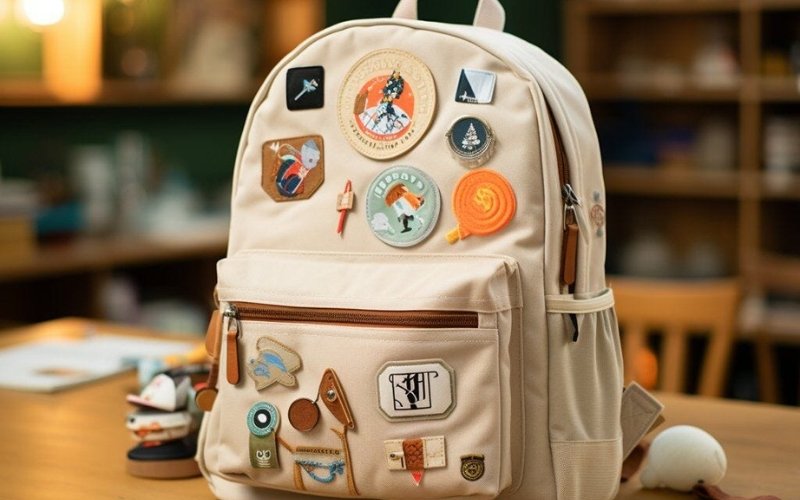
How to Stick Patches on Backpacks: Easy Guide for All Types


Personalizing your backpack is a great way to express your style and repair damage. But choosing the right patch application method can be tricky, often leading to frustration when patches fall off or damage the backpack material. Properly applied patches significantly enhance your backpack’s appearance and add a unique touch, while poor application can be frustrating and wasteful. Learn the correct techniques for attaching various patch types to different backpack materials, ensuring a durable and visually appealing result.
1. Types of patches for backpacks
1.1 Embroidered patches
Embroidered patches offer a textured, classic look that adds a touch of artistry to any backpack. Their designs, often featuring intricate details or unique patterns, make them popular for custom creations. The versatility of embroidered patches is a significant advantage, as they can be attached using a variety of methods. Sewing is a reliable option for a permanent bond, ideal for those who want a durable, long-lasting attachment. For a quicker application, iron-on or fusible interfacing options are available, providing a suitable approach for less demanding environments or situations where speed is key.
Additionally, some embroidered patches may come with adhesive backing, allowing for a no-sew, glue-on attachment. This versatility accommodates various needs and preferences, making embroidered patches a popular choice for customizing backpacks.
1.2 Woven patches
Woven patches are renowned for their tight weave, lending them exceptional durability and making them perfect for detailed designs. Their robust construction makes them ideal for showcasing intricate branding or logos, providing a high-quality, professional look. The tightly woven fabric ensures that the patch maintains its shape and clarity, even after repeated use and exposure to wear. This inherent durability makes woven patches a strong choice for backpacks, ensuring they withstand daily use and retain their professional aesthetic.
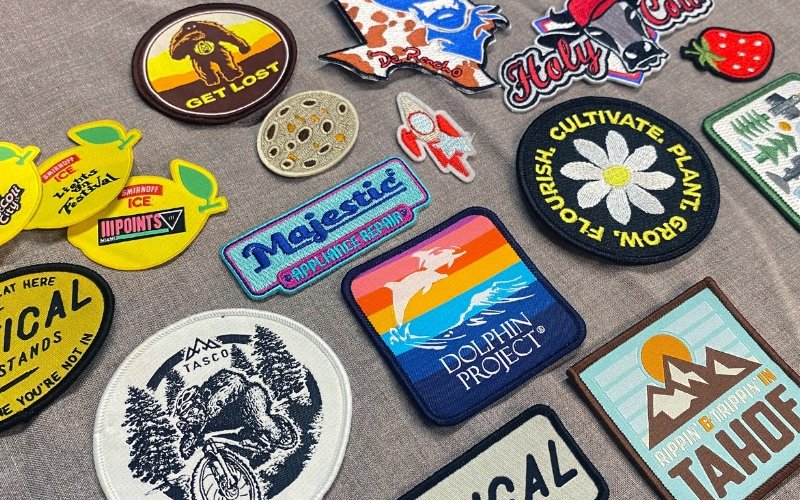
1.3 Printed patches
Printed patches offer a cost-effective way to create vibrant and diverse designs on your backpack. Techniques like vinyl printing and heat transfer printing allow for a wide array of colors, patterns, and even images. These methods make them attractive for creating custom designs quickly and affordably. However, it’s important to acknowledge potential limitations compared to more robust options. While printed patches can be a great choice for temporary or less-demanding applications, their durability might be slightly lower than embroidered or woven patches, particularly regarding repeated washing.
The printing materials themselves can sometimes affect the patch’s resistance to wear and tear over time. Care should be taken, especially with intricate or highly detailed designs, to ensure the print remains clear and vibrant throughout the backpack’s lifespan.
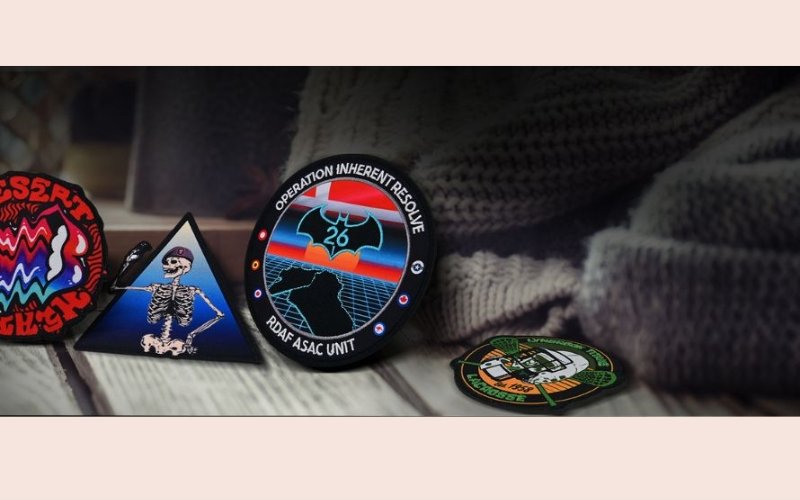
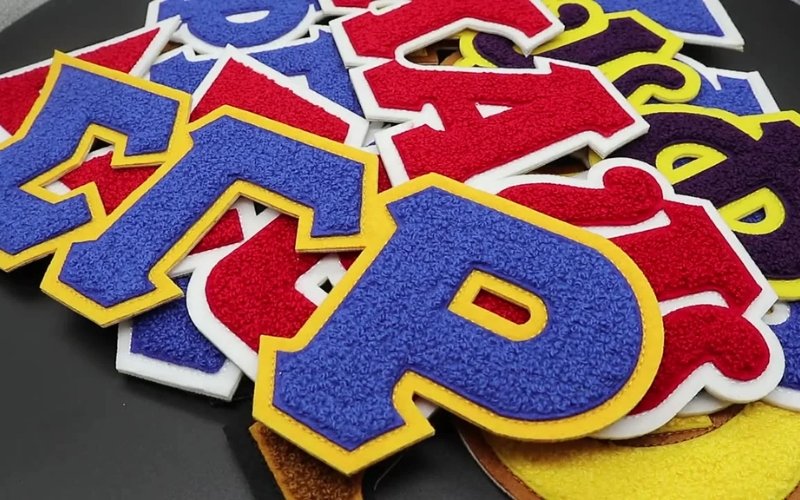
1.4 Chenille patches
Chenille patches are instantly recognizable for their distinctive raised, fuzzy texture. The soft, plush appearance of chenille makes them a classic choice for letterman jackets, varsity sports teams, and various awards. Their tactile appeal and nostalgic feel evoke a sense of tradition and spirited camaraderie, making them popular for school patches and other items associated with sports or academic achievements. The raised, embroidered fibers create a rich, textured look that stands out against the fabric. The durability and classic appearance of chenille patches make them a desirable option for individuals seeking a traditional and lasting form of personalization.
2. Methods for attaching patches to backpacks
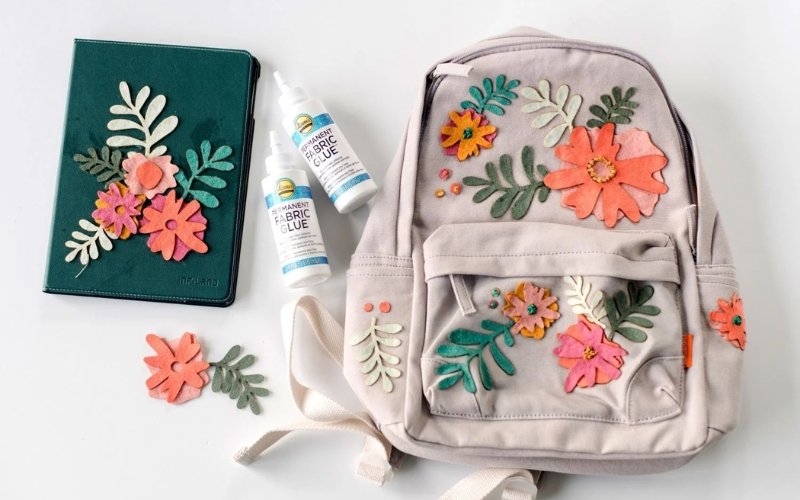
2.1 Using fabric glue
Using fabric glue is a simple, no-fuss method for attaching patches to backpacks, especially those made of nylon. This approach requires minimal skill and can be done on the fly. However, keep in mind that while effective, the adhesive may loosen over time, particularly if the bag is frequently exposed to water.
For this method, you’ll need strong fabric glue, a pencil, your patches, and a heavy object.
First, select the patch placement. Carefully arrange the patches on the bag. Use a pencil to lightly trace a few millimeters beyond the patch’s edge, creating an invisible guideline.
Next, apply the glue to the backpack. Carefully spread the fabric glue within the pencil lines, evenly covering the outlined area. Be mindful not to go outside these lines to prevent excess glue from showing or bleeding onto other areas.
Now, position the patch. Place the patch precisely on the glued area. Press firmly, ensuring all edges of the patch adhere completely to the glue.
Finally, apply even pressure. Place a heavy object (like a book) on top of the patch and the bag to secure the patch and create a firm bond. Allow at least an hour for the glue to fully cure and dry.
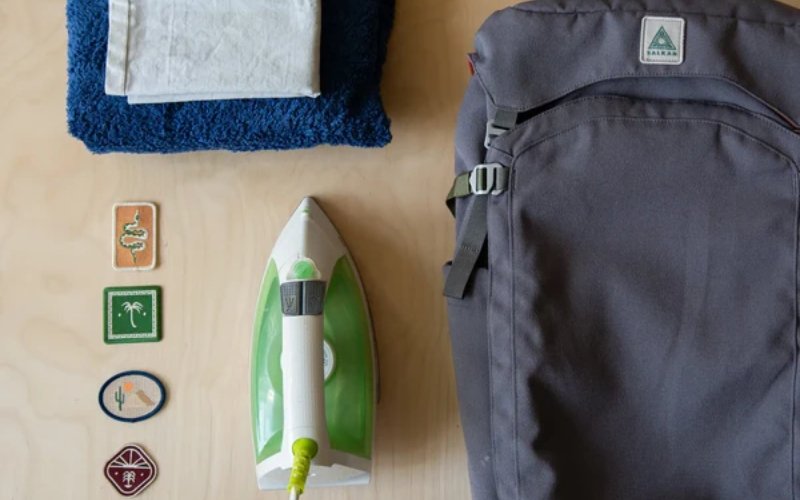
2.2 Iron-On method
Iron-on patches are a fun and straightforward way to personalize your backpack. Here’s how to do it right:
Step 1: Find a clean, heat-resistant surface. Ensure there’s nothing underneath or near the backpack while you work.
Step 2: Before starting, confirm your backpack fabric is suitable for iron-on patches. Avoid applying iron-on patches to synthetic materials like nylon, as they can melt. Canvas, denim, or cotton are better choices.
Step 3: Turn on the iron and set it to the correct temperature, checking the manufacturer’s instructions for your patch. Ensure the iron is on a stable, heat-safe surface, away from flammable materials.
Step 4: Lay the backpack flat on your work surface, ensuring no wrinkles. If the fabric has wrinkles, iron the specific area where you plan to apply the patch first. This creates a smooth surface for optimal adhesion.
Step 5: Place the patch onto the backpack in its desired location. Lay the pressing cloth over the patch. Iron the patch for 30 seconds, using gentle, circular motions over the entire area. Ensure you thoroughly iron the edges of the patch.
Step 6: Carefully remove the pressing cloth and inspect the patch. Ensure it’s fully adhered. If any gaps or wrinkles remain, repeat step 5 for that area. The area will still be hot, so exercise caution.
Step 7: Iron the backside of the patch for an additional 15 seconds with gentle circular motions to further secure the patch. This step is often recommended for a stronger hold.
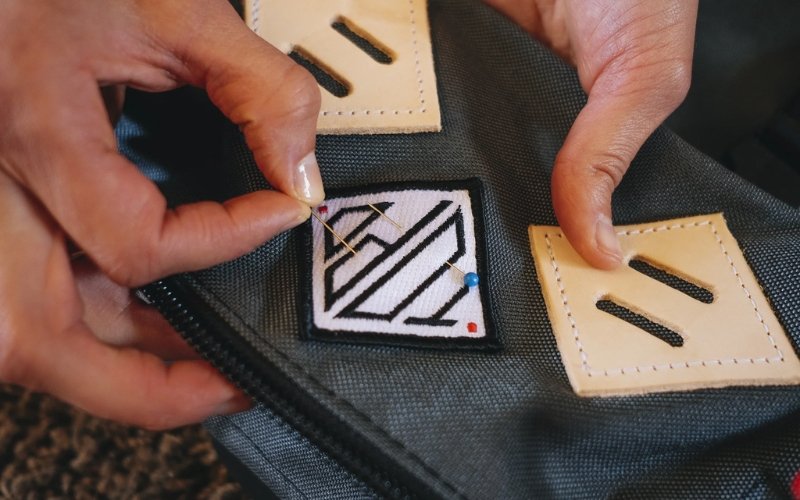
2.3 Sewing patches onto backpacks
Sewing is a reliable and durable method for attaching patches to a backpack, often preferable to glue or iron-on methods, especially for long-lasting results. You can even use glue or an iron-on as a preliminary step, making the sewing process easier and the finished look neater.
Below is essential steps for securely hand-sewing patches onto a backpack:
Step 1: Use safety pins to temporarily secure the patch to the backpack’s fabric. This prevents shifting during the sewing process.
Step 2: Select thread that matches the patch’s color to minimize visibility. Thread a needle, then double-knot the thread end securely. A double knot, created by bringing the two ends together, will help ensure the thread doesn’t unravel or come loose during sewing.
Step 3: There are two common options: a running stitch (straight stitch) or an overcast stitch.
Running Stitch (Straight Stitch): Insert the needle from the inside of the backpack, through the patch, and back into the bag a few millimeters away. Repeat this motion, creating a series of small stitches that resemble horizontal lines along the patch. Adjust stitch length according to the edge of the patch.
Overcast Stitch: Start as you would for the running stitch, inserting the needle from inside the bag, into the patch. Bring the needle up to the edge of the patch, then insert it back into the fabric just above the previous stitch. Continue this “overcasting” motion along the patch’s edge, forming a row of vertical stitches.
Step 4: Carefully sew around the entire perimeter of the patch, ensuring each stitch is firmly anchored and secures the patch to the backpack fabric.
2.4 Using bonding patches
Bonding patches are a simple and readily accessible way to personalize items like helmets, laptops, and water bottles. They offer a straightforward, often sticker-like application process.
Step 1: Clean the area where you want to apply the patch thoroughly, removing any dust, dirt, or moisture. A clean surface is crucial for a strong bond.
Step 2: Allow the cleaned surface to dry completely before proceeding to the next step.
Step 3: Carefully peel away the backing from the patch. Position the patch precisely on the desired location on the item.
Step 4: Apply even pressure across the entire patch to ensure complete adhesion. Press firmly to activate the adhesive and make a strong bond.
Step 5: For enhanced bonding, especially on flat surfaces, place heavy objects on top of the patch for several hours, increasing the pressure and solidifying the bond.
Step 6: Once the patch is applied, avoid getting it wet or disturbing the area until the adhesive has fully cured. This precaution helps maintain the patch’s longevity.
3. Choosing the right method based on backpack and patch material
3.1 Patches on canvas backpacks
Canvas backpacks, with their durable nature, benefit from robust patch attachment methods. Sewing and gluing are generally the best approaches for creating a lasting and secure attachment. Sewing provides a strong, permanent bond, ideal for high-wear areas or when maximum durability is paramount. Using a strong fabric glue specifically designed for outdoor use or canvas materials will also create a reliable, water-resistant bond.
Be sure to select a glue that’s known for its ability to withstand the potential stresses and moisture a canvas backpack might encounter. This approach is particularly well-suited for areas that will experience significant wear and tear. Proper preparation of the canvas surface before applying the glue is vital for a secure and lasting bond.
3.2 Patches on nylon backpacks
Nylon backpacks present a unique challenge for patch application due to their smooth surface, which can make adhesion difficult for some methods, and their sensitivity to high heat. While various approaches can work, sewing offers the most reliable and durable solution for nylon. The tight weave of the fabric and the nature of the material make stitching the most secure method for creating a lasting bond.
If glue is your chosen approach, select a low-temperature, flexible adhesive specifically formulated for nylon or synthetic fabrics. Avoid using hot irons directly on nylon, as this can cause the fabric to melt or warp. Be mindful of the adhesive’s drying time and consider the potential for the patch to shift or loosen over time if the adhesive is not suitable or compatible with the nylon. Always test the glue and application method on a hidden section of the backpack first to ensure compatibility.

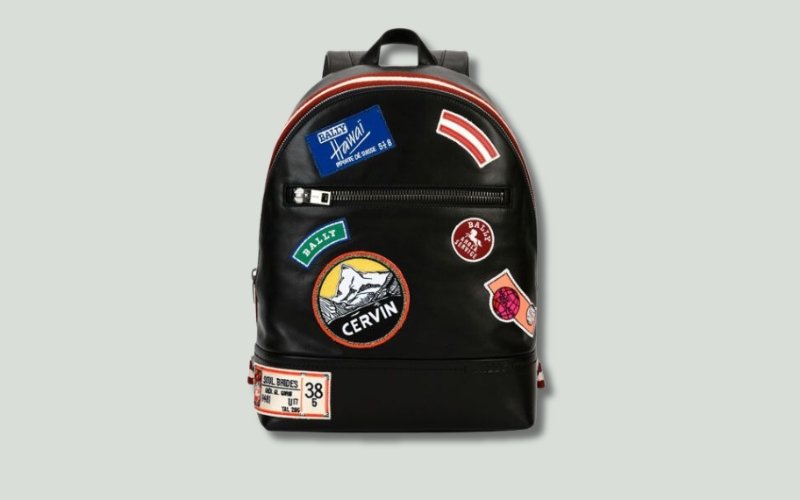
3.3 Patches on leather backpacks
Leather backpacks, with their unique texture and inherent durability, require a precise and careful approach when attaching patches. While sewing can provide a strong, permanent bond, using leather-specific adhesives is another viable option. Ensure that any adhesive chosen is specifically designed for leather to avoid damaging the material’s delicate structure or compromising the integrity of the patch. Crucially, always test the adhesive on a hidden area of the leather first to ensure compatibility.
The leather’s porosity and potential reactions to various adhesives necessitate a thorough pre-application test to prevent unexpected outcomes. For particularly valuable or delicate leather items, consult a leather specialist for personalized advice and recommendations tailored to the specific leather type and condition of your backpack. This added precaution ensures the best outcome for maintaining the leather’s quality and aesthetic integrity.
3.4 Patches on polyester backpacks
Polyester backpacks, like nylon, present challenges when applying patches due to their smooth surface and sensitivity to high heat. Sewing remains the preferred and most reliable method for attaching patches to polyester. The fabric’s structure and potential for heat damage make a secure stitch the best choice for longevity. Avoid applying heat directly to the polyester, as this could lead to melting or distortion of the fabric. If using an adhesive, choose a low-temperature adhesive formulated for synthetics. Always test any adhesive on a small, inconspicuous area of the polyester first to ensure compatibility and prevent unwanted reactions. This precaution is crucial in maintaining the integrity of the polyester fabric.
4. Related questions
4.1 How to remove a patch from a backpack?
Removing a patch from a backpack depends on the method used for its initial attachment. Iron-on patches can often be removed by carefully applying moderate heat using an iron on a low setting, followed by gently pulling the patch away. However, this method requires caution, as applying too much heat or pressure can damage the backpack’s fabric. For glue-on patches, a specialized adhesive remover, applied gently with a soft cloth, can often loosen the bond.
If the adhesive is stubborn, freezing the patch area for a short time might weaken the bond. Directly pulling or scraping can cause significant damage. Removing sewn-on patches requires careful unpicking of the stitches. Use small, precise stitches to ensure minimal damage to the backpack’s material. Work slowly, making sure that the stitches are completely removed before attempting to detach the patch. Always test any removal method in an inconspicuous area first to assess potential damage to the backpack’s fabric before applying it to a visible area. If you are unsure about any step, err on the side of caution to prevent irreversible damage.
4.2 Where can I buy patches for my backpack?
Patches for your backpack are readily available in various locations. Online marketplaces like Etsy and Amazon offer a vast selection of pre-made patches, from whimsical designs to team logos and personalized creations. Local craft stores such as Michaels and Joann Fabrics often carry a range of iron-on, sew-on, and adhesive patches. For unique or custom-designed patches, consider online services that allow you to upload your own designs. Alternatively, local embroidery shops can create custom embroidered patches based on your specifications. This allows for a personalized touch and ensures the perfect design for your backpack. These options cater to diverse preferences and budgets, ensuring you can find the perfect patch to express your style and personality.
4.3 Can I wash my backpack with patches on it?
Washing your backpack with patches requires careful consideration of the attachment method. For delicate patches or backpacks, hand-washing is generally recommended. Avoid machine washing if the patch is glued or not securely attached, as the agitation can loosen or damage the adhesive. Always turn the backpack inside out to protect the patches during the washing process. This will help to prevent any further damage to the patches during the wash cycle. Gentle hand-washing or a delicate machine wash cycle, if recommended, is best for minimizing stress on the patches. If in doubt, spot-cleaning or air-drying the affected area is often the safest option. Thorough rinsing and air drying are crucial to prevent any lingering adhesive residue from damaging the fabric.
Read more:
- Are Poly Mailers Biodegradable? Eco-Friendly Alternatives & FAQs
- Sublimate on Poly Mailers? Your Guide to Custom Packaging
- Ship Poly Mailers USPS: Size, Weight, Cost & Best Practices
This guide has explored various methods for attaching patches to backpacks, highlighting the importance of matching the technique to the backpack material and patch type for optimal results. Sewing provides a lasting, reliable bond, especially for canvas or leather backpacks and intricate designs. For a quicker application, bonding patches are an excellent solution, offering a simple, sticker-like attachment, though durability may be lower and not as ideal for heavy use. Understanding the potential heat sensitivity of nylon and polyester necessitates a cautious approach with iron-on patches, and a meticulous application process. Always prioritize a method that aligns with the material’s inherent characteristics, such as the type of fabric and the patch itself. By thoughtfully selecting the correct technique and taking necessary precautions, you can confidently personalize your backpack, showcasing your creativity and achieving a visually appealing and durable result.


