Crochet Crop Top: Easy Step-by-Step Guide & Free Patterns (Beginner Friendly)
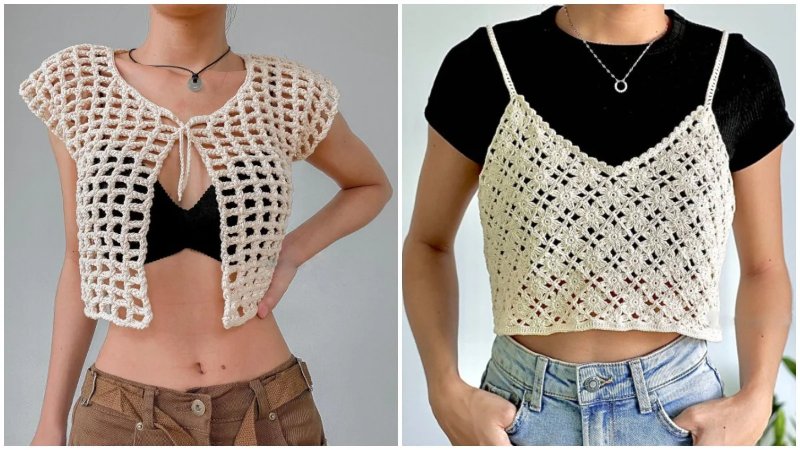
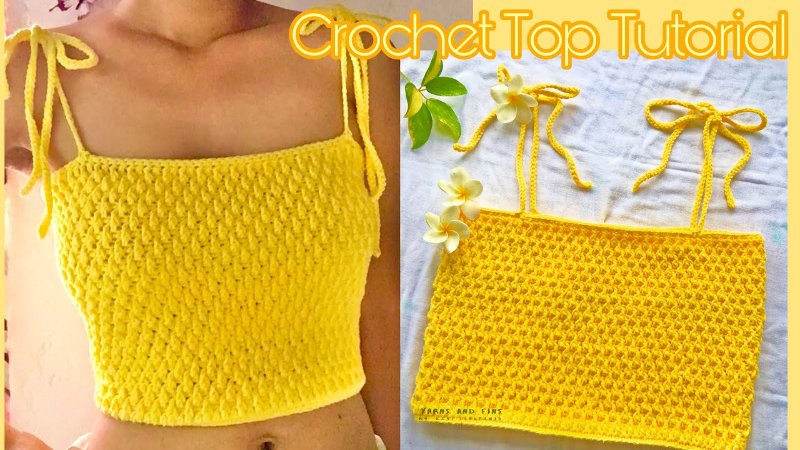
Crocheting a crop top is a fulfilling project for beginners and experienced crafters alike. This guide addresses the common pain points of finding clear instructions and selecting the right materials. Learn to create a unique, handmade garment that reflects your personal style. Discover the rewarding skill of crochet, unlocking creative expression and customization. With step-by-step guidance and free patterns, you’ll gain confidence in your abilities and craft a crop top you’ll be proud to wear. Say goodbye to frustration and hello to a relaxing and fulfilling hobby!
1. Choosing Your Materials and Tools
1.1 Selecting the Right Yarn
The type of yarn you choose significantly impacts your finished crochet top. Yarn weight refers to its thickness. Worsted weight yarn is a medium thickness and a popular choice for many projects. DK yarn is lighter, creating a finer fabric with more drape. For summer tops, consider cotton yarn for its breathability. Other fibers like acrylic blends, offer durability and stretch. The right crochet top yarn creates a comfortable fit.
When picking yarn colors for crochet projects, it’s essential to think about the fiber content and drape. Cotton yarn will have a matte appearance while acrylic blends will have a slight sheen. Ultimately, the yarn fiber you use will determine the drape and comfort of your finished crochet top.

1.2 Choosing the Correct Crochet Hook Size
Crochet hook size and yarn weight are directly related; thicker yarns require larger hooks. A US size H-8 (5mm) crochet hook is often a good starting point for worsted weight yarn. Your hook size influences your gauge or the number of stitches and rows per inch.
1.3 Other Essential Tools
Besides yarn and a hook, you’ll need a few other tools. Scissors are for cutting yarn. A tapestry needle helps weave in loose ends. Stitch markers keep track of your place in the pattern. A measuring tape ensures your project is the correct size.
Basic supplies are needed to complete your project. Sharp scissors are necessary for trimming the yarn. You use a tapestry needle to hide yarn ends and create a polished look. Stitch markers are useful for marking specific stitches or rows. Using a measuring tape helps to verify that your finished item corresponds to the intended dimensions.
2. Understanding Basic Crochet Stitches
2.1 Essential Stitches for Crop Tops
Mastering a few basic stitches unlocks a world of crochet possibilities. The slip knot is the foundation of most crochet projects. Next, the chain stitch (ch) creates a base row or can form delicate chains. Single crochet (sc) creates a tight, dense fabric. Half double crochet (hdc) is taller than single crochet, creating a slightly looser fabric.
The slip knot is the first step when starting most crochet projects. The chain stitch (ch) can be used alone or as a foundation row. Single crochet (sc) creates a solid fabric, while half double crochet (hdc) creates a fabric with a more open weave. These crochet stitches are essential for creating beautiful tops.
2.2 Learning How to Read Crochet Patterns
Crochet abbreviations are a shorthand used in patterns. Understanding them is key to successful crocheting. For example, “ch” means chain stitch, “sc” means single crochet and “hdc” means half double crochet. Learning pattern reading will give you the ability to follow complex instructions.

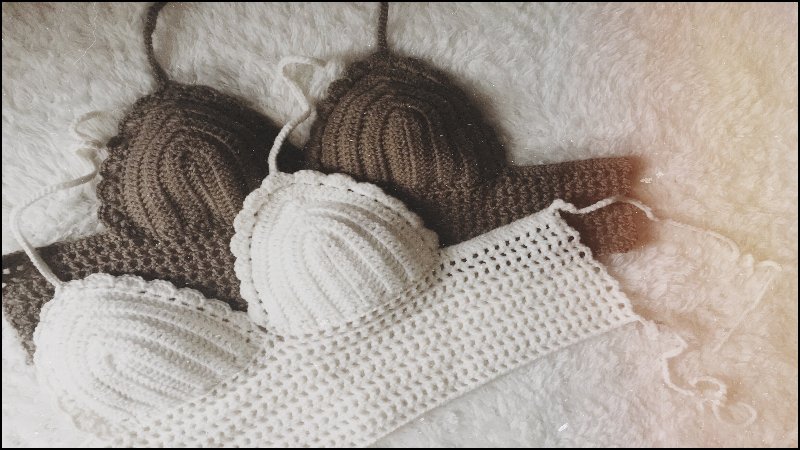
3. Crochet Crop Top Pattern: Halter Style
3.1 Halter Crop Top – Materials
You’ll need worsted weight yarn in your chosen color, a 5mm crochet hook, scissors and a tapestry needle. Refer to the “Choosing Your Materials and Tools” section for detailed information.
3.2 Halter Crop Top – Band Creation
Begin with a slip knot. Then, measure around your torso just below your bust. This measurement will determine the length of your foundation chain. Create the foundation chain by making the number of chain stitches needed to match your torso measurement. Accurate measurement is crucial for a well-fitting band.
3.3 Halter Crop Top – Body of the Top
Turn your work. Single crochet across the entire foundation chain. For subsequent rows, continue to single crochet. To create the halter shape, you’ll need to start decreasing stitches on each side. To decrease, insert your hook into the next stitch, yarn over, pull through a loop, insert your hook into the following stitch, yarn over, pull through a loop, yarn over, pull through all three loops on your hook. The neckline will be shaped by these decreases.
Next, use the single crochet to cover the foundation chain. Repeat the rows of single crochet and begin decreasing to form the halter shape. To decrease, insert your hook into the next stitch, yarn over, pull through a loop, insert your hook into the following stitch, yarn over, pull through a loop, yarn over, pull through all three loops on your hook. This creates the neckline.
3.4 Halter Crop Top – Straps
Create the straps by chaining a length suitable for tying around your neck. For thicker straps, you can work a row of slip stitches back along the chain. Alternatively, a simple chain can be used for thinner straps.
Using a chain stitch make the straps, ensure the length is suitable to tie it around your neck. For more robust straps, use the slip stitch to go back along the chain which will add more support to your top.

3.5 Halter Style
Weave in all loose ends using your tapestry needle. Blocking helps to even out the stitches and improve the drape. You can also add embellishments like beads or fringe for a personal touch.
With your finishing touches, you’ll want to ensure a clean look for your top. With the weave, hide all loose ends. Using blocking will help the stitches align correctly. Lastly, you can add embellishments such as beads.
4. Customizing Your Crochet Crop Top
4.1 Adjusting size
To adjust the size of your crop top, you can easily modify the length and width. To make it longer, simply add more rows to the body of the top. To make it shorter, reduce the number of rows. To change the width, adjust the length of the foundation chain.
To modify the size, add or reduce rows to make it longer or shorter. For different width, the most important part is to ensure that you calculate your stitches accordingly.
4.2 Different type of Stitches
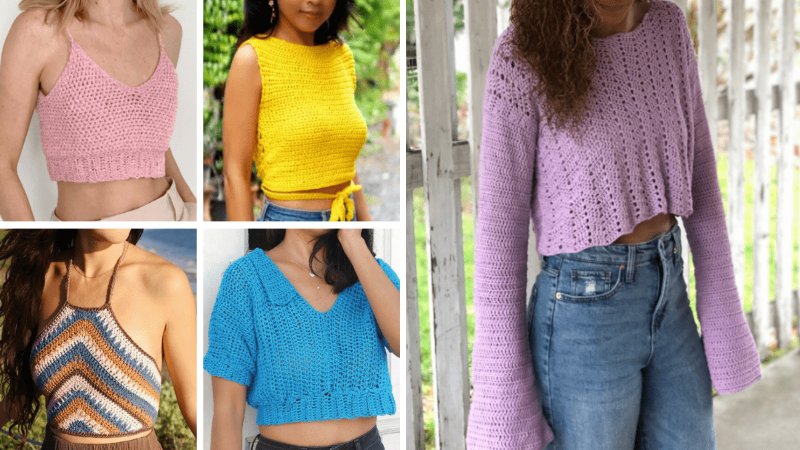
Experimenting with different stitches can change the look and feel of your crop top. Single crochet (sc) creates a dense fabric, while double crochet (dc) creates a more open weave. Half double crochet (hdc) falls somewhere in between.
By alternating between types of stitches, such as single crochet, double crochet and half double crochet, you can produce a variety of textures. Each type of crochet stitch contributes to the final product’s distinct appearance and texture.

4.3 Adding Embellishment
Adding embellishments is a great way to personalize your crop top. You can sew on beads, buttons or appliques. You can also add fringe or tassels to the bottom edge. Incorporating embellishments can give your crop top a distinctive touch. Adding beads or other decorative elements can enhance the overall design.
5. FAQs about Crochet Crop Tops
5.1 How do I choose the right yarn for a summer crochet top?
For a summer crochet top, choose breathable fibers like cotton and linen. These materials will keep you cool and comfortable in warm weather.
5.2 What if my gauge doesn’t match the pattern?
If your gauge doesn’t match the pattern, adjust your hook size or yarn weight. A smaller hook will decrease your gauge while a larger hook will increase it.
5.3 Can I use a different stitch than the pattern calls for?
You can substitute stitches but it will impact the final result. The drape and texture of the fabric will change.
5.4 How do I block my finished crochet top?
Wet blocking involves soaking your finished piece in water, gently squeezing out the excess and laying it flat to dry. This helps to even out the stitches and improve the drape.
5.5 How do I care for my crochet crop top?
Hand wash your crochet crop top in cold water with a mild detergent. Gently squeeze out the excess water and lay it flat to dry. Avoid using a washing machine or dryer to ensure that it stays in good shape.
6. Packlove – Providing service for Custom Labels and Packaging
For handmade businesses and individuals, Packlove offers custom labels and packaging solutions. Adding custom labels such as woven, heat transfer or rubber labels to your crochet top gives your product a professional touch. This professional touch will make your products perfect for gifts or sales. Our Value Booster Kit is the perfect starting point for branding. For packaging and shipping your finished crochet tops, consider our zipper bags and poly mailers.
If you’re planning to sell your beautiful crochet creations, consider adding a custom woven label from Packlove to give your pieces a professional touch. Our Value Booster Kit offers a variety of label options to get you started. And for safe and stylish shipping, check out our zipper bags and poly mailers!
Read more:
Crocheting a crop top involves choosing materials, learning stitches and following a pattern. We hope this guide encourages you to try the patterns and experiment with customization. Learning this skill brings creative expression and you’ll create many beautiful handmade garments.


