Reattach Clothing Tags: How to Put Tags Back On Like New
A detached clothing tag can be frustrating, whether it’s a care label, a brand tag, or a price tag. But don’t worry, reattaching a tag is often a simple fix. This guide provides practical solutions for reattaching clothing tags using various methods, from fabric glue and sewing to temporary fixes. By the end of this guide, readers will be able to confidently reattach tags and take steps to prevent future detachment, preserving the information and integrity of their garments.
1. Assessing the Situation: Tag Type, Fabric, and Your Skill Level
1.1 Identifying Your Tag Type
Clothing tags come in various forms, each with its own characteristics:
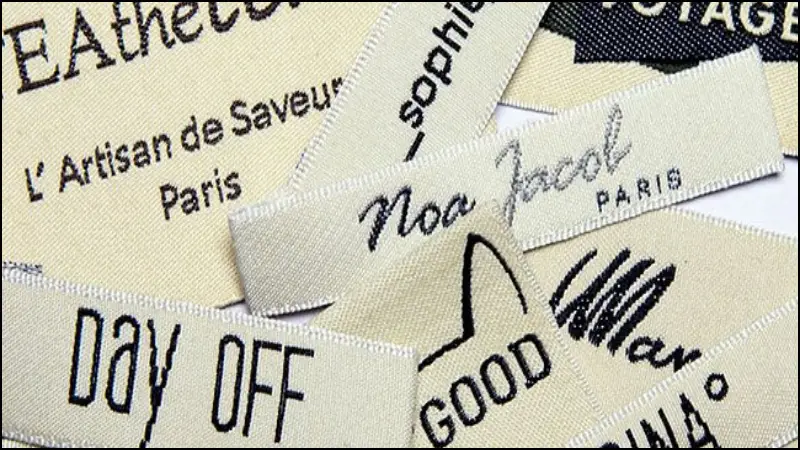
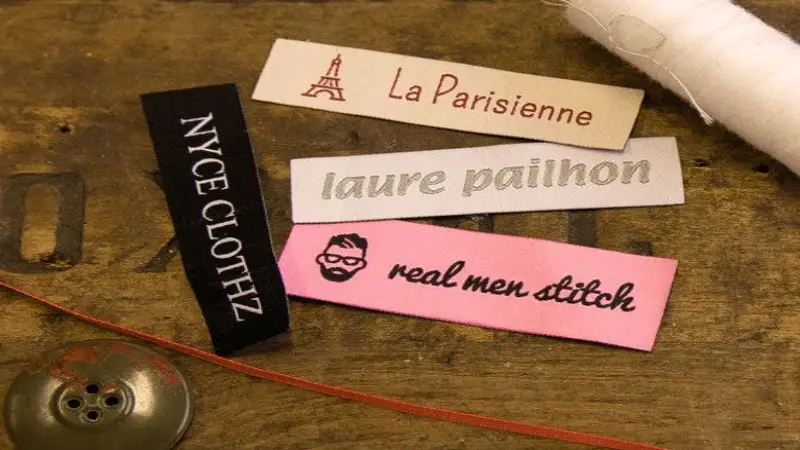
- Woven Tags: These are typically made of fabric, with the design woven into the material. They are often found on higher-quality garments and are usually sewn onto the fabric. Common examples include brand tags and care labels.
- Printed Tags: These tags are made of fabric or a synthetic material, with the information printed onto the surface. They are less durable than woven tags and can be attached by sewing, heat-sealing, or adhesive. Fabric content tags are commonly printed.
- Plastic Tags: Often used for price tags or retailer tags, these are made of plastic and are typically attached with a plastic fastener or a string.

1.2 Understanding Your Fabric
The type of fabric significantly impacts the best reattachment method:
- Delicate Fabrics (silk, lace, chiffon): These fabrics are easily snagged or damaged. Avoid using harsh adhesives or methods that require puncturing the fabric multiple times. A textile adhesive, used sparingly, or very fine needle and thread are often the best choices.
- Sturdy Fabrics (denim, canvas, cotton): These fabrics are more durable and can withstand a wider range of reattachment methods, including sewing, fabric glue, and even careful use of tagging guns.
- Knitted Fabrics (sweaters, t-shirts): Knitted fabrics are stretchy and can be prone to runs or unraveling if punctured incorrectly. Consider using a ballpoint needle if sewing, and avoid strong adhesives that could stiffen the fabric.
1.3 Evaluating Your Skill Level
Be honest about your comfort level with different repair techniques:
- No-Sew: If you’re not comfortable with sewing, or if you need a quick fix, no-sew options like fabric glue or adhesive strips are perfect. These methods require no special skills or tools. They can reapply or fasten the tag.
- Basic Sewing: If you have basic sewing skills and can handle a needle and thread, simple stitching techniques can provide a secure and durable reattachment.
- Advanced Sewing: If you’re proficient with a sewing machine, you can use it for a more professional-looking and robust repair, especially for woven labels.

2. No-Sew Methods for Reattaching Clothing Tags
2.1 Fabric Glue
Fabric glue is a versatile adhesive specifically designed for use on textiles. It provides a strong, permanent, and often washable bond, making it a good option for reattaching many types of tags.
Types of Fabric Glue:
- Liquid Fabric Glue: This is the most common type, available in various formulations (permanent, washable, quick-drying).
- Fabric Glue Sticks: These offer a less messy application, but the bond may not be as strong as liquid glue.
Step-by-Step Instructions:
Prepare the Tag and Garment: Ensure both the tag and the area on the garment where the tag will be attached are clean and dry. Remove any loose threads or old adhesive residue. Apply a thin line or small dots of fabric glue to the back of the tag, focusing on the edges. Avoid using too much glue, as it can seep through the fabric and create a visible mess.
Align the tag with its original position on the garment. Press the tag firmly onto the fabric for the time recommended by the glue manufacturer (usually 30 seconds to a minute). You can use a flat, heavy object (like a book) to apply even pressure. Allow the glue to dry completely before wearing or washing the garment. Refer to the manufacturer’s instructions for the recommended drying time (often 24 hours).
Pros:
- Strong and permanent bond (when used correctly).
- Washable (most fabric glues are designed to withstand washing).
- Relatively easy to use.
- Works on a variety of fabrics and tag types.
Cons:
- Can be messy if too much glue is used.
- Potential for fabric damage if the glue seeps through.
- Difficult to remove once dry.
- May leave a visible residue if not applied carefully.
2.2 Double-Sided Fabric Tape
Double-sided fabric tape provides a quick and convenient, though less permanent, solution for reattaching tags. It’s particularly useful for temporary fixes or for lightweight tags.
Step-by-Step Instructions:
Cut a piece of double-sided fabric tape slightly smaller than the tag. Carefully peel off one side of the backing paper and apply the tape to the back of the tag, smoothing it down to ensure good adhesion. Peel off the remaining backing paper to expose the adhesive. Carefully position the tag on the garment in its original location. Press the tag firmly onto the fabric for several seconds to ensure good adhesion.
Pros:
- Extremely easy and quick to use.
- No mess or drying time required.
- Readily available.
Cons:
- Not as durable as fabric glue or sewing.
- May not withstand repeated washing.
- Can leave a sticky residue on some fabrics.
- Not suitable for heavy or large tags.
2.3 Iron-On Patches (for Tags)
Iron-on patches designed specifically for labels offer a durable, no-sew solution. These patches have a heat-seal adhesive that bonds the tag to the fabric when heat is applied.
Set your iron to the temperature recommended on the patch instructions. This is usually a medium to high setting (cotton or linen), without steam. Place the tag in its original position on the garment. Place the iron-on patch over the tag, ensuring the tag is completely covered.
Place a pressing cloth over the patch and apply firm, even pressure with the heated iron for the time specified in the patch instructions (usually 10-20 seconds). Avoid moving the iron back and forth. Let the patch and tag cool completely before handling the garment. This allows the adhesive to set properly.
Pros:
- Durable and long-lasting bond.
- Relatively easy to apply.
- Provides a neat and professional appearance.
Cons:
- Requires an iron and ironing board.
- Not suitable for heat-sensitive fabrics (always check the garment’s care label).
- Can be difficult to remove.
- May stiffen the fabric slightly.

2.4 Tagging Gun (For Small Businesses/Retailers)
A tagging gun is a specialized tool primarily used in retail settings to attach price tags. However, it can also be used to reattach certain types of tags, particularly plastic tags with fasteners. This method is efficient for attaching multiple tags, but it’s not suitable for all fabrics.
Pros:
- Fast and efficient for attaching multiple tags.
- Creates a professional-looking attachment.
- Relatively inexpensive.
Cons:
- Can damage delicate fabrics.
- Leaves small holes in the fabric.
- Not suitable for all tag types (primarily for plastic tags with pre-punched holes).
- Requires purchasing a tagging gun and fasteners.
3. Sewing Methods for Reattaching Clothing Tags
3.1 Basic Hand-Sewing
Hand-sewing is a versatile and accessible option for reattaching tags, requiring only a needle, thread, and a pair of scissors. Choosing the Right Needle and Thread:
- Needle: Select a needle that is appropriate for the fabric type. For delicate fabrics, use a fine, sharp needle. For sturdier fabrics, use a thicker, stronger needle. A ballpoint needle is best for knitted fabrics, as it will slip between the yarns rather than piercing them.
- Thread: Choose a thread color that matches either the tag or the garment fabric, depending on the desired look. Polyester thread is generally recommended for its strength and durability.
Basic Stitches:
- Running Stitch: This is the simplest stitch, created by weaving the needle in and out of the fabric in a straight line. It’s suitable for attaching tags that won’t be under a lot of stress.
- Backstitch: This is a stronger stitch than the running stitch, created by bringing the needle up through the fabric, then taking a small stitch backward before bringing the needle up again. This creates a solid, continuous line of stitching.
3.2 Using a Sewing Machine
A sewing machine offers a faster and more professional-looking way to reattach tags, especially woven labels.
Setting Up the Sewing Machine:
- Stitch Type: A straight stitch is generally recommended for attaching tags. A narrow zigzag stitch can also be used, especially for knitted fabrics or if you want to reinforce the edges of the tag.
- Stitch Length: Use a shorter stitch length for a more secure attachment.
- Tension: Adjust the thread tension according to your fabric type. You may need to do a test sew on a scrap piece of fabric to ensure the tension is correct.
4. Special Considerations
4.1 Reattaching Tags to Delicate Fabrics
Delicate fabrics like silk, lace, and chiffon are easily damaged, so proceed with caution:
- Avoid Puncturing: Minimize the number of holes you make in the fabric. If sewing, use the finest needle possible and a very thin, soft thread (silk thread is ideal for silk fabric).
- Use Fabric Glue Sparingly: If using fabric glue, apply the absolute minimum amount necessary to secure the tag. Test the glue on a hidden area of the garment first to ensure it doesn’t stain or damage the fabric.
- Consider Professional Help: If you’re unsure about reattaching a tag to a delicate or valuable garment, it’s best to consult a professional tailor or clothing alterations service. They have the expertise and tools to handle delicate fabrics safely.
4.2 Reattaching Tags After Washing
If a tag has come off in the wash, it may have frayed edges or have shrunk.
- Frayed Edges: Carefully trim any frayed edges of the tag with sharp scissors before reattaching it. This will prevent further unraveling and create a neater appearance.
- Shrunken Tags: If the tag has shrunk significantly, it may be difficult to reattach it without distorting the garment. In this case, it’s best to replace the tag with a new one.
4.3 Replacing Damaged Tags
If a tag is damaged beyond repair (torn, faded, illegible), you may need to replace it:
- Care Labels: If the damaged tag is a care label, try to find the care information online (many manufacturers provide this information on their websites). You can then create a new care label using fabric markers, iron-on transfer paper, or by ordering custom-printed labels.
- Brand Tags: Replacing brand tags can be more challenging. You may be able to contact the manufacturer to request a replacement tag. Alternatively, you could create a simple fabric label with the brand name.
4.4 Reattaching Tags for Small Businesses
For small clothing businesses, reattaching tags needs to be done with a focus on maintaining brand consistency and a professional appearance:
- Professional Look: Avoid messy or makeshift reattachment methods. The reattached tag should look as good as new.
- Brand Consistency: Use the same type of tag and attachment method as the original tags.
- Bulk Reattachment: If you need to reattach tags in bulk, consider using a tagging gun (for appropriate fabrics and tag types) or outsourcing the task to a clothing manufacturer or alterations service that specializes in labeling. This ensures efficiency and a consistent, professional finish.

5. Related Questions
5.1 Can I use super glue to reattach a clothing tag?
Super glue is generally not recommended for reattaching clothing tags. It’s not designed for fabric, can be very stiff and brittle once dried, and may damage the garment. It can also be difficult to remove and may leave a visible residue. Fabric glue is a much better option for a flexible, washable, and fabric-safe bond.
To minimize the risk of tags detaching, consider these tips: For new garments, reinforce the stitching on sewn-on tags with a few extra stitches. For iron-on tags, ensure you apply sufficient heat and pressure during application and allow the adhesive to cool completely. For all tags, avoid using harsh detergents or very hot water when washing, and consider turning garments inside out before washing to protect the tags.
5.3 What should I do if I accidentally rip the fabric while trying to reattach a tag?
If you rip the fabric, stop immediately. Assess the damage. For a small tear, you may be able to repair it with a needle and thread, using a very fine stitch. For a larger tear, or if the fabric is delicate, it’s best to seek professional help from a tailor or alterations service.
Read more:
Reattaching a clothing tag is a common task that can be easily accomplished with the right tools and techniques. Whether you choose a no-sew method like fabric glue or opt for the durability of sewing, understanding the tag type, fabric characteristics, and your own skill level is key to a successful outcome.
By following the steps outlined in this guide and taking the necessary precautions, especially with delicate fabrics, you can restore your garments to their original condition and preserve essential information like care instructions and brand details. Remember, a little care and attention can go a long way in extending the life and maintaining the appearance of your clothing.


