Iron On Awana Patches: The Ultimate, Easy Guide
For parents and leaders in Awana clubs, attaching patches to children’s vests can be a surprisingly tricky task. It’s more than just slapping a patch on; you want it to stay put, look good, and avoid damaging the vest. A falling patch can be disappointing for a child who’s worked hard to earn it, and a damaged vest can be an unexpected expense. This guide is here to help.
By following this definitive, step-by-step walkthrough, you’ll be able to securely iron on those Awana patches (adhesive-backed fabric emblems). You’ll discover the right techniques, the necessary materials, and even some troubleshooting tips to handle any hiccups along the way.
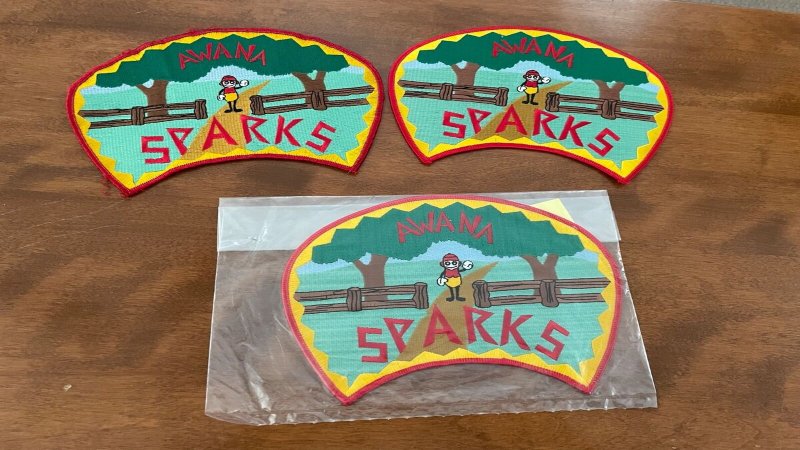
We’ll cover everything, including ideal iron settings and proper patch placement, all while taking care of Cubbies, Sparks, and T&T vests. The main benefit? You’ll save time, avoid frustration, and ensure that your children can proudly (and securely) display their Awana progress and achievements. Let’s read it!
1. Preparing for Patch Application
1.1 Gathering Your Materials
Before you even touch the iron, take a moment to gather everything you will need. This will make the process smooth and save you from running around mid-project. You need these:
- Awana Patch: The star of the show! Make sure the patch design is correct, the awarded one to your children.
- Awana Vest (or garment): This is the fabric on which the patch will be pasted, ensure it is clean.
- Iron: A standard household iron will do. Just make sure it’s clean and doesn’t have any residue on the bottom plate.
- Ironing Board: A firm, flat surface is crucial.
- Pressing Cloth: This is a thin, clean piece of cotton fabric. An old handkerchief, a pillowcase, or even a piece of plain cotton muslin will work perfectly. Never skip this – it protects both the patch and the vest.
- Optional: Other adhesive sheets: These pre-cut adhesive sheets can be used instead of ironing. They’re a good option if you’re short on time or uncomfortable using an iron. We’ll discuss them in more detail later.
- Optional: Sewing kit (for reinforcement): For extra security, especially on vests that get washed frequently, you might consider sewing the patch on after ironing. This is entirely optional, but it can give you extra peace of mind.
1.2 Understanding Awana Patch Placement Guidelines
Correct patch placement isn’t just about aesthetics; it’s about respecting the Awana program’s structure and showing your child’s progress in the right way. Incorrect placement can lead to confusion and might even mean having to remove and reapply the patch.
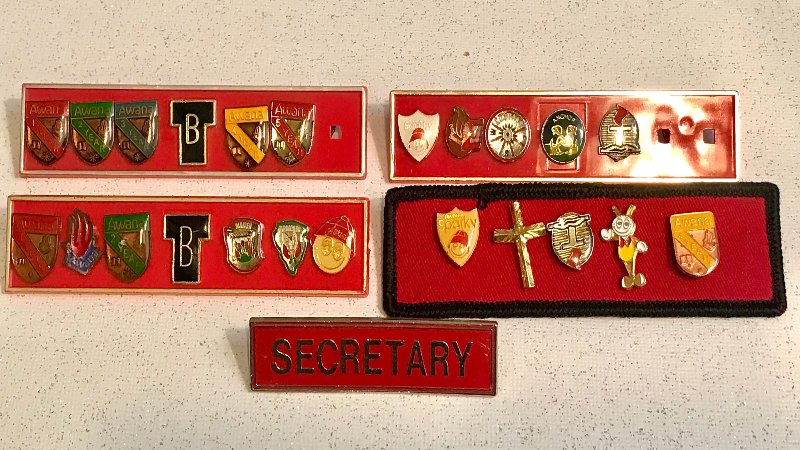
The best resource is always Awana’s official guidelines. They provide detailed diagrams and instructions for each club level: Cubbies, Sparks, and T&T. These guidelines specify exactly where each patch should be placed on the vest. It’s very important to follow the official guidelines to display your child’s progress.
While the specifics vary between Cubbies, Sparks, and T&T, the general principle is the same: patches are typically placed in a specific order, reflecting the order in which they are earned. The Awana website, or your club leader, can provide a visual guide to the specific placement for your child’s age group. Taking a few minutes to consult these resources will ensure you get it right the first time.

1.3 Preparing Your Awana Vest
Before applying the patch, ensuring it’s clean, wrinkle-free, and laid out correctly. A little preparation here goes a long way in ensuring a successful outcome.
First, make sure the vest is clean. Dirt or debris can interfere with the adhesive, preventing a strong bond. Check the vest’s care label for washing instructions. Depending on the material (usually polyester or cotton blends), you’ll want to use the appropriate cleaning method:
- Polyester: These vests are often machine washable. Use a gentle cycle with cold water and a mild detergent. Avoid bleach or fabric softeners, as they can damage the fabric or the adhesive on the patch.
- Cotton: Cotton vests may be more prone to shrinking, so hand-washing or using a delicate cycle with cold water is often recommended. Again, stick to mild detergents.
After cleaning, make sure the vest is completely dry. If there are any wrinkles, gently iron them out before you apply the patch. Use a low heat setting and, again, a pressing cloth to protect the fabric. Never apply a patch to a wrinkled area, as this will result in a bumpy, uneven finish.
Finally, lay the vest flat on your ironing board. Make sure the area where you’ll be applying the patch is smooth and unobstructed. This will provide a stable surface for the ironing process.
2. Step-by-Step Iron-On Instructions
Now comes the main part – actually ironing on the patch! Follow these steps carefully, and you’ll have a securely attached patch in no time.
2.1 Step 1: Preheat Your Iron
The correct iron temperature is crucial. Too low, and the adhesive won’t melt properly. Too high, and you risk scorching the vest or the patch. Set your iron to a medium-high setting, often labeled as the “cotton/linen” setting. This usually corresponds to a temperature range of around 300-350°F (150-180°C). Crucially, do not use steam. Steam can interfere with the adhesive and prevent a proper bond. Make sure your iron’s steam function is turned off completely.
2.2 Step 2: Position the Patch
Carefully position the patch on the vest, exactly where it should go according to the Awana guidelines you consulted earlier. Double-check the placement. It is recommended to use a ruler or measuring tape to ensure precise placement, especially if you’re applying multiple patches. Once you’re satisfied with the position, take a moment to ensure it’s perfectly straight.
2.3 Step 3: Cover with a Pressing Cloth
This is a non-negotiable step. Place your pressing cloth (remember, a thin cotton cloth like a handkerchief or pillowcase) over the patch and the surrounding area of the vest. This cloth acts as a barrier, protecting both the patch and the vest from direct heat, which could cause scorching or melting. It also helps to distribute the heat evenly.

2.4 Step 4: Apply Heat and Pressure
With the pressing cloth in place, press the preheated iron firmly down onto the cloth, directly over the patch. Apply firm, even pressure. It’s important to hold the iron still for the recommended time, usually about 15-20 seconds. Do not move the iron around as if you were ironing wrinkles out of a shirt. This sliding motion can shift the patch, causing it to be misaligned, or lead to uneven adhesion. Just press straight down and hold.
2.5 Step 5: Check Adhesion and Repeat
Carefully lift the pressing cloth. Gently try to lift a corner of the patch. If it lifts easily, it means the adhesive hasn’t fully melted and bonded. In this case, replace the pressing cloth and repeat Step 4, applying heat and pressure for another 10-15 seconds. Check again. It may take a few rounds, depending on your iron and the thickness of the materials.
2.6 Step 6: Iron from the Back
This step is highly recommended for extra security. Turn the vest inside out. Place the pressing cloth over the back of the patch (the inside of the vest where the patch is attached). Iron for another 15-20 seconds. This helps to further activate the adhesive from the other side, creating a stronger, more durable bond.
2.7 Step 7: Allow to Cool Completely
Once you’re satisfied that the patch is securely attached, resist the temptation to handle it immediately. Let the patch and vest cool down completely. This allows the adhesive to fully set and harden, creating a permanent bond. Handling the patch while it’s still warm can weaken the adhesion and cause it to lift later.
3. Troubleshooting Common Problems
Even if you follow the instructions carefully, you might encounter some issues. This section will help you troubleshoot common problems and find solutions.
3.1 Patch Not Sticking
This is probably the most common problem. Several factors can contribute to a patch not sticking properly:
- Iron temperature too low: If your iron isn’t hot enough, the adhesive won’t melt sufficiently. Increase the temperature slightly (but stay within the recommended range) and try again.
- Not enough pressure applied: You need to apply firm, even pressure to ensure good contact between the patch, the adhesive, and the vest.
- Pressing time too short: The adhesive needs enough time to melt and bond. Increase the pressing time in 5-10 second increments.
- Patch adhesive is old or defective: Sometimes, the adhesive on the patch itself might be the problem. If you’ve tried everything else and the patch still won’t stick, it’s possible the adhesive is simply too old or has lost its effectiveness. In this case, you might need to use a new patch or consider an alternative attachment method.
- Vest material is not compatible with iron-on patches: Some materials, like very delicate fabrics or those with a waterproof coating, might not be suitable for iron-on patches. Check the vest’s care label and the patch’s instructions. If in doubt, consider sewing the patch on instead.
3.2 Vest or Patch Scorched
Scorching is a sign that the iron was too hot or left on for too long. Here’s how to avoid it:
- Iron temperature too high: Double-check your iron’s setting. Lower the temperature and try again on a scrap piece of fabric (if possible) to test.
- Pressing cloth not used or too thin: Always use a pressing cloth, and make sure it’s thick enough to provide adequate protection. A thin, sheer fabric won’t offer much protection.
- Iron left on too long: Stick to the recommended pressing time. It’s better to repeat the process with shorter bursts of heat than to leave the iron on for too long in one go. If scorching occurs, unfortunately, there’s usually no way to undo the damage. You might need to replace the patch or, in severe cases, the vest.
3.3 Patch Falling Off After Washing
This is frustrating, but it can often be prevented:
- Adhesive not fully activated during ironing: If the patch wasn’t ironed on properly in the first place, it’s more likely to come off in the wash. Go back and review the ironing instructions, paying close attention to temperature, pressure, and time.
- Washing instructions not followed: Always follow the care instructions on the vest’s label. Hot water and harsh detergents can weaken the adhesive. Wash the vest in cold water on a gentle cycle, and avoid using bleach or fabric softeners.
- Patch may need to be sewn on for extra durability: For vests that are washed frequently, or for patches that are particularly large or heavy, sewing is the best way to ensure they stay put. You can iron the patch on first to hold it in place, and then sew around the edges for extra security.
4. Alternative Attachment Methods
If you’re hesitant about using an iron, or if you’ve encountered problems with the iron-on method, there are alternative ways to attach Awana patches.

4.1 Sewing
Sewing is the most secure and durable method for attaching patches. It’s the best option for vests that are washed frequently, or for patches that are particularly large or heavy. How to sew a patch:
- You can use a sewing machine or sew by hand.
- A simple running stitch or a whip stitch around the edge of the patch is usually sufficient.
- Choose a thread color that matches the patch or the vest.
- Iron on to fix the position before sewing
Pros:
- Most secure method: Sewn-on patches are very unlikely to come off.
- Durable: Sewing can withstand repeated washing and wear.
Cons:
- Requires sewing skills: You’ll need to know how to sew, either by hand or with a machine.
- More time-consuming: Sewing takes longer than ironing or using adhesive sheets.
5. Related Questions
5.1 Can I use a hairdryer instead of an iron to attach Awana patches?
No, a hairdryer will not get hot enough to melt the adhesive on an iron-on patch. You need the concentrated, consistent heat of an iron.
5.2 How can I remove an Awana patch that has been ironed on?
Removing an ironed-on patch can be tricky, but it’s sometimes possible. You’ll need to reheat the adhesive to soften it.
- Cover the patch area that you want to remove with a pressing cloth.
- Using medium-heat, iron, with a pressing cloth, directly over the area. The goal is to soften, not completely melt, the glue.
- Use tweezers to slowly pull up an edge. Go slowly. If it doesn’t budge easily, apply more heat.
After removal, there will likely be adhesive residue on the garment. You may be able to remove it with an adhesive remover (test in an inconspicuous area first). Be prepared for some marking to be visible, even after cleaning.
5.3 What is the best way to store my Awana vest to protect the patches?
Store the vest flat or hanging in a cool, dry place. Avoid folding the vest directly on the patches, as this can cause them to crease or become detached.
5.4 Are there different types of Awana patches (e.g., embroidered vs. printed)?
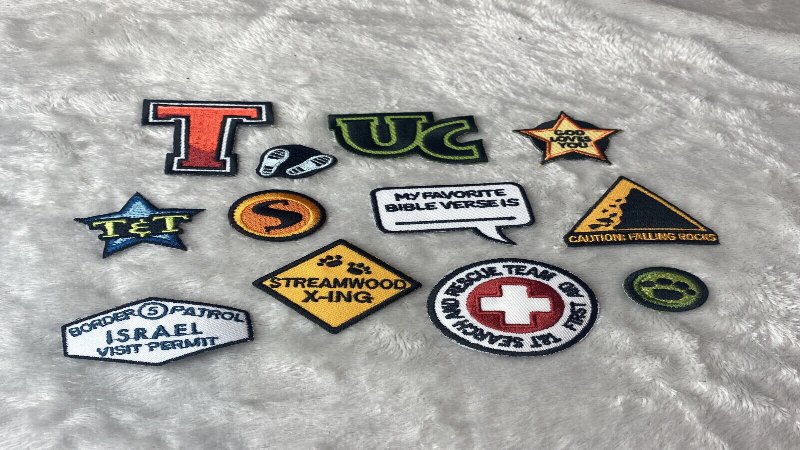
Yes, Awana patches can come in different forms. Most are embroidered, meaning the design is stitched onto a fabric backing. These are generally very durable. Some may be printed, where the design is printed directly onto the fabric. Printed patches may be less durable and more prone to fading over time. The attachment method (ironing, sewing, or adhesive) generally works for both types, but always check the specific patch instructions.
Read more:
With this comprehensive guide, you now have all the information you need to successfully iron on Awana patches to your child’s vest. By following the steps carefully, using the right materials, and taking your time, you can ensure that those patches stay securely attached, showcasing your child’s Awana achievements with pride.
Remember to consult the official Awana guidelines for proper patch placement, and don’t hesitate to explore alternative attachment methods like Badge Magic or sewing if you prefer. A well-maintained vest, adorned with securely attached patches, is a tangible representation of your child’s dedication and progress in the Awana program.


