


Ironing vs Pressing: Key to Pro Garment Quality


Understanding the difference between ironing and pressing is more than just semantics. It’s a fundamental skill that separates acceptable garments from professionally finished apparel. For small clothing businesses, mastering this distinction translates directly into higher quality products, improved fit, enhanced brand perception, and ultimately, greater customer satisfaction.
This article delves into the definitions, impacts, tools, and techniques of both ironing and pressing, providing the foundational knowledge needed to elevate your garment construction process and the final quality of your clothing line. Understanding this distinction is an investment in the professional finish, overall value, and appeal of every garment you produce.
1. Defining the terms: understanding the core actions of ironing and pressing
1.1. Ironing explained: smoothing for presentation
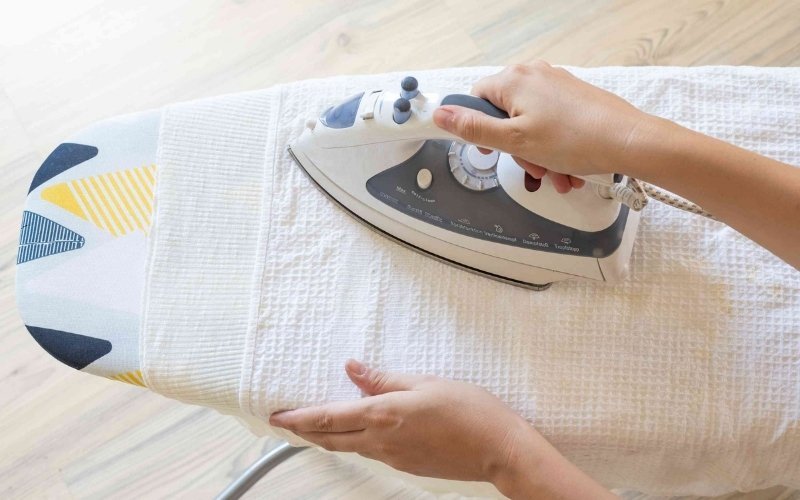
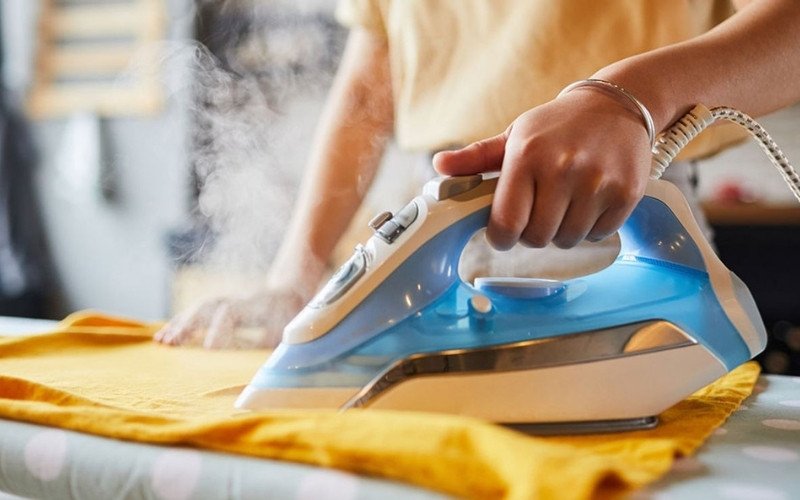
Ironing refers specifically to the process of using an appliance, the iron, with heat and often steam, employing a sliding, back-and-forth motion across the fabric. The primary goal of ironing is smoothing away wrinkles on finished garments or large pieces of fabric before cutting, aiming for an aesthetically pleasing, wrinkle-free appearance for presentation or wear.
This gliding action is generally unsuitable during the actual construction stages of a garment, as the focus shifts from simply removing wrinkles to actively shaping and setting components.
1.2. Pressing unveiled: shaping and setting during construction
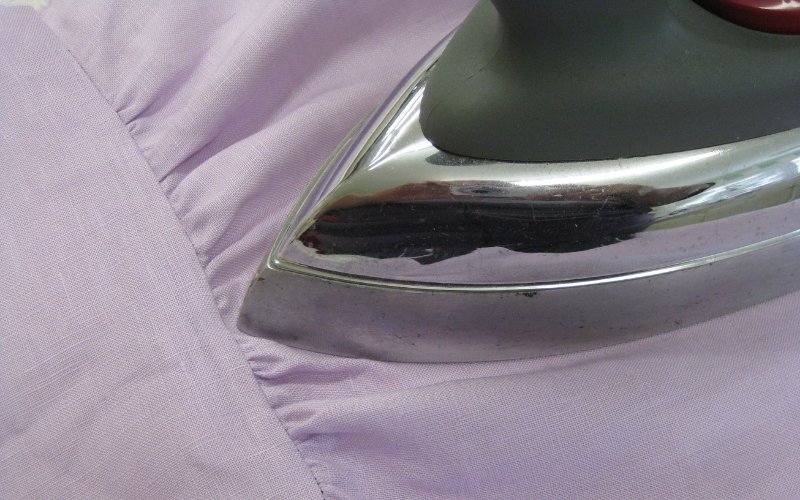
Pressing, conversely, is an integral technique within sewing and garment construction. The motion involved is a precise up-and-down action: lifting the iron, placing downward pressure on a specific area, and then lifting again before moving to the next spot. There is no sliding involved.
The goal of pressing is multifaceted: to set stitches securely into the fabric, flatten seams for reduced bulk, shape curved areas like darts or collars, properly meld fusible interfacing to fabric, and generally control the fabric’s form. This careful action is crucial for maintaining fabric integrity and preventing the stretching or distortion often caused by the ironing motion during construction, contributing significantly to a professional finish.
2. The critical impact: why pressing is foundational to quality sewing
2.1. Preserving fabric integrity: avoiding stretch and grain distortion
The sliding ironing motion can inadvertently catch fabric fibers, pulling and causing unwanted stretching, particularly noticeable on delicate weaves or bias cuts (fabric cut diagonally to the grain). This pull distorts the fabric grain (the direction of threads), compromising the pattern piece’s intended size and shape.
Pressing, with its direct downward pressure and lack of sliding, respects the fabric’s structure. This method ensures fabric integrity is maintained throughout the sewing process, preventing distortion and guaranteeing that garment components fit together accurately as designed.
2.2. Achieving crisp, flat seams and defined details
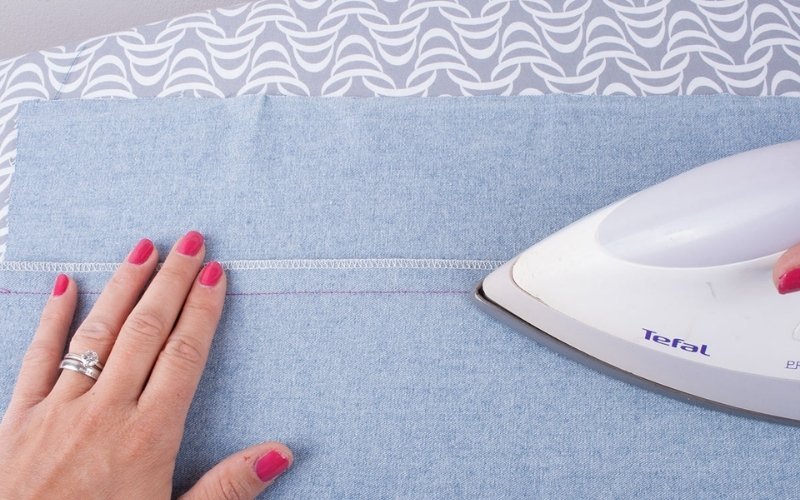
Proper pressing utilizes heat and steam to meld stitches into the fabric fibers, making them less apparent and more integrated. The result is crisp, flat seams that enhance the garment’s overall look. Pressing seam allowances open helps distribute bulk evenly, leading to a smooth finish, especially where multiple seams intersect.
Alternatively, pressing allowances to one side can add subtle structure or is done according to pattern instructions. This precision extends to defining sharp edges on details like collars, cuffs, facings, pockets, and hems, all contributing to a professional finish.
2.3. The professional difference: elevating garment appearance, fit, and value
Consistent and meticulous pressing during garment construction is a hallmark of high-quality apparel, visibly distinguishing professionally made items from those that might otherwise have a ‘homemade’ appearance. Accurately pressed components ensure easier and more precise assembly, contributing significantly to a superior garment fit and drape.
This elevated garment appearance directly impacts perceived value and strengthens positive brand perception. Ultimately, integrating proper pressing into the sewing quality workflow is an investment in the final product’s success.
3. Essential toolkit: your pressing station setup
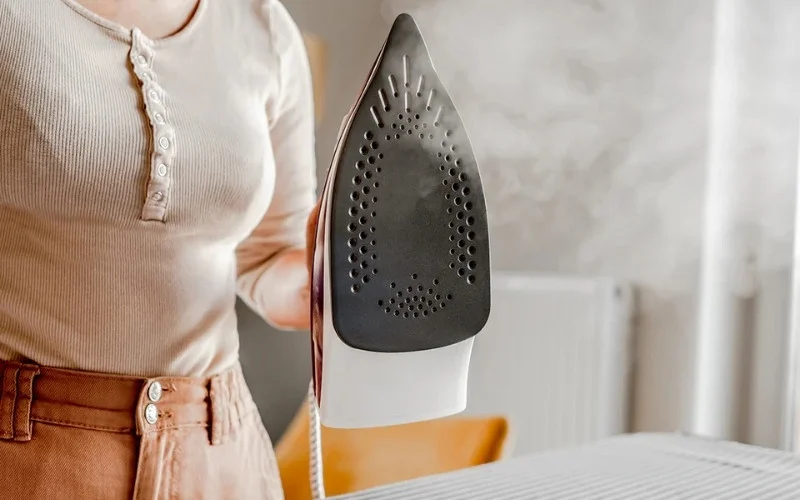
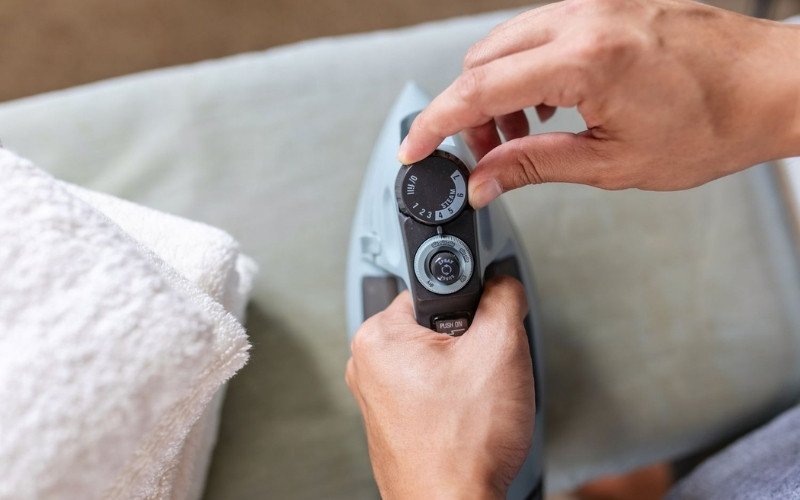
3.1. The iron: more than just heat
A reliable iron is fundamental. Key features include:
- Adjustable temperature control with clear heat settings corresponding to various fabric type requirements.
- A dependable steam function with controllable output levels.
- A clean soleplate (the flat bottom surface) free from residue that could transfer onto fabrics.
3.2. The pressing surface: stability and support
An appropriate pressing surface is necessary for effective results.
- A standard ironing board provides a stable, padded, and often vented surface suitable for most garment pressing tasks. Stability and adequate venting (allowing steam/heat to dissipate) are its main advantages.
- Specialized pressing mats offer portable, heat-resistant surfaces, useful for smaller workspaces or specific tasks alongside the main board.
3.3. Key pressing aids: tools for precision shaping
Beyond the iron and board, several pressing aids facilitate professional results, especially when dealing with shapes and delicate materials:
- Press cloths: Pieces of fabric (commonly untreated cotton muslin, silk organza, or specialized materials) placed between the iron and the garment. They provide protection against heat damage, shine, or residue transfer, especially crucial when applying fusible interfacing.
- Tailor’s ham: A firmly stuffed, curved cushion used for shaping curves like darts, princess seams, collars, and hip areas, allowing these sections to maintain their three-dimensional form during pressing.
- Sleeve roll: A firmly stuffed cylindrical cushion designed for pressing seams in narrow areas like sleeves or pant legs without creating unwanted creases on the surrounding fabric.
- Other helpful tailoring tools include a wooden clapper (used after steaming to quickly cool and set sharp creases) and a point presser (shaped wood for pressing sharp corners and points cleanly). These specialized tools enhance precision in specific seam and detail work.
4. Mastering the technique: how to press like a pro
4.1. Fundamental pressing principles
Adhering to these core principles is key to effective pressing:
- Utilize the correct pressing technique: a deliberate lift and lower motion. Avoid sliding the iron during garment construction.
- Select the appropriate heat and steam level for the specific fabric type. Always test on scraps first to prevent damage. Effective moisture use and pressure application depend on the fabric.
- Press on the wrong side of the fabric whenever possible to protect the garment’s face. If pressing on the right side is unavoidable, always use a press cloth.
- Implement the crucial rule: press as you sew. This means pressing each seam, dart, or detail immediately after stitching it and before crossing it with another seam or attaching another piece.
4.2. Pressing specific garment areas correctly
Apply tailored techniques for different garment sections:
- Seams: First, press the seam flat along the stitch line on the wrong side; this is called setting the seam and helps meld the stitches. Then, using the iron’s tip, carefully press the seam allowances open or to one side as dictated by the pattern or desired finish. Avoid leaving imprints of the allowances on the garment’s right side.
- Darts: Press darts toward the direction indicated in the pattern instructions (usually towards the center or downwards). Use a tailor’s ham underneath to help shape the fabric over the dart’s curve smoothly.
- Curves (e.g., princess seams, necklines, armholes): Place a tailor’s ham or sleeve roll under the curved area to support its shape while pressing, preventing flattening or distortion.
- Fusible interfacing: Carefully follow the manufacturer’s instructions regarding heat, timing, and pressure. Typically involves using the pressing motion (up and down) and often requires a press cloth. Following the correct heat application method ensures a secure bond without damaging the fabric or interfacing.
- Edges and hems: Press folds accurately and crisply according to markings, ensuring sharp, neat finishes.
5. Expert tips for flawless finishing
Incorporate these practical tips for superior results:
- Always test iron settings (heat and steam) on identical fabric scraps before pressing the actual garment pieces. This prevents scorching, melting, or unexpected reactions.
- Never press directly over pins. Remove them before pressing to avoid damaging the iron’s soleplate, melting plastic pinheads, or leaving marks on the fabric.
- Work with patience. Effective pressing depends on allowing the correct combination of heat, steam (or moisture), and pressure sufficient time to work, not on speed.
- Be mindful of moisture sensitivity. Test steam on fabric scraps to check for potential water spotting, especially on silks or rayons. Using distilled water in the iron can help prevent mineral buildup and spotting.
- Press with the grainline (the direction of the fabric threads) whenever possible. This practice aids in grainline preservation and maintains fabric stability, preventing unwanted stretching.
6. Related questions
6.1. Can I effectively press garments using just my standard household iron?
Yes, absolutely. While specialized industrial irons offer features beneficial for high-volume production, a good quality household iron (appliance) with reliable temperature control and steam functions is perfectly adequate for achieving professional pressing results, especially for small businesses.
The key lies in mastering the correct pressing technique and utilizing essential pressing aids like a tailor’s ham and press cloths. Proper technique and the use of essential tools are more critical than investing in the most expensive equipment initially.
6.2. What’s the best approach for pressing delicate fabrics like silk or synthetics?
Exercise caution when pressing delicate fabrics. Always use the lowest effective heat setting recommended for the specific fabric care needs (silk, synthetics). Using a press cloth (silk organza is an excellent choice as it’s sheer and heat resistant) is non-negotiable for protection.
Be very careful with steam, as some delicates are prone to water spotting; test thoroughly on scraps first or consider using a dry iron with the press cloth. Press lightly, quickly, and preferably from the wrong side of the fabric to minimize direct contact and heat exposure.
6.3. How can I stop seam allowances from creating visible ridges on the garment’s right side?
Visible ridges from seam allowances can detract from a smooth finish. Here are several techniques to prevent this:
- Ensure seam allowances are pressed completely flat, either open or uniformly to one side.
- For bulky fabrics, consider grading seams: trimming the seam allowance layers to different widths reduces thickness.
- When pressing seams open, use a seam roll or the narrow edge of the ironing board underneath the seamline only. This isolates the seam, allowing you to press the allowances flat without pressing their edges into the main garment fabric.
–
- Try placing strips of paper or cardstock under the seam allowances as you press; this acts as a buffer, preventing the allowance edge from imprinting on the right side.
Read more:
Recognizing the crucial difference between superficial ironing and purposeful pressing is fundamental for any clothing business aiming for excellence. Consistently applying proper pressing techniques throughout garment construction is not merely an optional step but a core practice essential for achieving professional quality.
This dedication elevates the garment’s fit, finish, perceived value, and ultimately, your brand’s reputation. Embrace these finishing techniques, practice diligently, and watch your garments transition from simply made to truly mastered. This commitment to detail is what builds a reputation for quality and sets a successful brand apart.


