Use a Hair Straightener for Iron-On Patches? DIY Hack
If you’re diving into the world of DIY garment customization, you’ve likely encountered the challenge of attaching iron-on patches (patches with a heat-activated adhesive backing). While a traditional household iron is the go-to tool, what happens when you don’t have one readily available, or you’re working with a small, intricate design? This article provides a clever solution: using a hair straightener (a heated styling tool with flat plates) as an alternative.
This guide is specifically for those who enjoy personalizing their clothing, bags, or other fabric items. Perhaps you are crafting a unique gift, updating your wardrobe, or even starting a small business focused on customized apparel.
You’ll get detailed steps, troubleshooting tips, and insights to help you create professional-looking results, all while ensuring the safety of your fabrics. Through this method, a strong, permanent and aesthetic bond between the patch and the fabric will be created. Let’s see!
1. Why Use a Hair Straightener?
Using a hair straightener to apply iron-on patches offers several advantages, particularly in specific scenarios. While a traditional iron or a heat press (a specialized machine for applying heat transfer labels) are excellent choices for larger patches or bulk applications, a hair straightener provides a unique level of convenience and precision.
You’re traveling and want to add a patch to a jacket, but you don’t have access to an iron. Or, you’re working on a small, delicate item like a hat or a child’s garment where a full-sized iron might be unwieldy. The compact size and ceramic plates (the flat, heated surfaces of the straightener) of a hair straightener allow for targeted heat application.
This is particularly helpful for small patches or intricate designs where precise placement is crucial. Also, many people already own a hair straightener, making it an accessible and readily available tool for DIY projects. It eliminates the need to purchase additional equipment, especially if you’re only occasionally applying patches.

2. What You’ll Need
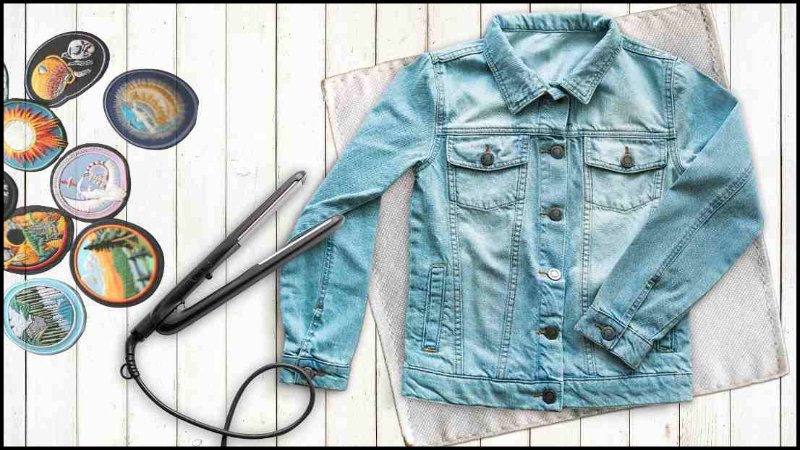
Here’s a list of the materials you’ll need to successfully apply an iron-on patch using a hair straightener:
- Hair Straightener: Choose one with ceramic plates for even heat distribution. This is crucial for ensuring the entire patch receives adequate heat to activate the adhesive.
- Iron-On Patch: Select the patch you want to apply. These patches come in various sizes, shapes, and designs.
- Garment/Fabric Item: This is the item you’ll be attaching the patch to, such as a denim jacket, backpack, or cotton t-shirt.
- Protective Cloth: A thin cotton tea towel or a piece of cotton fabric is essential. This acts as a barrier between the hair straightener and the patch, preventing scorching or damage to both the patch and the garment. Parchment paper can also be used.
- Heat-Resistant Surface: Work on a stable, heat-resistant surface, such as an ironing board or a table protected with a heat-resistant mat. This will prevent damage to your work surface.
- Needle and Thread (Optional): For extra security, especially on items that will be frequently washed or experience heavy wear, you may want to sew the patch on after heat application. Choose a thread color that matches the patch or garment.
3. Preparing for Application
Before you start applying heat, proper preparation is essential for a successful and safe patch application. This involves assessing your fabric, preparing both the patch and the garment, and setting up your hair straightener correctly.
3.1. Check Your Fabric
Not all fabrics can withstand the heat required for iron-on patches. Start by examining the care label of your garment. Look for symbols indicating whether ironing is permitted and at what temperature. Fabrics like cotton, denim, and canvas are generally suitable for iron-on patches because they can tolerate higher temperatures.
However, delicate fabrics such as silk, rayon, or nylon are prone to damage from heat and are not recommended for this method. If the care label indicates “Do Not Iron,” do not proceed with using a hair straightener. If you’re unsure, it’s always best to test a small, inconspicuous area of the fabric with the hair straightener before applying the patch.
3.2. Prepare the Patch and Garment
Ensure the garment is clean and free of wrinkles. Any dirt or debris can interfere with the adhesion of the patch. If necessary, iron the garment (using a regular iron, if the fabric allows) to create a smooth surface. Position the patch on the garment where you want it to be permanently placed.
Make sure the adhesive side is facing down, directly against the fabric. Take your time to get the placement right, as it will be difficult to adjust once the heat is applied. Double-check the positioning from different angles to ensure it’s aligned correctly.

3.3. Prepare the Hair Straightener
Plug in your hair straightener and select an appropriate temperature setting. If you’re unsure, start with a low to medium setting and gradually increase the heat if needed. It’s crucial to avoid excessive heat, which can damage the fabric or the patch.
Before you begin, ensure that the ceramic plates of your hair straightener are clean. Any residue from hair products could transfer to your garment or patch, potentially affecting the adhesion or leaving marks. Allow the straightener to heat up completely before applying it to the patch.
4. Applying the Patch
Now that you’ve prepared your materials and garment, it’s time to apply the patch using the hair straightener. This process requires careful attention to detail and consistent heat application.
4.1. Protect the Patch
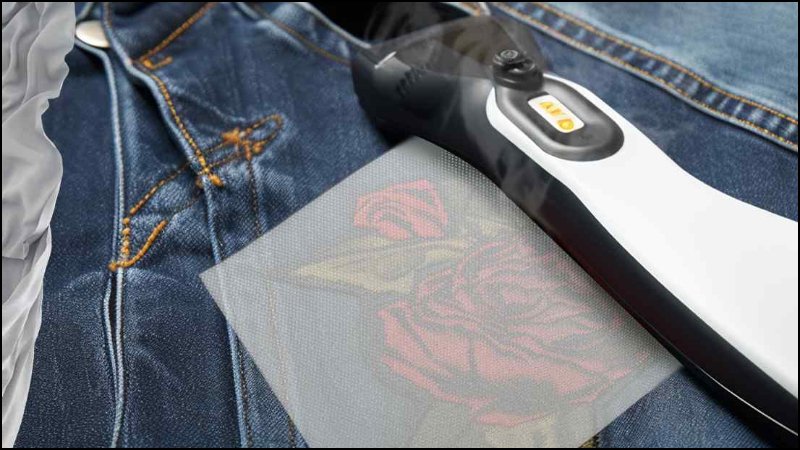
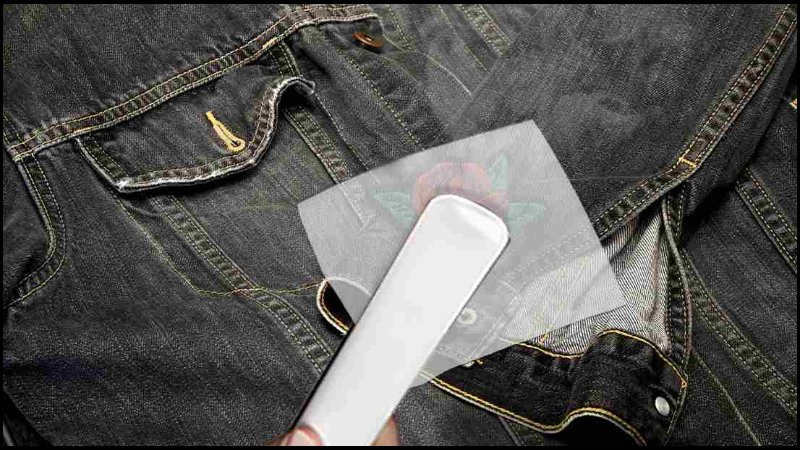
Before applying any heat, place your protective cloth (a cotton tea towel or parchment paper) over the patch and the surrounding garment area. This crucial step acts as a barrier, preventing direct contact between the hair straightener’s hot plates and the patch’s delicate surface, or the fabric. It helps to distribute heat evenly and prevents scorching, melting, or unwanted adhesive transfer to the straightener.
4.2. Apply Heat and Pressure
With the protective cloth in place, carefully clamp the preheated hair straightener over the patch area. Apply firm, even pressure. The key here is to maintain consistent pressure and heat for the appropriate amount of time. Avoid moving the straightener around excessively, as this can cause uneven heating and potentially shift the patch.
Hold the straightener in place for the recommended time, usually between 15-30 seconds. This duration may vary depending on the patch’s size, thickness, and the fabric type, so refer to the patch manufacturer’s instructions if available. The goal is to melt the adhesive backing on the patch, creating a strong bond with the fabric fibers.
4.3. Check and Reapply
After the initial heat application, carefully lift the protective cloth and gently check if the patch has adhered to the fabric. Examine the edges of the patch to see if they are firmly attached. If any areas appear loose or lifted, replace the protective cloth and reapply heat with the hair straightener for a few more seconds, focusing on the areas that need more attention. Be cautious not to overheat the patch or fabric, as this can cause damage.
4.4. Cool Down
Once you’re satisfied that the patch is securely attached, turn off and unplug the hair straightener. Leave the protective cloth in place and allow the patch and garment to cool down completely. This cooling period is essential for the adhesive to solidify and form a permanent bond. Avoid touching or moving the patch until it’s completely cool, as this can weaken the adhesion.
5. Testing and Securing the Patch
After the patch has cooled completely, it’s important to test its adhesion and consider additional steps to ensure its long-term durability.
5.1. Gentle Adhesion Test
Once the patch and garment are completely cool, remove the protective cloth. Gently tug at the edges of the patch to see if it’s firmly adhered to the fabric. There should be no lifting or peeling. If you notice any loose areas, you can repeat the heating process with the protective cloth for a few seconds, focusing on those specific spots. However, avoid excessive reheating, which could damage the fabric or the patch.

5.2. Optional: Sewing for Extra Durability
While the heat-activated adhesive on most iron-on patches is quite strong, sewing the patch onto the garment provides an extra layer of security, particularly for items that will be subjected to frequent washing, stretching, or heavy wear. This is especially recommended for patches applied to denim, canvas, or other thick fabrics.
Choose a thread that matches the color of the patch or the garment. Using a simple running stitch or a backstitch, sew around the perimeter of the patch, securing it to the fabric. This will prevent the patch from peeling or coming loose over time, even with repeated use and washing. This step offers an opportunity to reinforce the attachment and ensure the patch remains a permanent part of the garment.
6. Troubleshooting
Even with careful preparation and application, you might encounter some issues when using a hair straightener to apply iron-on patches. This section addresses common problems and provides solutions.
6.1. Patch Not Sticking
If the patch isn’t adhering properly to the fabric, several factors could be at play.
- Insufficient Heat: The hair straightener might not be hot enough to melt the adhesive completely. Try increasing the temperature setting slightly, but be cautious not to overheat the fabric. Refer to the patch manufacture to choose appropriate temperature.
- Inadequate Pressure: You might not be applying enough pressure with the hair straightener. Ensure you’re pressing down firmly and evenly across the entire patch area.
- Uneven Heat Distribution: The hair straightener’s plates might not be distributing heat evenly. Make sure the entire patch is covered by the plates during application.
- Fabric Incompatibility: Some fabrics, especially synthetic materials, are not suitable for iron-on patches. Check the garment’s care label and ensure it can withstand heat.
- Protective Cloth Interference: If the protective cloth is too thick, it might be preventing sufficient heat from reaching the adhesive. Try using a thinner cotton cloth or parchment paper.
6.2. Fabric Scorching
Fabric scorching indicates that the heat setting was too high for the fabric type or that the heat was applied for too long. Unfortunately, scorching is often irreversible. Prevention is key: always test a small, inconspicuous area of the fabric with the hair straightener and protective cloth before applying the patch. Use the lowest effective heat setting and apply heat in short intervals, checking frequently. A protective cloth is essential to minimize the risk of scorching.
6.3. Patch Edges Peeling
If the edges of the patch are peeling after application and cooling, it usually means those areas didn’t receive enough heat or pressure. Replace the protective cloth and use the tip of the hair straightener to carefully apply heat and pressure specifically to the peeling edges. Hold for a few seconds, then allow to cool completely. If this doesn’t work, sewing the edges is a reliable solution.
6.4 Adhesive Residue on Straightener
If you accidentally get some of the patch’s adhesive on the ceramic plates of your hair straightener, allow the straightener to cool down completely. Once cooled, gently wipe the plates with a damp cloth. Avoid using abrasive cleaners or scrubbers, which could damage the plates. For stubborn residue, you might try a specialized cleaner designed for hair styling tools, but always test it in an inconspicuous area first.
7. Related Questions
7.1 Can I use a hair straightener on all types of iron-on patches?
Generally, yes, you can use a hair straightener on most iron-on patches, provided they are designed to be applied with heat. However, always check the patch manufacturer’s instructions for specific temperature recommendations. Patches with delicate embellishments or materials might require lower heat settings.
7.2 What temperature setting should I use on my hair straightener?
The ideal temperature setting depends on both the patch and the fabric. Start with a low to medium setting (around 270-340°F or 132-171°C) and gradually increase if needed. Always test on a hidden area of the fabric first. Refer to the patch’s instructions for specific guidance. Thicker fabrics like denim or canvas can typically handle higher temperatures than thinner materials like cotton.
7.3 Can I use this method on delicate fabrics like silk or satin?
It’s generally not recommended to use a hair straightener on delicate fabrics like silk, satin, rayon, or nylon. These materials are very sensitive to heat and can easily be damaged or scorched. If you must apply a patch to a delicate fabric, sewing is the safest option.
7.4 How long should I hold the hair straightener on the patch?
The application time typically ranges from 15 to 30 seconds, depending on the patch size, thickness, and fabric type. Refer to the patch manufacturer’s instructions. It’s better to apply heat in shorter intervals and check for adhesion frequently, rather than holding the straightener for too long and risking damage.
7.5 What if my hair straightener doesn’t have temperature settings?
Hair straightener without temperature setting will work at its maximum heat. Pay attention to carefully adjust the time when applying heat to the patch.
Read more:
Using a hair straightener to apply iron-on patches offers a convenient and effective alternative to a traditional iron, especially for small projects, travel, or quick fixes. By following the steps outlined in this guide, including careful fabric preparation, proper heat application, and thorough testing, you can achieve a secure and lasting patch application.
Remember to prioritize safety by using a protective cloth, selecting the appropriate temperature setting for your fabric, and allowing the patch to cool completely. With a little practice and attention to detail, you can confidently customize your garments and accessories with iron-on patches, adding a personal touch to your wardrobe or creating unique, handcrafted items.


