


How to Sew Satin Fabric: A Complete Guide for Beginners and Pros


Dreaming of sewing with luxurious satin but feeling intimidated? This fabric’s slippery nature can be tricky, leading to snags, puckers and fraying. This comprehensive guide provides all the tips, tricks, and techniques you need to conquer satin and create stunning, professional-looking projects with confidence. You will no longer worry about wasting time and money. Let’s read!
1. Understanding Satin Fabric and Its Unique Properties
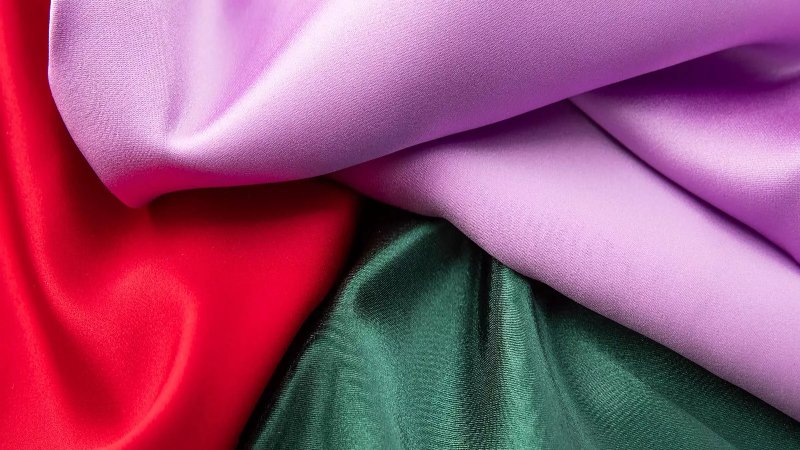
1.1 What is Satin? (Weave vs. Fiber)
Satin’s luxurious sheen comes from its unique weave. Unlike other fabrics defined by their fiber, satin is defined by its structure. The satin weave features minimal interlacing of threads with warp yarns floating over multiple weft yarns. This creates the signature smooth, glossy surface and slippery fabric texture that sewers sometimes find challenging.
It’s a common misconception that satin and silk are synonymous. Silk is a fiber while satin is a weave. You can have silk satin but you can also have polyester satin, rayon satin, acetate satin or even blends. Understanding this distinction satin as a weave, not a fiber is key when choosing fabric.
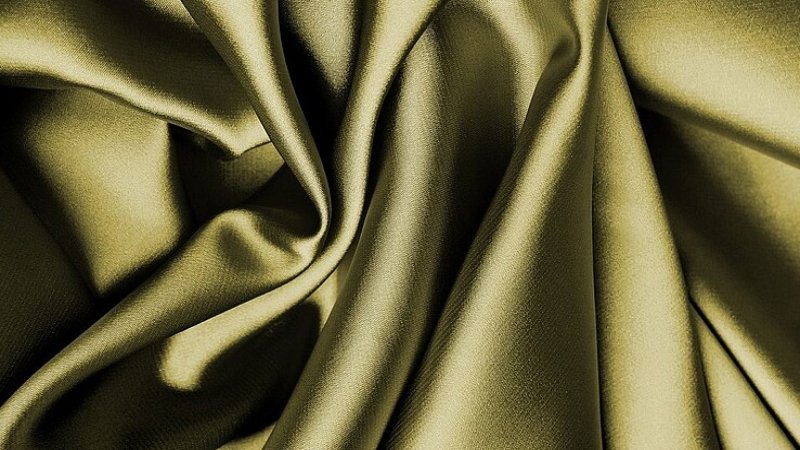
1.2 Types of Satin and Their Characteristics
Different types of satin offer unique characteristics and uses. Charmeuse is known for its lightweight and drapey nature, making it a popular choice for lingerie, blouses and flowing garments. Crepe back satin presents a versatile option with one side displaying a textured crepe finish and the other the classic satin sheen.
Duchess satin, a heavier and more structured option, is frequently used in bridal wear and formal gowns due to its luxurious body. Slipper satin, characterized by its very tight weave and high sheen, offers exceptional durability, making it suitable for projects requiring both elegance and resilience.
2. Essential Tools for Sewing Satin Successfully
2.1 Choosing the Right Needles and Thread
Success with satin starts with the right needle and thread combination. Always use a fine, sharp needle. Microtex needles are ideal as their sharp point prevents snags and creates smaller, less visible holes. Specific needle size recommendations include 60/8 or 70/10.
For thread, choose a fine, high-quality option. Polyester thread is a good general choice, while silk thread is best for silk satin. The goal is to prevent puckering, which a finer thread helps achieve.
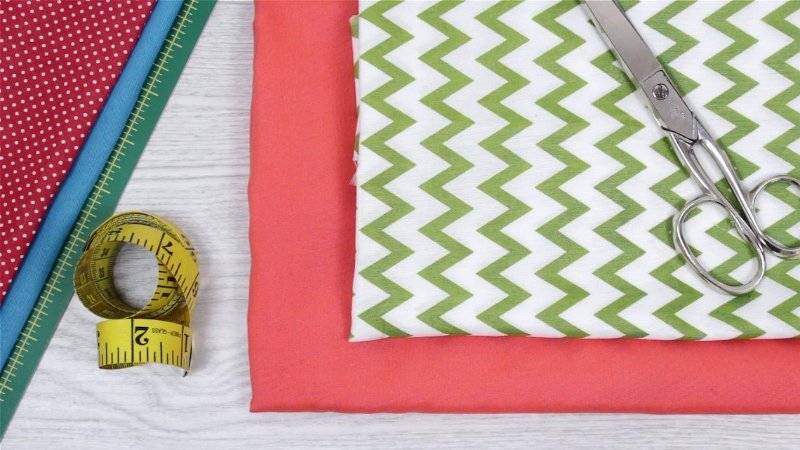
2.2 Cutting Tools and Accessories
Precise cutting is crucial for satin. A rotary cutter, paired with a self-healing cutting mat, provides clean, accurate cuts, especially on curves. Sharp fabric scissors are also an option but ensure they are truly sharp to avoid snagging.
Use fine silk pins to minimize the risk of leaving permanent holes in your delicate satin. Pin within the seam allowance to keep any potential pinholes hidden in the finished garment. Pattern weights offer a great alternative to pins, especially for extremely delicate satins.
2.3 Other Essential Tools
Beyond needles, thread and cutting tools, a few other essentials will make your satin-sewing experience smoother. You always have a good measuring tape on hand. A seam ripper is essential for carefully correcting any mistakes. An iron, used with low heat or a silk setting, will help with pressing. You can use tailor’s chalk to avoid water spots.
3. Preparing Your Satin Fabric for Sewing
3.1 Pre-Washing and Drying Satin (Fiber-Specific Advice)
Pre-washing satin is often recommended to prevent future shrinkage and remove any manufacturing finishes. However, the method depends on the fiber content. Polyester and other synthetic satins can usually be machine washed on a gentle cycle. Use low heat for drying or better yet, air dry to prevent damage. For blends, always follow the care instructions for the most delicate fiber in the blend.
3.2 Pressing Satin Safely and Effectively
Pressing satin requires a gentle touch. You should use low heat on your iron and a pressing cloth between the iron and the satin. This prevents scorching and shine. Before pressing your project, test on a fabric scrap to find the ideal temperature.
Avoid using steam if possible, as it can cause water spots on some satins. If steam is absolutely necessary, use distilled water to minimize mineral deposits and reduce the risk of spotting. You can press with care to prevent electrostatic cling propensity, where small particles will easily be attracted to the material.
4. Cutting Satin Fabric: Techniques for Accuracy
4.1 Single Layer Cutting: Why It’s Essential
When working with slippery fabrics like satin, single-layer cutting is absolutely essential. Cutting multiple layers at once invites fabric shifting, leading to inaccurate cuts and wasted fabric. A non-slip cutting surface further enhances control and precision.
4.2 Pattern Layout and Grain Considerations
Satin’s unique sheen requires a “with nap” layout. This means all pattern pieces must be placed and cut in the same direction. This ensures consistent sheen and color across the finished garment. Pay meticulous attention to the fabric grain, as even slight deviations can affect the drape and appearance.
4.3 Securing the Pattern: Pins vs. Weights
While fine pins (such as silk pins) can be used, remember to place them strictly within the seam allowance to avoid visible pinholes. Pattern weights are a highly recommended alternative as they hold the pattern securely in place without any risk of damaging the delicate satin fabric.
5. Sewing Satin: Step-by-Step Techniques
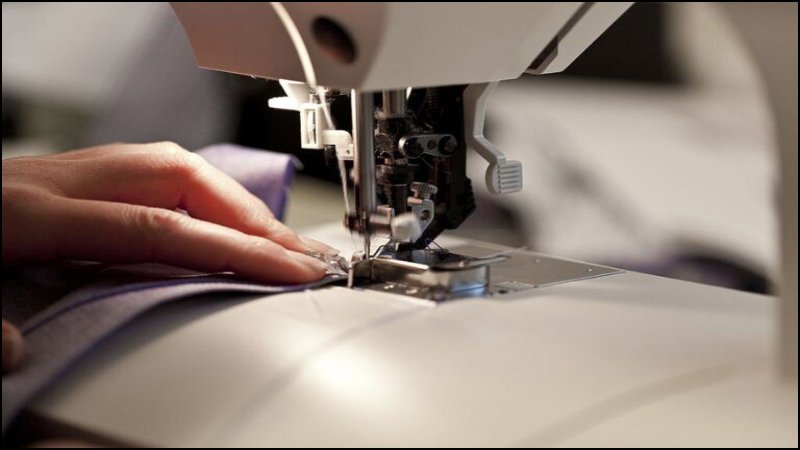
5.1 Machine Settings for Satin
Before you start sewing, optimize your machine settings. Use high-quality, fine thread such as polyester or silk. Set your stitch length slightly longer than usual around 2.5-3.0mm. This helps prevent puckering.
Test your machine’s tension on a scrap of satin. You may need to loosen it slightly to achieve a smooth, even stitch. A walking foot or Teflon foot is highly recommended. These feet help feed the slippery satin evenly, preventing shifting and uneven stitches. Adjust the presser foot pressure, if need.
5.2 Sewing Techniques and Tips
When sewing satin, patience is key. Start and end slowly, maintaining a controlled sewing speed. Gently hold the fabric taut as you sew but avoid stretching it. Instead of backstitching, which can create bulk and potentially damage the fabric, use shorter stitches at the beginning and end of seams. Before working on your actual project, test your stitch length, tension and sewing technique on scraps of your chosen satin. This allows you to fine-tune your settings and avoid costly mistakes, make sure the setting is corrected.
5.3 Seam Finishes for Satin
Proper seam finishing is essential to prevent fraying and create a professional look. French seams are an excellent choice for lightweight satins. This technique encloses the raw edges within the seam itself, creating a clean, durable finish.
The Hong Kong finish is well-suited for heavier satins. This method involves binding the raw edges with bias strips of fabric. If you have a serger or overlock machine, serged/overlocked seams provide a quick and effective way to finish edges and enhance fray resistance. For edges, a delicate rolled hem creates a beautiful, narrow finish.
6. Troubleshooting Common Satin Sewing Problems
6.1 Puckering Seams
Puckering seams are a common frustration when sewing satin. Potential causes include incorrect tension (too tight), a stitch length that’s too short, a dull or incorrect needle or unsuitable thread. Solutions involve adjusting your machine settings: loosen the tension, increase the stitch length, use a fine, sharp needle and choose a high-quality, fine thread.
6.2 Snagging and Pulling
Snagging and pulling often result from a dull needle or rough surfaces on your sewing machine or workspace. The solution is simple: always use a new, sharp needle (like a Microtex) and ensure your work area, including your sewing machine bed and your hands, are smooth and free of any burrs or rough edges.
6.3 Visible Pinholes
Visible pinholes are caused by using pins that are too thick or by pinning outside the seam allowance. Prevent this by using fine silk pins and pinning exclusively within the seam allowance. Pattern weights are an excellent alternative to pins, eliminating the risk of pinholes altogether.
7. Advanced Techniques and Special Considerations
7.1 Working with Bias Cut Satin
Cutting satin on the bias creates beautiful drape but it also presents challenges. Bias-cut fabric is more prone to stretching and fraying. To combat this, staystitch the edges immediately after cutting. Staystitching is a line of straight stitching just inside the seam allowance that helps stabilize the fabric. Handle bias-cut pieces with extra care to avoid distortion.
7.2 Interfacing and Satin
When your satin project requires added structure, use lightweight, fusible interfacing. Apply the interfacing with low heat and no steam to avoid damaging the satin or creating water spots. The interfacing will help stabilize areas like collars, cuffs and button plackets without adding excessive bulk.
7.3 Caring for Satin Garments
Proper care is essential to maintain the beauty and longevity of your satin creations. Always check the fiber content for specific instructions. For most, gentle hand washing or dry cleaning is recommended. Avoid harsh detergents and high heat. Store satin garments carefully, either hanging them on padded hangers or rolling them to prevent creases.
8. FAQs about Sewing Satin Fabric
8.1 Can I use a regular sewing machine needle for satin?
While you can technically use a regular sewing machine needle, a sharp, fine needle like a Microtex is highly recommended. Regular needles are more likely to snag the delicate satin fibers, causing damage and potentially ruining your project. A Microtex needle’s fine point minimizes this risk.
8.2 What’s the best way to prevent satin from fraying?
The best way to prevent satin from fraying is to finish your seams. Several seam finishing techniques work well with satin. French seams, Hong Kong finishes or serged/overlocked seams are all excellent options, effectively encasing the raw edges and preventing fraying.
8.3 My satin seams are puckering. What am I doing wrong?
Puckering seams are a common problem with satin and there are several potential culprits. Incorrect machine tension (often too tight), a stitch length that’s too short, using the wrong needle (too dull or too thick) or an unsuitable thread type can all contribute to puckering.
8.4 How do I avoid getting water spots on my satin when pressing?
To avoid water spots when pressing satin, you always use a pressing cloth between the iron and the fabric. Use low heat on your iron and avoid steam whenever possible. If steam is necessary, use distilled water to minimize mineral deposits and test on a scrap of fabric first.
8.5 Is it better to use pins or pattern weights with satin?
Both pins and pattern weights have their advantages when working with satin. Fine pins (like silk pins) allow for precise placement but they can potentially leave tiny holes, especially in very delicate satins. Pattern weights are a great alternative as they hold the pattern and fabric securely in place without any risk of piercing the fabric.
9. Packlove – Providing service for Custom Satin Labels and More
Packlove specializes in custom printed products and we understand the unique challenges and rewards of working with delicate fabrics like satin. We can help you add the perfect finishing touch to your satin garments and projects with our high-quality, custom labels.
Whether you need elegant woven labels for a luxurious feel, heat transfer labels for intricate designs and application on various fabrics, or durable rubber labels for outerwear or accessories, Packlove has the perfect solution. Our labels are designed to complement the beauty of satin without causing damage.
We offer design assistance to help you create the perfect label and our ordering process is simple and straightforward. Visit our website or contact us today for a quote and elevate your satin creations with professional, custom branding.
Read more:
Sewing with satin requires a bit of extra care and attention, but the results are well worth the effort. With patience and the right approach, you can master the art of sewing satin. And when you’re ready to add a professional finishing touch to your beautiful satin creations, Packlove is here to help with custom labels that perfectly complement your work.


