


Sew a Dress Without a Pattern: Beginner’s Guide


Frustrated with confusing commercial patterns and limited design choices? Discover the freedom and creativity of sewing clothes without patterns! This guide addresses the common pain points of sewers seeking custom-fit garments, unique styles and cost-effective solutions. Learn a simple, step-by-step method for creating a dress without patterns, covering everything from fabric selection to essential sewing techniques. Unlock your design potential, save money, and create a wardrobe that reflects your individual style. Let’s read!
1. Why Sew a Dress Without a Pattern? (Benefits & Challenges)
1.1 Freedom from Pattern Restrictions
DIY dress making offers unparalleled freedom. Pattern limitations such as sizing issues and style constraints, disappear. Forget pattern making with self-drafted patterns! Unleash creative expression and create a unique style. The limitations of typical patterns are eliminated when creating a handmade dress.
1.2 The Appeal of “Winging It” (Embracing Imperfection)
Beginner sewing can feel intimidating but “winging it” is about the learning process. Don’t fear making mistakes; they’re learning opportunities! The design is iterative and allows for troubleshooting through adjustments. Embracing imperfection is key.
1.3 Cost Saving
Sewing without patterns is budget-friendly. There’s cost saving since you don’t need to keep buying store-bought patterns. If you’re on a budget, try to sew a dress without a pattern.
2. Essential Preliminary Steps: Planning Your Patternless Dress
2.1 Accurate Body Measurements: The Foundation of Your Dress
Start by taking accurate measurements. This is the foundation to any great dress. Start with the bust, measure around the fullest part to ensure the tape is level. Then the waist, around the narrowest part. After that, the hips around the fullest part, keeping the tape level. Next is the shoulder width. Then the dress length from the shoulder to the bottom of the desired hem. The last one is the back waist length. Don’t forget the armhole depth or sleeve length if needed.
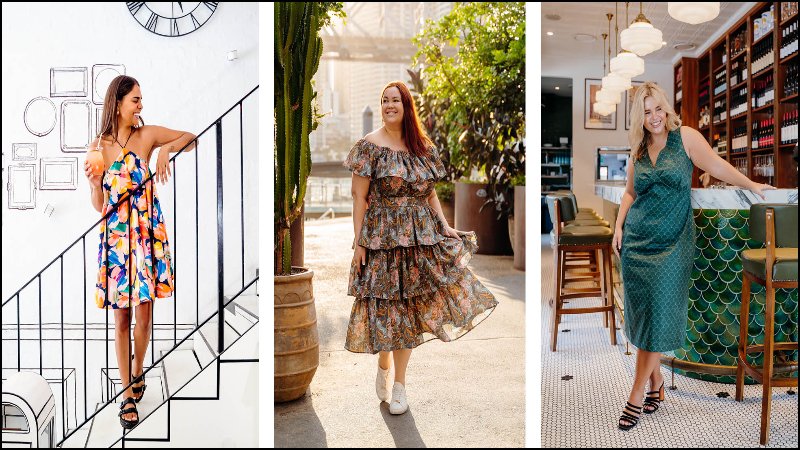
2.2 Choosing Your Dress Style and Silhouette
Consider dress style that are easy to sew like an A-line dress or shift dress. An A-line dress is flattering and simple to make. A shift dress is comfortable and boxy. A more advanced option is a wrap dress which has a flexible fit. Another option is a gathered skirt dress. Think about the occasion, your body shape and your personal style.
2.3 Sketching and Visualizing Your Dress
Sketching helps you see the garment construction. Think about the bodice, skirt and sleeves and how they fit together. Imagine the garment as if it were laid out flat on a table so that you can understand how the shapes fit together. Before cutting into your fabric, make sure you sketching out your design and plan everything out. The design process will be smooth if you know how the bodice, skirt, and sleeves fit together.
2.4 Using an Existing Garment as a Guide (Optional but Recommended)
An existing garment that fits you well can act as a template. To use it, turn the garment inside out and fold it neatly in half, aligning seams. Lay it flat on your fabric or pattern paper. Trace around the garment, and then add your desired seam allowance to the traced lines. Use chalk or a fabric marker for tracing. Clearly label each piece (e.g., “front bodice,” “back bodice,” “sleeve”).
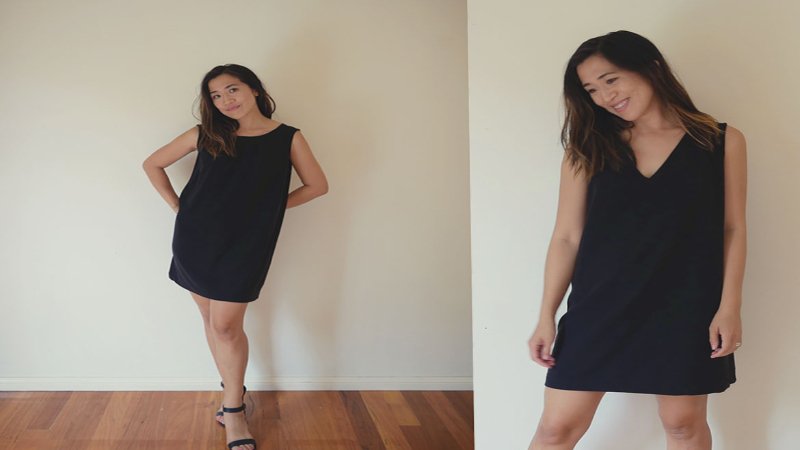
2.5 Breaking Down the Dress into Basic Shapes
Understand garment construction by breaking it down into basic shapes. A shift dress is just two rectangles. An A-line dress is rectangles and trapezoids. A gathered skirt is just one rectangle. This will simplify the cutting process! Knowing how a garment is put together can help with the garment construction. A lot of clothing are made up with just basic shapes and lines. For example, a shift dress is two rectangles sewed together.
3. Gathering Your Materials and Tools
3.1 Essential Sewing Tools
Every seamstress will tell you that specific sewing tools are essential tools to get started. A sewing machine is needed, even a basic one. You’ll also need fabric scissors, measuring tape, pins, thread and seam ripper. Lastly, fabric marker or chalk and a ruler will help you draw straight lines. To start, here is a list of the items you will need: sewing machine, fabric scissors, measuring tape, pins, thread, seam ripper, iron with ironing board, fabric marker (or chalk) and a ruler.
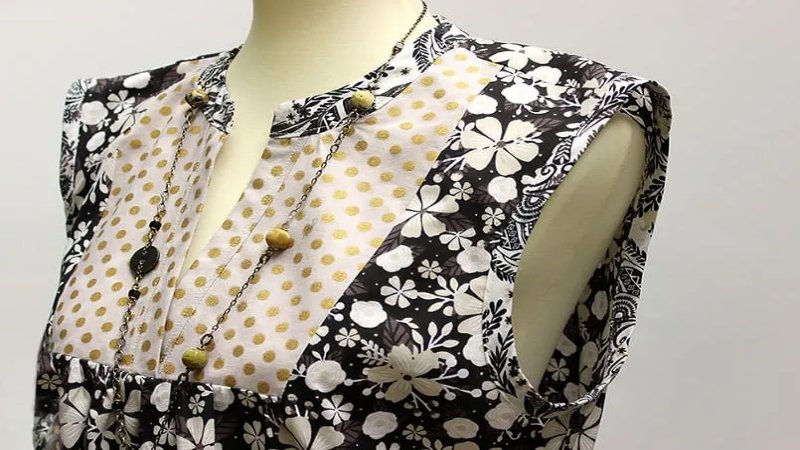
3.2 Choosing the Right Fabric
Fabric selection is key to your projects. Some beginner-friendly fabrics are cotton, linen and stable knits. With cotton, some different types are quilting cotton, cotton lawn or poplin. You’ll want to consider fabric drape and pre-wash it to account for shrinking. Fabric selection is a crucial step.
3.3 Estimating Fabric Yardage
Fabric yardage depends on dress style, size, and fabric width. A general rule of thumb is 2-3 yards. It’s always a good idea to buy extra fabric to account for shrinkage. Use body measurements to estimate. Fabric yardage is essential to consider as it depends on the style of the dress as well as your size. To be on the safe side, it’s always a good idea to buy some extra fabric.
4. The Sewing Process: Step-by-Step Construction
4.1 Cutting Your Fabric (with Confidence!)
Lay your fabric out on a large, flat surface. If using an existing garment as a guide, pin it to the fabric after you’ve traced it and added your seam allowance (as described in section 2.4). If creating your own shapes, use a ruler and fabric marker to draw them directly onto the fabric, including your desired seam allowance. Carefully cut along the lines with fabric scissors. Label each fabric piece immediately after cutting to avoid confusion. It’s generally best to cut the largest pieces first.
4.2 Sewing Order: A Logical Approach
The sewing order affects the design, so consider starting with shoulder seams if the dress has a separate bodice. Then, join the side seams. If there are sleeves, sew the sleeves and then attach them to the armholes. Then, finish the neckline and the hem. The order of sewing steps is important and affects the final result.
4.3 Seam Finishes: Preventing Fraying and Creating a Professional Look
Seam finishes prevent fraying and give a professional look. Options include a zigzag stitch on a standard sewing machine, using a serger (if available), or using pinking shears for a quick finish. For a more advanced technique, consider French seams.
4.4 Fitting and Adjustments: Achieving the Perfect Fit
Try on the dress during the process so that you can make any needed adjustments. You can also take in seams. If the neckline is too low, you can adjust it. With the design in mind, you can make any length adjustment. To get the perfect fitting, try on the dress and see what you want to change. If the sleeves are too long, consider doing a length adjustment.
4.5 Creating a Muslin Mock-up (Optional but Highly Recommended)
Before cutting into your final, potentially expensive, fabric, creating a muslin mock-up is a highly recommended step. Muslin is an inexpensive, plain cotton fabric that’s perfect for creating a test version of your dress. Think of it as a rough draft. Use your pattern pieces to cut out the dress from the muslin. Then, baste the pieces together, using long, easily removable stitches.
Trying on this muslin version allows you to assess the fit, identify any areas that need adjustment and make those alterations directly on the muslin before committing to your fashion fabric. This process saves you from potentially wasting valuable material and ensures a much better final result.
5. Troubleshooting Common Problems
5.1 Uneven Seams
Uneven seams can be frustrating but they’re usually easy to fix. Start by using a seam guide attached to your sewing machine to ensure a consistent seam width. Before sewing, pinning the fabric pieces together carefully and frequently will prevent them from shifting. Finally, sewing slowly allows you to maintain control and follow the seam guide accurately, resulting in a straighter more even seam.
5.2 Fabric Puckering
Fabric puckering often indicates a problem with your sewing machine’s settings. One common cause is incorrect tension the top thread may be too tight or too loose. Experiment with adjusting the tension dial until the puckering disappears. Another culprit could be using the wrong needle and thread for your fabric type. Ensure that you’re using a needle size and thread weight appropriate for the fabric to prevent it from being pulled and puckered during sewing.
5.3 Fit Issues
Achieving a perfect fit without a pattern requires careful attention and a willingness to make adjustments. If your dress is too tight in certain areas, consider letting out the seams if there’s enough seam allowance. If it’s too loose, taking in seams can create a more fitted silhouette. Adding darts can also help to shape the garment and contour it to your body. Don’t hesitate to seek advice from online sewing communities or experienced sewists for personalized guidance and support.
6. FAQs about Sewing a Dress Without a Pattern
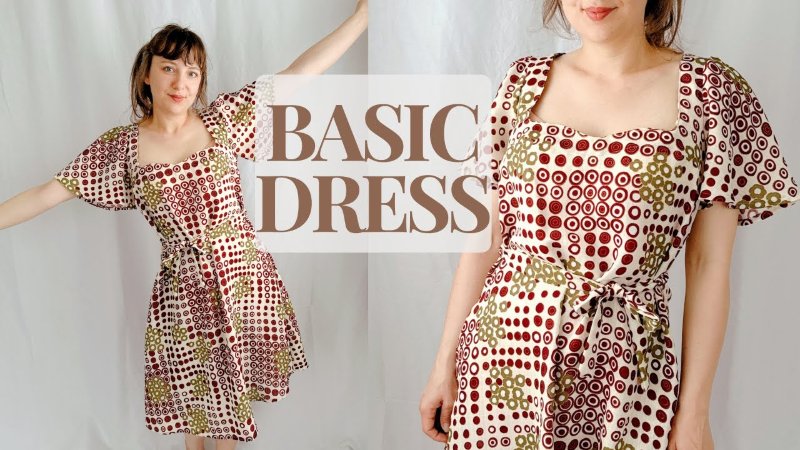
6.1 What is the easiest type of dress to sew without a pattern?
A simple A-line or shift dress is generally the easiest. They require less shaping and are easier for beginners.
6.2 Can I really sew a dress without any sewing experience?
Basic sewing knowledge is helpful but you can learn as you go. Start with a very simple project and practice basic stitches before tackling a full dress.
6.3 What if I make a mistake?
Mistakes are normal! Don’t get discouraged. A seam ripper is your best friend to carefully undo stitches and try again.
6.4 How long will it take to sew a dress without a pattern?
The time required depends on the complexity of the dress design and your sewing skill level.
6.5 How do I choose a fabric that won’t be too difficult to work with?
Look for stable, medium-weight fabrics that don’t fray too much. Cotton fabrics (like quilting cotton, cotton lawn, or poplin), linen or stable knits (like Ponte knit) are all good options.
7. Packlove – Your one-stop shop for Custom Clothing Labels and Packaging
Elevate your brand with Packlove! We specialize in high-quality, custom-designed labels and packaging solutions. Perfect for businesses, handmade creators, or anyone wanting to add a professional touch. From woven labels to poly mailers, we make your products stand out. Discover our wide range of options. Create a lasting impression with Packlove’s commitment to exceptional quality and customization.
Contact us today for a free quote and let us help you create the perfect finishing touches for your handmade dresses!
Read more:
Sewing a dress without a pattern gives you creative freedom and a custom fit while also saving you money! Embrace the learning process, experiment with different fabrics, and enjoy the satisfaction of creating a unique garment. With patience and practice, anyone can learn to sew a dress without a pattern.


