Sewing Lace: Techniques, Types, and Tips for Perfect Results
Are you a beginner or intermediate sewer eager to work with the exquisite beauty of lace, yet perhaps intimidated by its delicate nature? The potential for fraying, snagging, and stretching can make even experienced sewers hesitant. Or perhaps you are an experienced sewist looking to refine your skills, learn advanced techniques, or find solutions to particular lace-sewing challenges.
Sewing with lace can significantly elevate your garments and projects, adding a touch of elegance, intricate detail, and a truly professional finish. However, working with lace requires a careful approach; improper handling and incorrect techniques can lead to frustration, wasted materials, and ultimately, unsatisfactory results.
his article serves as a comprehensive guide, delving into the diverse world of lace types, offering essential preparation techniques, demystifying various sewing methods, and providing practical solutions to overcome common challenges. You will gain the confidence and knowledge to successfully incorporate lace into your projects, transforming your sewing creations with its timeless appeal.
1.Understanding lace fabric and its properties
1.1 Types of lace and their characteristics
A foundational understanding of different lace types is crucial for successful lace sewing. Lace fabrics vary significantly in construction, impacting their sewability, drape, and overall visual appeal. It’s important to familiarize yourself with several key types.
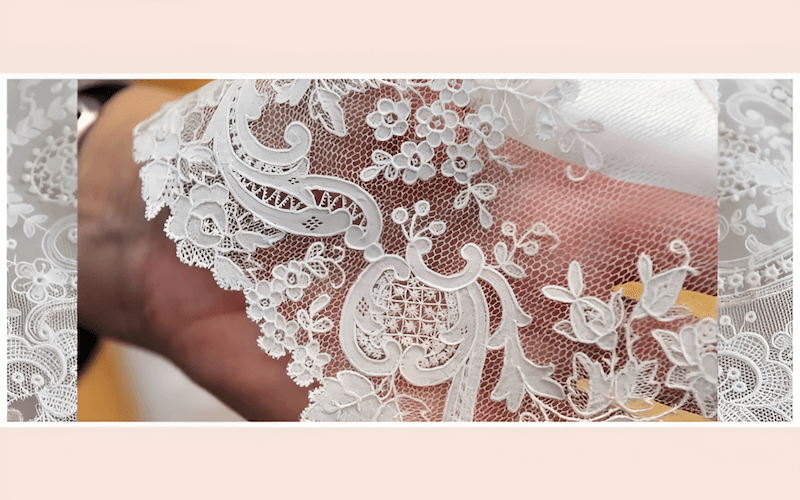
Chantilly lace, often found in bridal gowns and evening wear, showcases delicate floral or geometric patterns, fine thread, and exquisite drape. Alencon lace, another classic style, features raised floral motifs outlined with a cord, providing a textured and luxurious look.
Guipure lace, in contrast, is a heavier, more stable lace, characterized by interconnected motifs without a net background, and is perfect for sturdy embellishments on bags or home décor. Venice lace, similar to Guipure, lacks a backing, but often features bolder, more geometric patterns.
Knit lace, crocheted lace, bobbin lace, and embroidered lace (on a net or dissolvable base) each showcase distinct construction methods that influence the lace’s sewability, stability, and tendency to fray. Some laces have a fine, ethereal pattern, while others display bolder, more textured designs.
Sheerness also varies greatly; some laces are highly transparent, while others offer more opacity. Visual examples, through images or links to images, can further enhance understanding by showcasing these diverse lace types and their unique features.
1.2 Assessing lace cutability and fraying potential
Understanding a lace’s cutability and fraying potential is crucial before you even begin sewing. The ease with which a lace can be cut depends heavily on its construction. Knitted, crocheted, and bobbin laces, due to their construction, require specialized cutting techniques and are prone to unraveling if cut carelessly.
Embroidered lace on a net or other stable base, offers more stability and is generally easier to cut. This is due to the presence of a stabilizing foundation. Fraying potential relates to the construction and, to a lesser extent, the fiber content of the lace. Laces with loose weaves or made from natural fibers like silk or cotton are more likely to fray compared to those with tighter weaves or synthetic fibers.
2. Preparing lace for sewing: Essential steps
2.1 Pre-washing and handling delicate lace
Pre-washing is a critical step when working with lace. Washing removes any sizing or starch applied during manufacturing, which stiffens the lace. Removing this starch allows you to assess the fabric’s true shrinkage and drape, and softens the lace.
To pre-wash lace, use a gentle hand-washing method. Fill a basin with lukewarm water and add a small amount of delicate detergent. Submerge the lace and gently agitate the water, avoiding harsh rubbing or squeezing.
Rinse thoroughly in lukewarm water until all detergent is removed. Then, gently press the excess water out, being careful not to wring or twist the lace. Lay the lace flat on a clean, dry towel and allow it to air dry completely, reshaping it gently as needed. Handling the lace carefully throughout this process prevents snagging or distortion.

2.2 Identifying the right and wrong side of lace
Identifying the right and wrong sides of lace is important for achieving a professional finish, although some laces may be reversible. The right side typically features a more pronounced or raised design, with a smoother texture.
The wrong side may appear flatter. When preparing to cut and sew your lace, make sure you know which side will be the outside of the finished garment. To mark the wrong side of the lace, use non-permanent methods such as tailor’s chalk (if visible on the fabric) or thread tracing. Thread tracing involves creating a line of easily removable basting stitches along the edge or seam line to indicate the wrong side.
2.3 Ironing, cutting, and marking lace
Ironing, cutting, and marking lace require care to protect the delicate fabric. When ironing lace, use a low heat setting and always use a pressing cloth between the iron and the lace. This prevents direct contact with the hot iron.
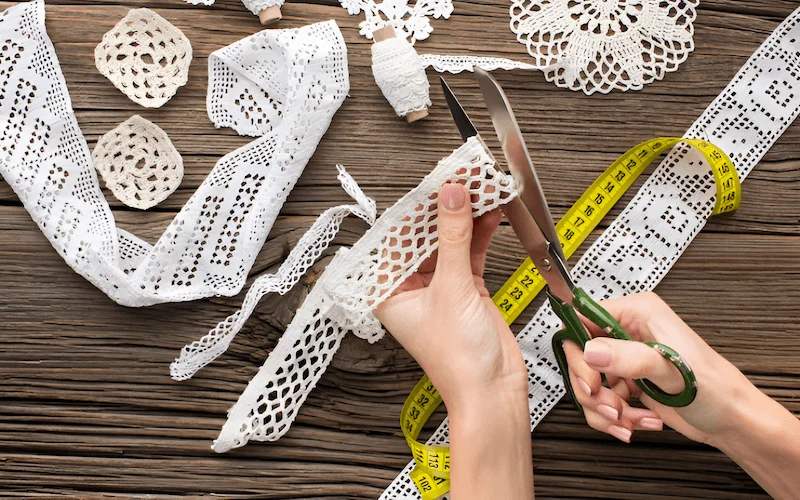
Cut lace effectively by carefully cutting around design elements such as scallops or flowers, rather than straight across, where possible. Use sharp scissors or a rotary cutter, as both tools offer benefits. Sharp scissors provide precise control for intricate cuts, while a rotary cutter, used with a cutting mat, allows for quick and accurate straight cuts.
Use the thread tracing technique to mark lace. This involves creating temporary basting stitches that outline the pattern pieces, seam lines, or other relevant markings. Remember to carefully remove the basting stitches after sewing. Strongly recommend using pattern weights instead of pins to avoid snagging and distorting the lace.
2.4 Choosing the right thread, needles, and lining
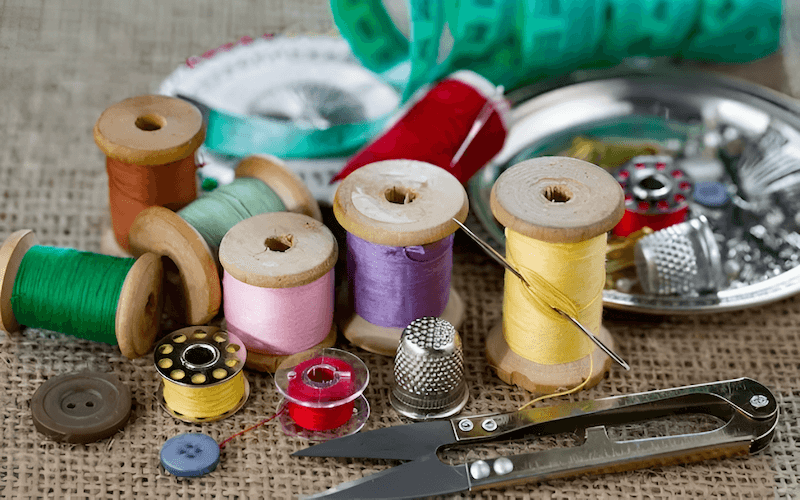
Selecting the correct thread, needles, and lining is important. Match the thread color as closely as possible to the lace to make the seams less visible. A poly-blend thread is a good choice for its strength and durability, making it better than cotton for delicate lace.
Use the appropriate needle size for the weight of your lace: sizes 60/8, 65/9, or 70/10 are ideal for fine lace. A stretch needle is required for stretch lace to accommodate the fabric’s elasticity. Choosing the right lining fabric will affect the look and drape of the lace. For formalwear, satin can add elegance, while cotton or jersey can be used for casualwear.
3. Mastering lace sewing techniques: A step-by-step guide
3.1 Securing lace and choosing stitch settings
Properly securing lace before sewing is paramount for accuracy. You can secure lace by pinning within the denser areas of the lace motif, always avoiding the more delicate openwork sections. Binder clips are a gentle alternative for holding the lace along the edges.
Selecting the correct stitch settings is vital for the final appearance. A medium width and length zigzag stitch works well for attaching the lace to fabric. For stretch lace, use an overlocker (serger) or a narrow zigzag stitch to ensure the seam stretches with the fabric, maintaining flexibility. Straight stitches and French seams are often preferred when working with sheer lace and a lining because they result in clean and strong seams.
3.2 Starting stitches and preventing snagging
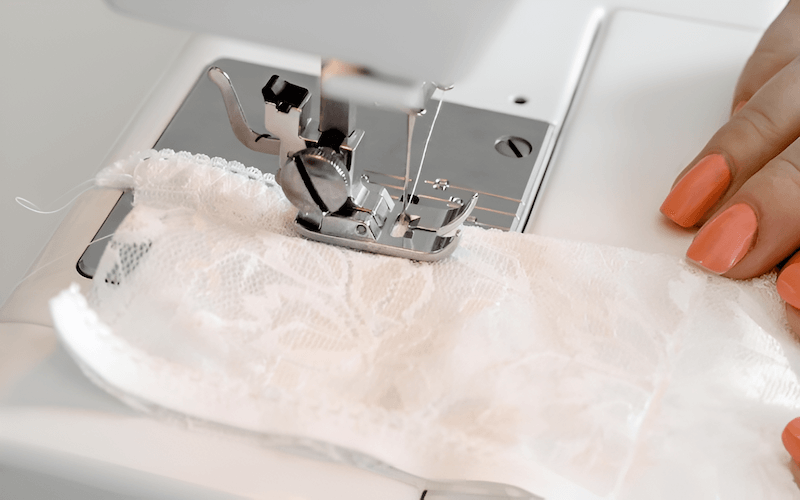
Preventing snagging is crucial. The best method is to start your stitches on a piece of scrap fabric with a similar weight to the main fabric, or on pattern paper or tissue paper placed beneath the lace. This technique prevents the lace from being pulled down into the sewing machine’s feed dogs, which can snag and damage the delicate fabric. Once the stitching is finished, carefully tear away the paper.
3.3 Seam finishes, decorative edges, and matching lace pieces
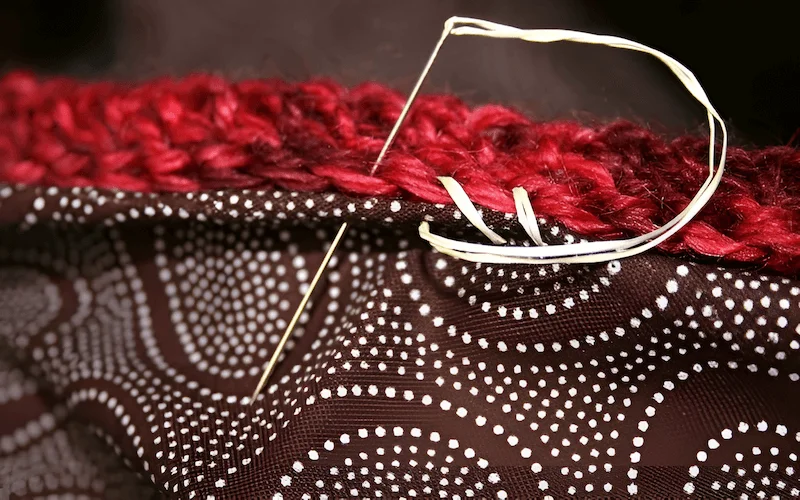
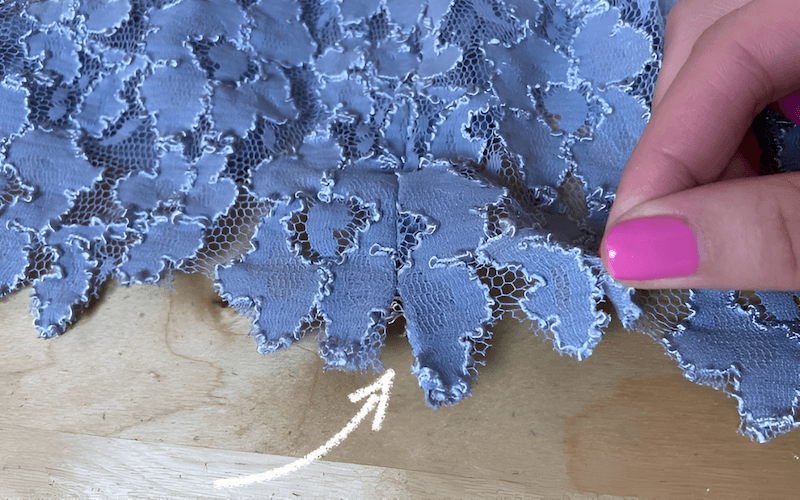
Clean, professional seam finishes are essential. Avoid backstitching, which can cause puckering and distortion. Instead, leave longer thread tails and tie them off securely by hand. Utilize decorative edges like scallops for hems or necklines.
This eliminates the need for bulky traditional hems, and provides a clean look. When joining two pieces of lace, match the edges as carefully as possible. To achieve a visually seamless join, look for repeating patterns in the lace and overlap sections as needed.
3.4 Advanced techniques: Building lace and binding seam allowances
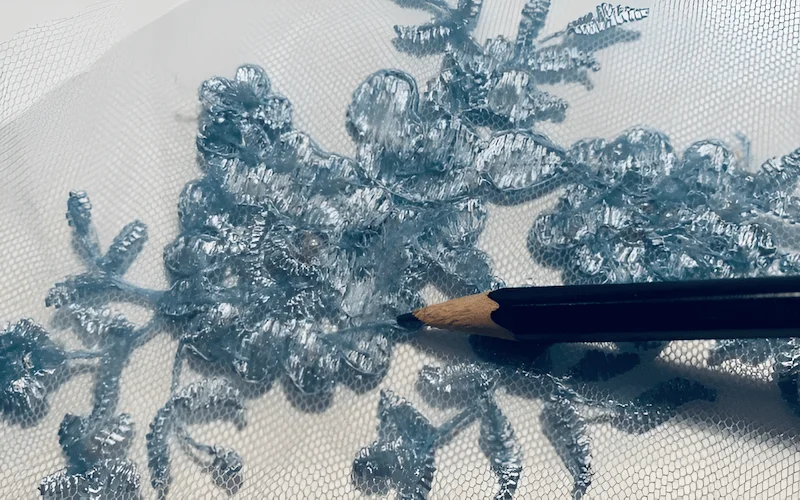
For more creative possibilities, consider advanced techniques. Building custom lace designs can be done by stitching lace appliques onto a base fabric, such as creating a unique lace overlay on a bodice. Bias binding can be used to bind any visible seam allowances. This encases the raw edges of the fabric within the bias tape, providing a neat, durable, and professional finish.
4. Troubleshooting common lace sewing problems
4.1 Preventing and addressing fraying
Fraying is a common challenge when working with lace, but it can be minimized through careful preparation and technique. It is best to use sharp cutting tools, whether they be scissors or a rotary cutter. Before you start, pre-washing the lace is an essential step in helping to minimize fraying.
For laces especially prone to unraveling, consider applying a fabric sealant to the cut edges. This will help to prevent the threads from loosening. Using a zigzag stitch along the cut edges provides additional security, further helping to prevent fraying.
4.2 Creating invisible seams and handling stretching
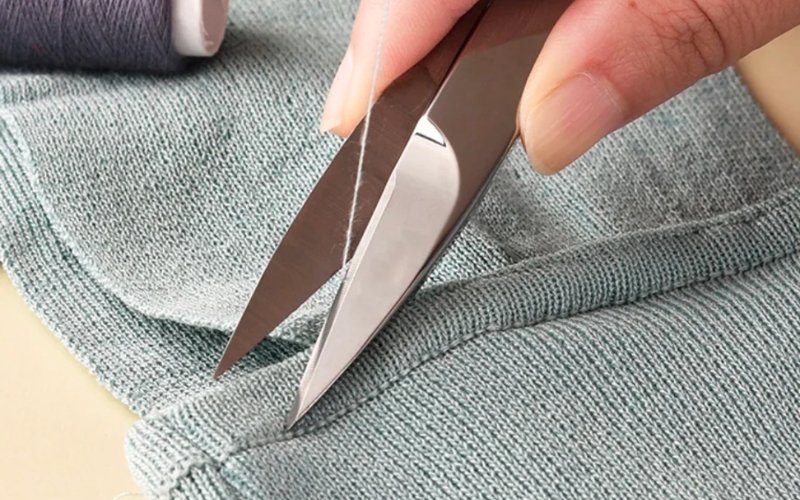
Creating invisible seams, particularly on net-backed lace, requires a strategic approach. Appliques cut from extra lace yardage are useful here. The appliques should be carefully overlapped over the seam line to camouflage the stitching, resulting in a nearly invisible seam.
Lace can stretch under its own weight, or during sewing, which can distort your project. To compensate for potential stretching, use “with nap” measurements when working from patterns, and be prepared to add extra yardage, as needed. This extra fabric will help to ensure the garment maintains its shape and desired length.
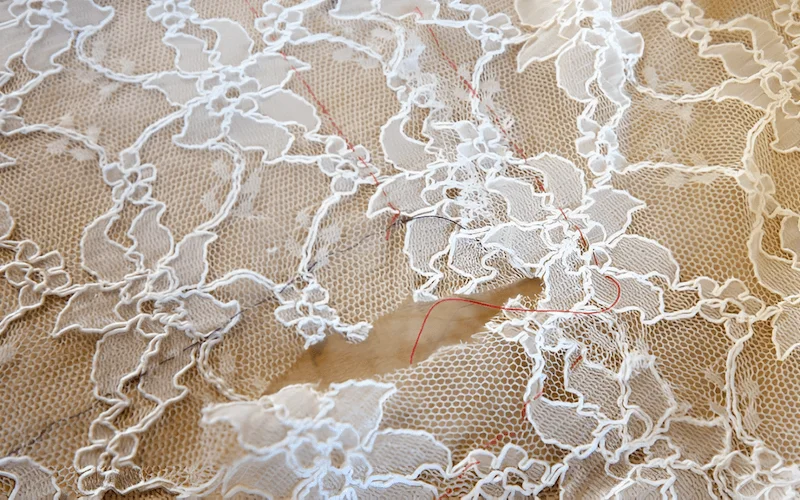
4.3 Dealing with directional patterns and reinforcing delicate lace
When working with lace, always pay close attention to directional patterns. This is particularly important with floral motifs, or any patterns that have a clear “up” and “down.” All pattern pieces must be laid out in the same direction to ensure a consistent and symmetrical look.
Delicate or fragile lace may require reinforcement. Using iron-on interfacing or webbing can provide that extra support, particularly in areas that will experience stress, such as sleeves or waistlines.
5. FAQs about sewing lace
5.1 What is the easiest type of lace to sew for beginners?
Embroidered lace on a stable net base is generally the easiest for beginners. The net provides stability and reduces fraying, making it more forgiving to handle.
5.2 Can I use a regular sewing machine needle for all types of lace?
No. Using the correct needle size and type is crucial. Fine lace requires smaller needles (sizes 60/8, 65/9, or 70/10) to prevent snagging and holes. Stretch lace needs a stretch needle to accommodate the fabric’s elasticity.
5.3 How do I prevent my lace from stretching out of shape while sewing?
Use pattern weights instead of pins, handle the lace gently, and avoid pulling or stretching it. Consider adding extra seam allowance or yardage to account for potential stretching, especially with bias-cut lace.
5.4 What’s the best way to finish the edges of lace if I don’t want a bulky hem?
Utilize the lace’s decorative edge (if it has one, like scallops). Alternatively, you can create a very narrow rolled hem using a serger or a specialized sewing machine foot.
5.5 How do I care for garments made with lace after sewing?
Hand-washing is generally recommended for delicate lace garments. Use a gentle detergent and lukewarm water. Avoid wringing or twisting. Air dry flat or on a padded hanger. Some sturdier laces may tolerate gentle machine washing in a mesh bag.
6. Packlove – Providing services for custom clothing labels and packaging
Beyond perfecting your lace sewing skills, presentation and branding are essential. Packlove specializes in creating high-quality custom clothing labels and packaging to elevate your brand. We offer a wide range of options, including woven labels, heat transfer labels, rubber labels, zipper bags, and poly mailers.
Our experienced team is dedicated to providing exceptional customer service and helping you find the perfect solutions to showcase your unique designs. We use premium materials and advanced printing techniques to ensure your labels and packaging are both beautiful and durable.
Read more:
Sewing with lace is a rewarding endeavor that can transform your projects, adding elegance, detail, and sophistication. By understanding different lace types, preparing the fabric correctly, mastering the essential sewing techniques, and learning to troubleshoot common problems, you can gain the confidence and skills necessary to create stunning results. The careful selection of lace, thread, and needles, along with precise stitching and finishing, will enhance the beauty of your creations.
Successfully incorporating lace into your sewing projects will bring satisfaction. The ability to work with lace opens up a world of possibilities, from delicate embellishments to entire garments. Embrace experimentation, practice your skills, and explore the diverse world of lace. Your journey in sewing with lace will be one of creativity, beauty, and refined craftsmanship.


