


What Is Hip Curve: Guide To This Essential Sewing Tool


A hip curve is a special curved ruler. It is essential for drawing smooth, natural hip lines on clothing patterns. This guide explains what it is and how to use it. It also compares the hip curve to other tools. We make it easy for beginners to understand and use. Let’s dive in!
1. Introduction: Getting to know the hip curve
1.1 What is a hip curve?
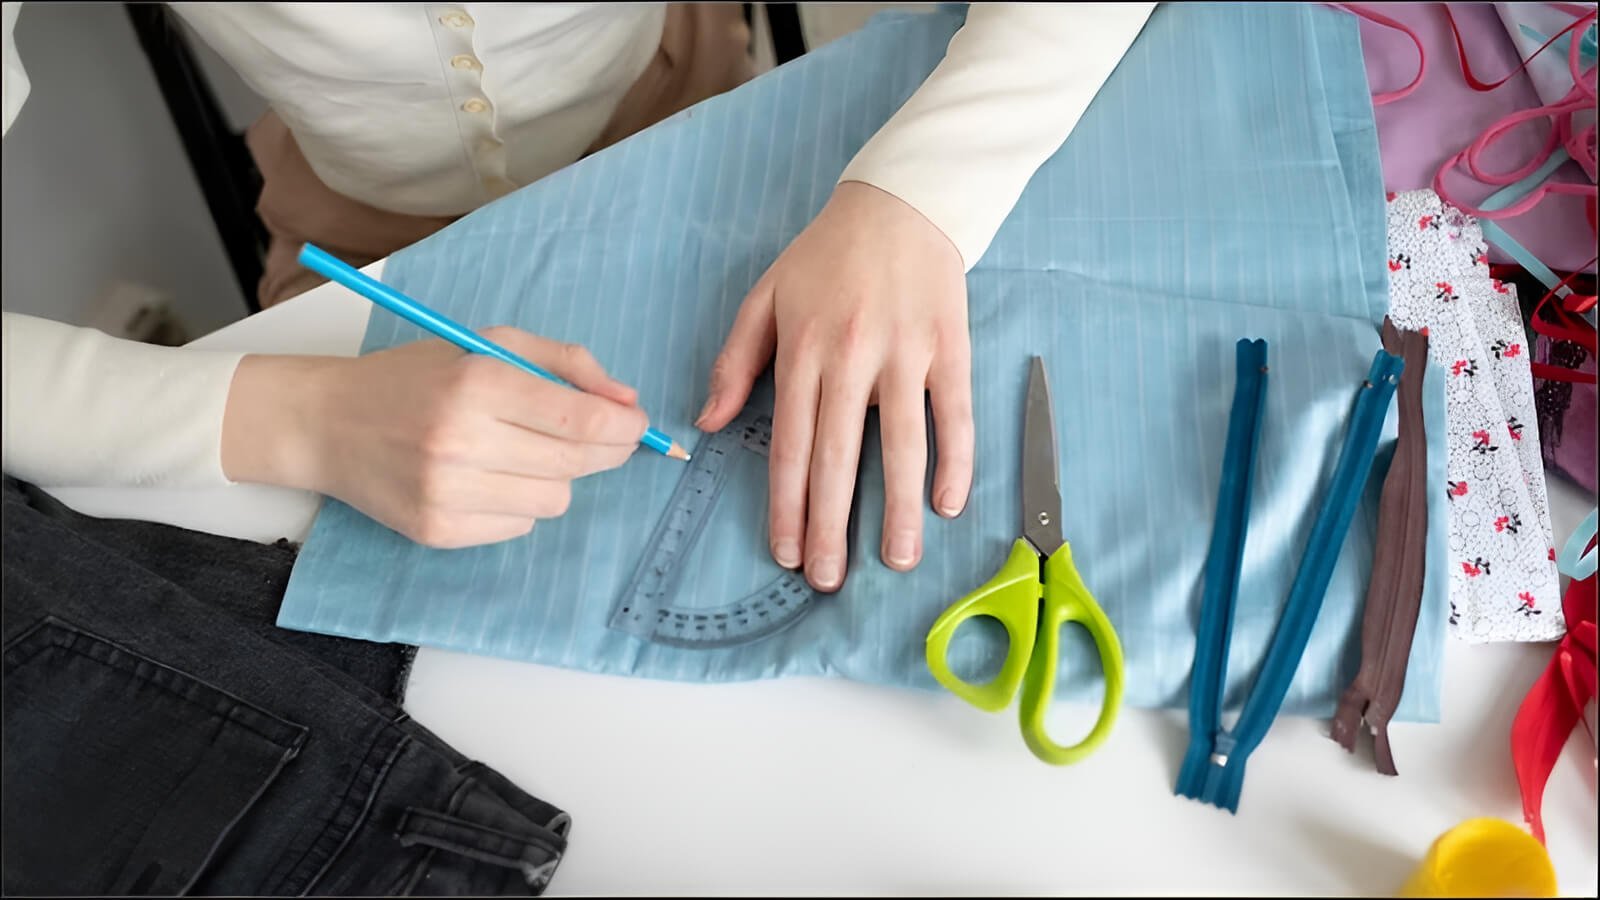
A hip curve is a special ruler used by people who sew. It’s long and has a gentle, shallow curve. It might look like a very slight ‘S’ shape or a soft bend. This is different from a regular straight ruler. Its main job is to help you draw smooth, natural-looking curved lines for the hip area. You use it when you are making patterns for clothes like skirts, pants, or dresses.
The focus is on the hip area and creating accurate patterns. The hip curve ruler is a tool for sewing garments. It is specifically used during the pattern making stage. This is the stage where you draw out the shapes of your clothing pieces on paper. Using a hip curve helps achieve a natural fit that follows the body’s contours.
1.2 Why is it a helpful tool for sewers and designers?
A hip curve helps you make clothes that fit your body’s curves nicely. This is especially true around the hips and seat. Using a hip curve can make your handmade clothes look more professional. They will look less ‘homemade,’ showcasing smooth and accurate curves. It’s one of the important sewing tools for anyone serious about sewing garments.
It’s also a key tool among pattern making rulers (rulers specifically designed for creating clothing patterns). You can use it for creating new patterns from scratch or changing existing ones to fit better. Tools like this, often categorized as fashion design aids, streamline the design process.
1.3 Who is this guide for?
This guide is perfect for you if you are new to sewing and want to learn about useful tools. It’s for people who:
- Love making their own clothes (DIY clothing makers) and want to improve their skills.
- Are fashion students just starting to learn about pattern making.
We will explain everything in simple, easy-to-understand language. No complicated jargon! This guide is helpful for any seamstress (a person who sews, especially one who earns a living from it) or aspiring pattern maker.
2. Understanding the hip curve ruler in detail
2.1 The shape that matters: The “hip” curve
The curve on a hip curve ruler is long and generally shallow. It’s not a very deep or tight curve. Often, the curve might not be perfectly symmetrical if you were to fold it in half. This is because human hips themselves aren’t perfectly symmetrical. The ruler tries to mimic this natural shape. This specific curve profile (the outline or shape of the curve) is designed to match the natural curve of a person’s hip area.
It follows the line from the waist, over the widest part of the hip, and blends down towards the thigh. Think about the smooth side line of a well-fitting skirt or pair of pants. That’s the kind of elegant curve this hip shaping ruler helps you draw on your paper pattern.
2.2 Common materials it’s made from
Most hip curve rulers you’ll find are made of plastic. This plastic is usually clear or sometimes white. Clear plastic is great because you can see your pattern markings and lines through the ruler. This makes it easier to position accurately. Some are made from acrylic, which is a type of strong, durable plastic.
You might occasionally see older ones made of wood. Some specialized ones might be metal. But sturdy plastic or acrylic rulers are very common, affordable, and perfect for beginners and most sewers, though the material choice ultimately affects durability and ease of use.
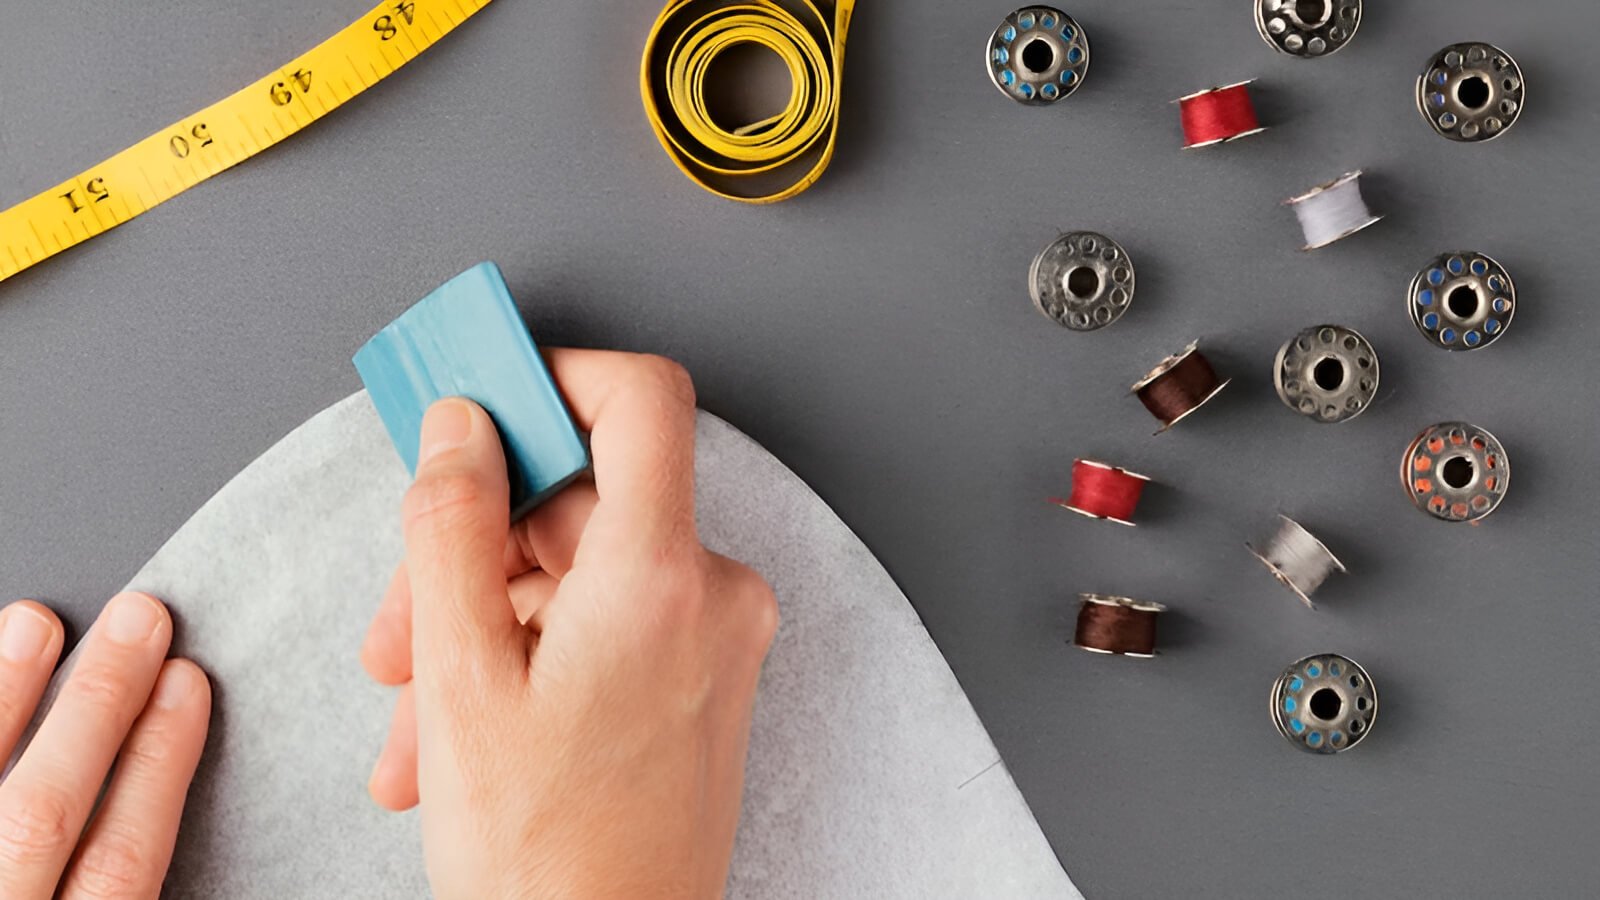
2.3 Markings you might see
Nearly all hip curves will have measurement markings (lines indicating units of length) printed on them. These are usually in both inches and centimeters, just like a regular ruler. These help you measure lengths as you draw your curves. Some hip curves might also have other lines, like a grid. Or they might have specific marks for grading (which means making a pattern bigger or smaller for different sizes).
For a beginner, the most important things are the main curved edge of the ruler and the basic inch/cm measurement marks. You don’t need to worry about complex grading lines when you’re just starting out.
3. Key uses: When and where to use your hip curve
3.1 Shaping perfect hip lines
This is the main reason the hip curve ruler exists. It’s why it’s so famous in the sewing world! Its primary function is to perfect the garment part: hip line – the curved line of a garment that goes over the hips. Its function is to draw smooth hip lines on patterns.
Here are some specific examples:
- For skirts: It helps you draw the side seams of many skirt styles. Think A-line skirts, pencil skirts, or gently flared skirts. It gives them a beautiful, smooth shape that follows the body’s curve over the hips. The side seam of a skirt is often drawn with a hip curve.
- For pants and trousers: It’s excellent for shaping the side seam from the waist. It curves out over the hip and then smoothly down towards the thigh.
- For dresses: If your dress design is fitted or semi-fitted through the body, the hip curve is essential. It creates a smooth, flattering line over the hips.
The ruler’s long, gentle curve is ideal for these larger body curves. It prevents abrupt angles.
3.2 Drawing and adjusting hemlines
You can also use your hip curve to draw curved hemlines. This is especially for skirts or dresses that aren’t straight at the bottom (garment part: hemline – the finished bottom edge of a garment). An example is a shirt-tail hem or a slightly curved A-line skirt hem. It helps to blend these hemline curves smoothly.
They will hang nicely and won’t look bumpy, uneven, or homemade. This process of curve drawing (creating curved lines) is made much easier with a hip curve. Trying to draw a long, gentle curve like this freehand can be tricky. The hip curve guides your pencil perfectly.
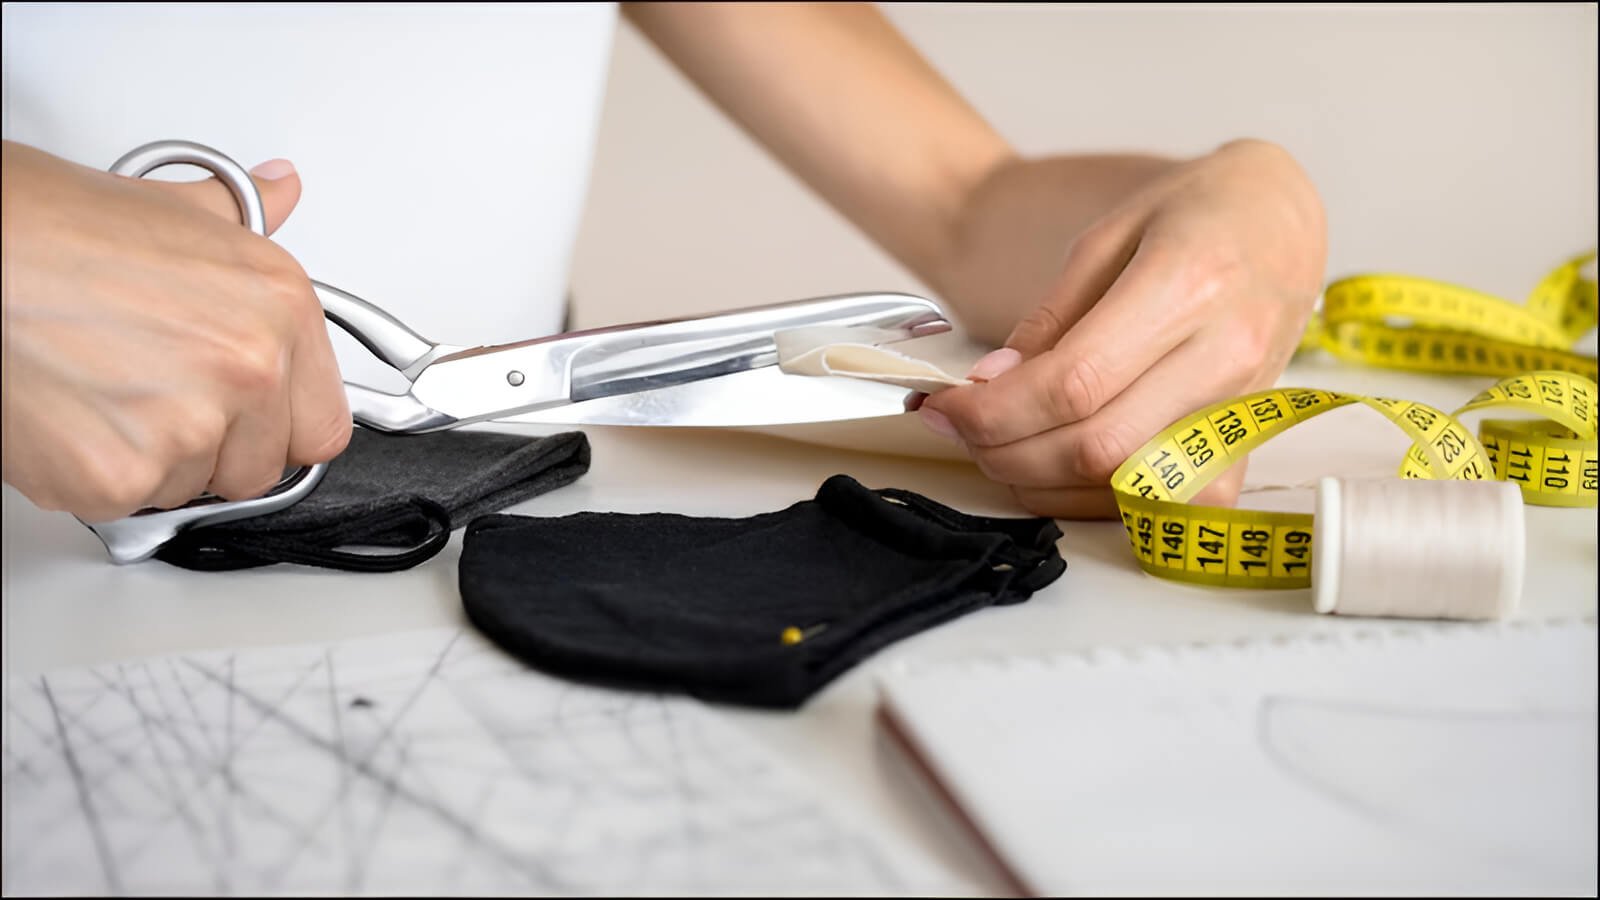
3.3 Refining side seams
Beyond just the hip point, the hip curve ensures a smooth, unbroken line. This line goes all the way down the garment part: side seam (the seam running down the side of a garment). It starts from the waist, over the hip, and blends into the leg for pants, or down the skirt. This means no awkward angles or sudden changes in direction.
This is incredibly useful when you’re doing fitting adjustments (changes made to a pattern or garment to improve its fit). For example, you might try on a test garment (often called a muslin). If you find you need to make the hip a bit wider or narrower, the hip curve helps you redraw that new seamline (the line where you will sew) smoothly.
It blends the new line perfectly into the existing lines. Good garment fitting, the process of adjusting a garment to fit well, relies on these smooth transitions, and tools like hip curves are essential for achieving this accuracy.
3.4 Other gentle curves
Sometimes, you can use the gentler parts of a hip curve for other long, subtle curves on a garment. For example, a wide, shallow neckline, or the gently curved edge of a lapel on a jacket. This tool supports the general skill of curve drawing.
However, it’s important to know its limits. For smaller, tighter, or more complex curves (like armholes or detailed necklines), another tool called a French curve is usually a much better choice. We’ll talk more about that soon! This answers the question, what is a hip curve ruler used for in dressmaking? beyond just hips.
4. How to use a hip curve: Simple steps for beginners
4.1 The basic idea: Position, pivot, and draw
Using a hip curve might look a bit tricky, but it’s actually quite simple once you get the hang of it. The basic idea involves three main actions for effective curve drawing:
- Position: Place the hip curve ruler on your paper pattern. You’ll line up a part of its curved edge with the points you want to connect. For example, from your waist marking to your hip marking. Or, place it along the line you want to create or refine.
- Pivot (if needed): If the curve you need to draw is longer than the section of the ruler you’re using, you don’t have to do it all in one go. Or, if the curve changes direction slightly. You can draw part of the line, then gently pivot or slide the ruler. Line up the start of the ruler’s edge with the end of the line you just drew. Find the best fit for the next section of the curve, and continue.
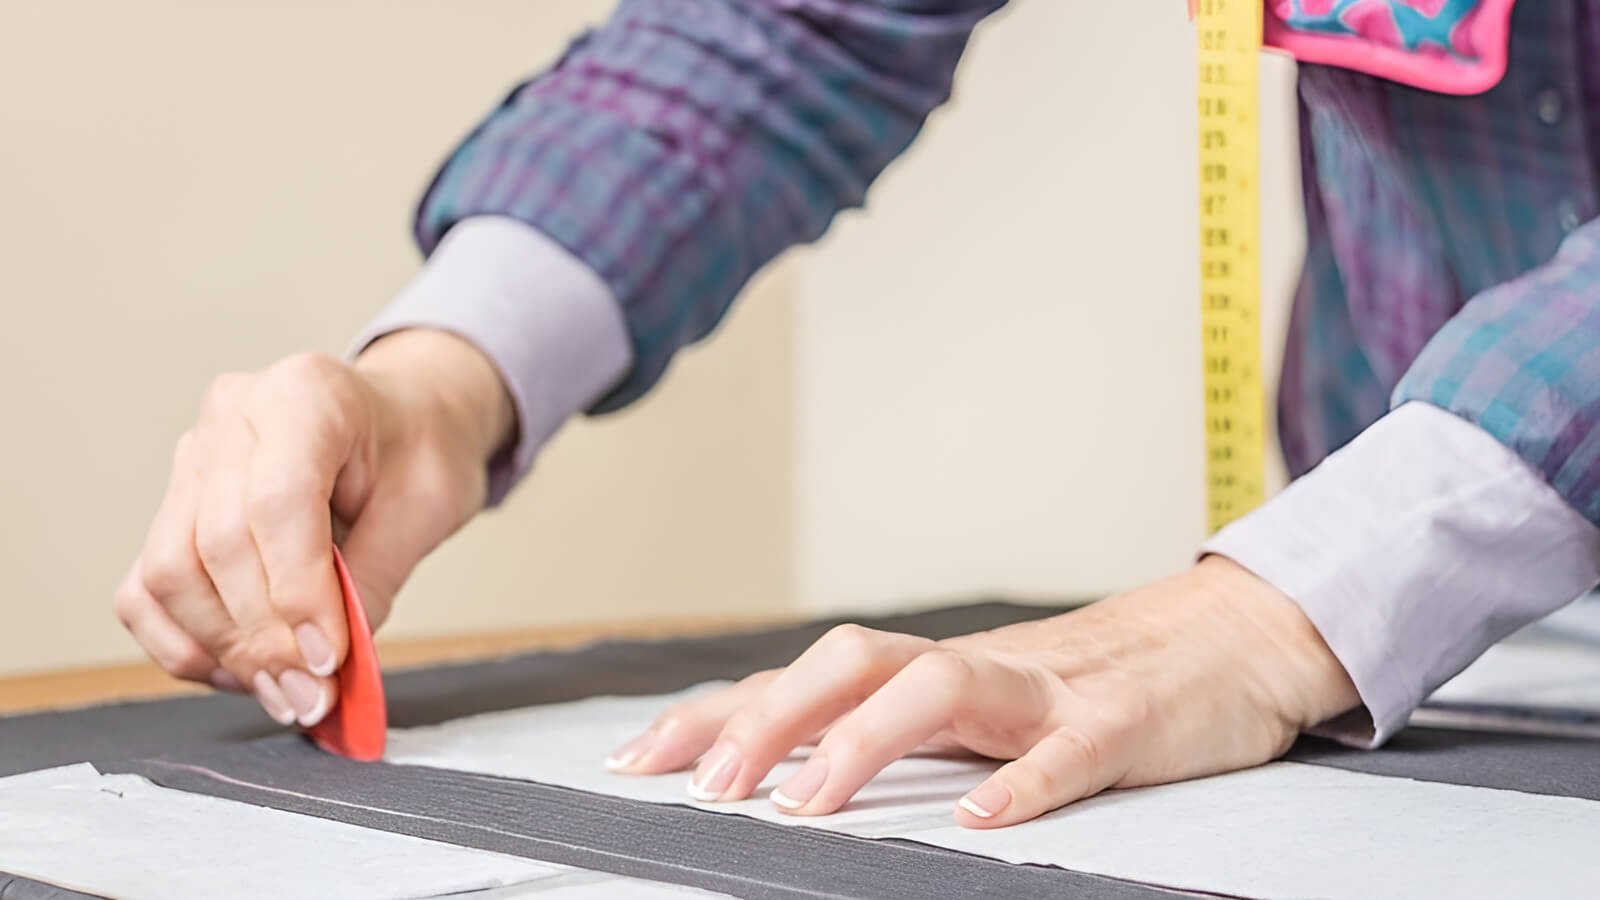
- Draw: Once the ruler is in the right spot and you’re happy with how the curve looks, hold the ruler down firmly with one hand. Draw your line along its edge with a pencil or tailor’s chalk (a special chalk for marking fabric or patterns).
Make sure connections are smooth when you pivot the ruler.
4.2 Example 1: Drawing a smooth hip line on a skirt pattern
Let’s imagine you’re making a simple A-line skirt. You need to draw the side seam from the waist to the hip. This is a common pattern drafting (the process of creating a pattern) task.
- Step 1: Mark your points. On your pattern paper, you should have already marked your key points. This includes a point for your waistline at the side. Also, a point indicating how far down your hip measurement is taken (this is called hip depth). And a point showing how wide your pattern needs to be at the hip.
- Step 2: Position the hip curve. Take your hip curve ruler. Place it on the paper so that its curved edge touches and smoothly connects your waist point to your hip width point. You might need to slide the ruler up or down. You might even flip it over to find the section of its curve that best matches the natural hip shape you want to create. Don’t be afraid to adjust it until it looks right.
- Step 3: Draw the line. Once you’re satisfied with the placement, hold the ruler firmly so it doesn’t slip. Neatly draw the line along the edge of the ruler with a sharp pencil or a piece of tailor’s chalk. You’ve just drawn a perfect hip curve for your skirt!
4.3 Example 2: Adjusting a side seam on pants for a better fit
Now, let’s say you’ve made a test version (a muslin) of some pants. You find the side seam is a bit too loose around the hips and needs to be taken in. Here’s how to use a hip curve to adjust side seams:
- Step 1: Mark the change. On your paper pattern for the pants, mark how much you want to take in at the hip area. You might also mark where this change should start (e.g., blending from the existing waist). And mark where it should end (e.g., blending back into the original leg seam further down).
- Step 2: Blend with the hip curve. Use your hip curve to draw a new, smooth line. Position the ruler to connect your starting point (perhaps at the waist or just below). Curve inwards to your new, narrower hip point. Then gracefully blend this new line back into the original side seam line of the pant leg. The goal is to make this alteration look natural. It should not create any sharp points or awkward dips. This is a key part of making good fitting adjustments.
5. Quick tips for best results
Here are some tips for drawing smooth, professional curves in sewing patterns:
- Draw lightly first: Always use a light pencil line when you first place your curve. It’s much easier to erase a light line if you need to adjust it. Once you’re completely happy with the curve, you can go over it to make it darker.
- Break up long lines (blend sections): Don’t try to force the ruler to match a very long curve if it doesn’t fit perfectly in one go. It’s better to draw a section that fits well. Then carefully pivot or slide the ruler (as mentioned in the ‘Position, pivot, and draw’ section) to match the next section. Ensure the two parts blend smoothly where they meet.
- Flip and slide to find the best fit: Remember that your hip curve ruler can be flipped over and slid along your pattern. Different parts of its edge will have slightly different degrees of curvature. Experiment by moving it around until you find the segment of the curve that perfectly matches the line you need to draw.
- Hold it steady: Make sure to hold the ruler firmly in place with your non-drawing hand. This prevents it from slipping while you trace the line.
6. Hip curve vs. French curve: Understanding the difference
6.1 What is a French curve?
Another very common curved ruler you’ll hear about in sewing is called a French curve. The French curve ruler is an associated tool, often used alongside or for similar purposes as the hip curve, but designed for different types of curves.
A French curve looks quite different. Instead of one long, gentle curve, a French curve usually has many different curves of various shapes and sizes all on one tool. It often looks like a comma, a spiral, or has several ‘scoops,’ ‘bumps,’ and tighter bends packed together. It’s used for drawing smaller, tighter, and more complex curves.
6.2 Main job of a hip curve
As we’ve discussed, the hip curve is your go-to specialist for longer, gentler, shallower curves. Think specifically about: the main hip line on skirts and pants, the side seams of garments that don’t have extremely dramatic shaping, and gentle hemlines.
6.3 Main job of a French curve
The French curve, with its variety of tighter bends, is your tool for more intricate, smaller, and more sharply curved areas of a pattern:
- Armholes: This is a classic use. The curve needed to shape an armhole (also known as an armscye curve – the curved opening in a garment for a sleeve or arm) is often complex and fits well with parts of a French curve.
- Necklines: Especially for curved necklines like scoop necks, sweetheart necklines, or collars, the French curve helps get those shapes just right.
- Sleeve caps: The top, curved part of a sleeve that gets set into the armhole often requires the kind of shaping a French curve provides.
- Crotch curves: For pants and shorts, drawing the crotch curve accurately is crucial for fit, and a French curve is the ideal tool for this.
7. When to choose which tool?
If you are drawing the long, gentle sweep of the hip, or a similarly long and shallow curve, reach for your hip curve. If you are working on a more detailed, tighter curve like an armhole, a shaped neckline, a sleeve cap, or a crotch curve, the French curve will usually be the better and easier choice.
| Feature | Hip curve | French curve |
|---|---|---|
| Best for | Long, gentle hip lines, side seams, shallow hemlines | Tighter armholes, necklines, crotch curves, sleeve caps |
| Curve Type | Shallow, elongated, gentle | Varied: many small, tight, & complex curves |
8. Why a hip curve is a great addition to your sewing kit
Here are key benefits of a hip curve:
- Your sewing garments will have smoother, more professional-looking curved seams, especially around the hips.
- Makes pattern drafting (creating your own patterns) and fitting adjustments (changing existing patterns) much easier and more accurate.
- Boosts your confidence in creating clothes that fit you (or others) really well, because you can trust the curves you draw.
- It’s truly one of the essential tools for garment construction (basic tools needed to make clothes) if you want to improve your basic pattern alteration techniques for fit (simple methods to change patterns for better fit) and move beyond very simple shapes.
9. From well-shaped garments to beautiful branding
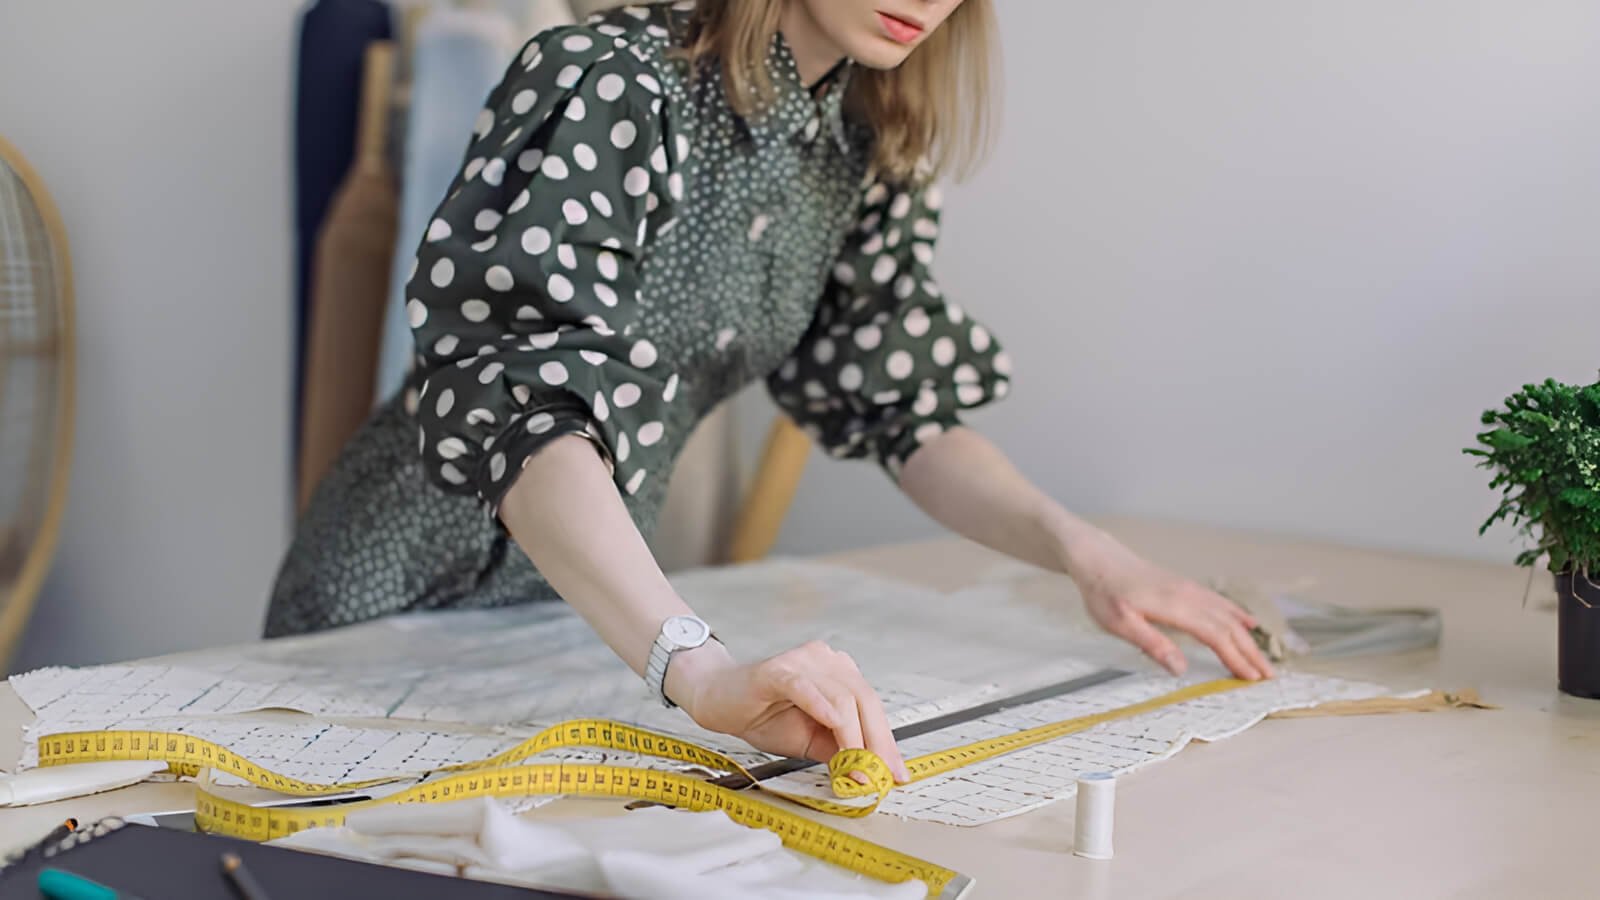
9.1 The pride in a well-made garment
So, you’ve learned all about the hip curve and other sewing tools. You’ve carefully used them to shape and create something wonderful – a garment that fits perfectly and looks fantastic! That feeling of making something with your own hands, something that reflects your style and skill, is truly special. Now that your creation is complete, let’s think about adding that final, professional finishing touch that makes it uniquely yours.
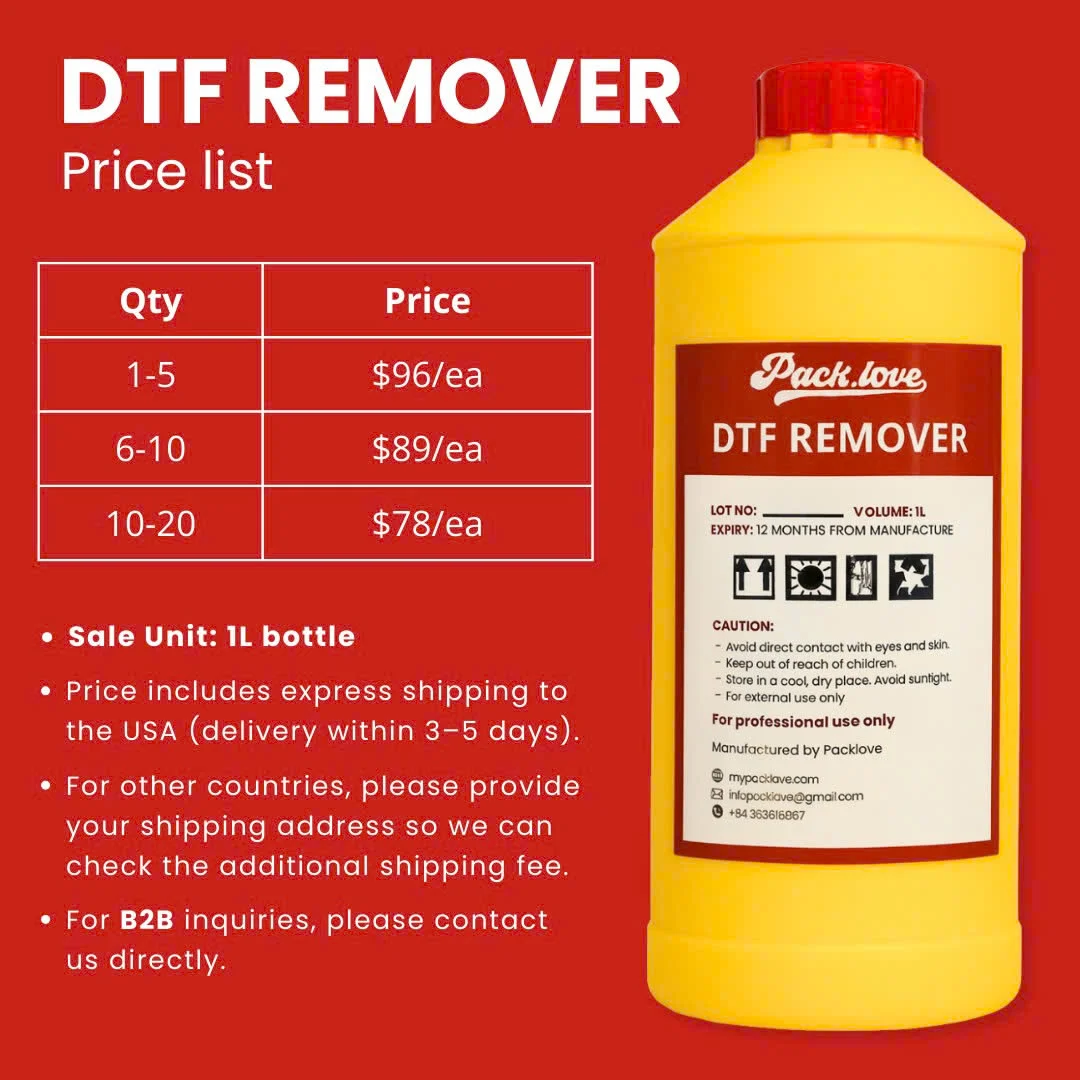
9.2 Introducing Packlove for your creations
At Packlove, we understand the care and effort that goes into every handmade item. We specialize in helping creators like you add beautiful, professional branding to your apparel and other sewn projects. This is perfect for taking your creations to the next level.
Whether you’re a hobbyist, starting a small business, or looking into branding handmade apparel, Packlove provides custom labels for your clothing creations.
9.3 How Packlove can help
- Woven labels: Imagine a soft, beautifully woven label (a label made by weaving threads together, like on clothing necklines) with your name, brand, or a unique design sewn inside your garment. Packlove provides a diverse range of label materials, including options like soft cotton, smooth satin, or durable damask. You can choose what feels best for your fabric and matches your brand aesthetic. These add a truly professional and personal touch, elevating your finished garment.
- Hang tags: If you sell your creations at craft fairs, online, or even give them as special gifts, custom hang tags (cardboard or paper tags attached to a product) give them a polished, store-quality look. We offer many options. Popular choices include kraft paper tags for a natural, eco-friendly feel. Or, elegant coated cardstock for a more premium presentation. You can include your logo, care instructions, or a personal message.
- Design help & expertise: Not sure how to design your label or tag? Don’t worry! Packlove offers design assistance. Our team can help you turn your ideas into a professional design that you’ll love. We ensure it looks great on the final product.
- Great for everyone – low MOQs: We believe beautiful branding shouldn’t be out of reach. Packlove caters to emerging designers, small businesses, and dedicated hobbyists alike by offering low MOQs (minimum order quantity), meaning you don’t need to be a big brand to access high-quality, custom branding solutions.
10. Frequently asked questions (FAQs) about hip curves
10.1 Can I just use a flexible ruler or draw freehand instead of a hip curve?
You can certainly try! However, a flexible ruler might not hold a specific curve shape as consistently as a rigid hip curve. It can be tricky to get the same smooth line every time. Drawing freehand, especially for beginners, often leads to uneven, wobbly, or less professional-looking hip lines. A hip curve is specifically designed to give you that ideal, gentle hip shape easily and repeatedly, ensuring accuracy.
10.2 Are there different sizes or styles of hip curves?
Yes, while most hip curves share that characteristic long, gentle curve, you might find some variations. Some could be slightly longer or shorter, or have subtly different curve profiles. However, a standard-sized hip curve (typically around 24 inches or 60 cm long) is very versatile. It works well for the vast majority of adult garment projects. For children’s wear, smaller versions are sometimes available. Or you simply use a smaller portion of the standard curve.
10.3 Where can I find a hip curve ruler?
You can usually find hip curve rulers at most craft stores. Also at shops that specialize in sewing supplies, fabric stores, and of course, from many online retailers.
Some people also search for a ‘Printable hip curve pattern free’ online. They might want to make a temporary one from cardstock to try out the shape first. Though a sturdy plastic or acrylic one is much better for regular use and accuracy.
10.4 Is a hip curve really necessary if I’m just starting to sew?
If you plan to sew garments that are shaped or fitted around the hip area (like most skirts, pants, shorts, and many styles of dresses), a hip curve is extremely helpful, even for beginners. It will make the process of getting a good fit and smooth, professional-looking lines much easier.
It will also be less frustrating. For very simple, straight projects like tote bags, pillowcases, or basic aprons, you might not need it right away. But it’s a fantastic tool to add to your kit as soon as you want to tackle more fitted clothes. Many consider it one of the best hip curve for beginners in pattern making because of the immediate improvement it brings to hip shaping.
10.5 What’s the difference between a hip curve and a styling design ruler?
A styling design ruler (often just called a design ruler or L-square with a curve) is typically a longer, more multi-purpose ruler. It often combines a long straight edge (sometimes L-shaped) with a very long, gentle curve. It’s generally used for broader strokes in pattern making.
Examples include drawing long seam lines on pants or skirts, establishing grainlines, squaring corners, and drafting style lines over larger areas. A hip curve is more specialized. Its curve is specifically shaped to mimic the human hip for drawing those particular side seams and hip contours. While a styling design ruler has a curve, the hip curve’s shape is more refined for that specific hip area.
Explore more:
So, that’s the hip curve in a nutshell – a simple but incredibly useful drafting instrument (a tool used for technical drawing) for your sewing toolkit! It’s a fantastic helper for anyone, from beginners to experienced sewers. It helps make clothes that fit well around the hips and look beautifully shaped and professional.
Don’t be afraid to get one and practice using it. You’ll quickly see how it improves your pattern making. It makes drawing those tricky hip lines so much easier. Remember, smooth curves make beautiful garments, and the hip curve is your friend in achieving them!


