


Backstitch: Strong Seams for Quality Apparel


Understanding fundamental sewing techniques is crucial for any apparel business aiming for quality and durability. This guide delves into the backstitch, exploring what this foundational stitch technique entails, why its proper execution is essential for product longevity and customer satisfaction, and how to master it both by hand and using a sewing machine.
Discover step-by-step instructions, troubleshooting tips for common issues like bulkiness, and insights into when and where backstitching provides the most value, ensuring your garments stand the test of time.
1. What is a Backstitch, Really? Understanding This Fundamental Sewing Stitch
A backstitch is a foundational sewing stitch characterized by making individual stitches backward relative to the general direction of sewing. This method creates a strong, continuous, and locked line of thread. Its primary function is to securely join fabric layers and significantly reinforce the beginning and end of seams, contributing greatly to garment durability and overall security.
The strength of the backstitch comes from its unique mechanism; each stitch goes back to interlock with the previous one. This process effectively locks the thread in place, preventing the seam from easily pulling apart or unraveling, unlike simpler stitches like the running stitch, which leaves small gaps between stitches.
Think of it like tying a tiny, secure knot with the thread at the very start and end of your seam, ensuring it cannot readily unravel. Mastering this stitch technique is fundamental for robust seam construction.
2. Why Backstitching is Non-Negotiable for Quality Apparel Businesses
For businesses focused on apparel, consistent backstitching is a cornerstone of quality construction. Its most critical role is preventing seam unraveling. By acting as a secure stop-lock at vulnerable seam ends, backstitching stops threads from pulling loose, which can easily happen during normal wear, washing cycles, and points of stress on the garment. This simple step is therefore directly linked to garment durability and longevity, helping to meet customer expectations for items that last. Investing time in proper seam reinforcement is fundamental.
Furthermore, careful backstitching is widely recognized as a sign of quality craftsmanship in commercially produced garments. Its presence (or absence) subtly communicates the level of care taken during garment assembly, impacting a customer’s perception of the product’s overall quality and trustworthiness.
From a business perspective, the benefits are tangible: diligently applied backstitching helps reduce returns resulting from seam failures, saving potential costs associated with replacements or repairs. More importantly, it builds brand reputation and fosters customer trust by consistently delivering reliable, well-constructed products. Using this utility stitch effectively enhances the perceived value of the finished apparel.
3. Mastering the Hand Backstitch: Precision and Ultimate Strength
3.1 Best Use Cases
Hand backstitching offers precision control, making it ideal in specific situations:
- Working with delicate or sheer fabrics where the feed dogs (the mechanism under the needle plate that moves fabric) of a sewing machine might cause damage or puckering.
- Executing precise, visible repairs where neatness and control are paramount.
- Sewing tight curves or sharp corners that are difficult to maneuver accurately with a machine.
- Serving as a fundamental hand sewing technique for teaching and learning sewing basics, building foundational skills.
3.2 Tools & Prep
Executing a hand backstitch requires minimal tools:
- Hand sewing needles: Select a needle size appropriate for both the fabric weight and the thread being used. Sharps are good general-purpose needles, while Betweens are shorter and useful for detailed work.
- Quality thread: Choose a thread compatible with the fabric material (e.g., polyester thread for synthetics, cotton thread for natural fibers).
- Thimble (optional): Protects the finger used to push the needle through the fabric, especially helpful with thicker materials.
- Fabric prep: Ensure you are aware of the fabric grain (the direction of the threads). Marking the seam allowance (the area between the fabric edge and the stitching line) or the exact stitch line with a fabric marker or chalk can aid accuracy, particularly for beginners.
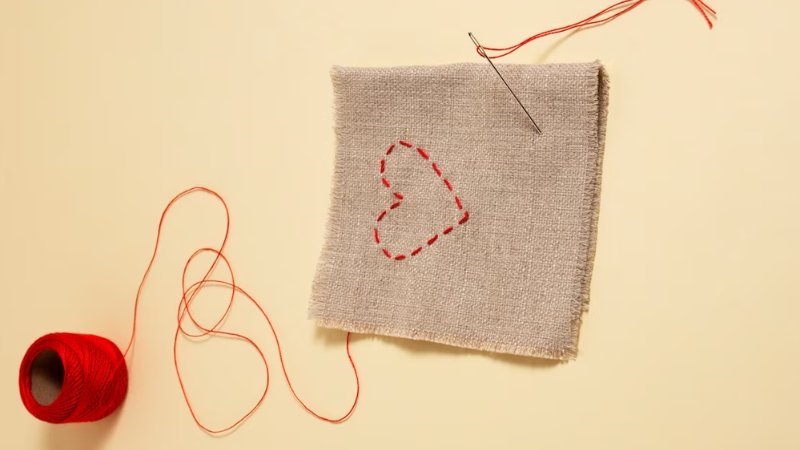
3.3 Step-by-Step Hand Stitching Method
- Anchor: Bring the threaded needle up from the underside of the fabric at point A (this point should be one desired stitch length forward from the actual starting point of the seam). Make one stitch backward, inserting the needle down at the intended start point (point B) and bringing it back up again at point A. This secures the initial stitch.
- First full stitch: Move the needle forward underneath the fabric, typically two stitch lengths from point B, and bring it up at point C.
- Backward motion: Insert the needle back down into the exact same hole where the thread emerged at the end of the previous stitch (point A). While the needle is underneath, angle it forward and bring the tip out at point D (one stitch length ahead of point C), ready for the next stitch.
- Repeat: Continue this stitching method: bring the needle up one stitch length ahead, then insert it back down into the precise exit point of the previous stitch. This creates the characteristic solid line of the backstitch, following a rhythm often described as “two steps forward (underneath), one step back (on top)”.
- Consistency: Maintain a uniform stitch length (a common length is around 1/8 inch or 2-3mm) and apply even tension – the stitches should be snug against the fabric but not so tight that they cause puckering.
- Finish: Once the seam is complete, take the needle to the underside of the fabric. Secure the thread by making 2-3 tiny overlapping stitches directly on top of each other or by tying a small, tight knot close to the fabric.
4. Efficient Seam Security: Using Your Sewing Machine’s Backstitch Function
4.1 The Reverse Gear
Most modern sewing machines are equipped with a function for sewing in reverse, essential for machine backstitching. This control is typically a button or lever located on the front panel of the machine, often near the stitch length or width controls. It’s commonly marked with a symbol resembling a U-turn arrow (↶).
If you are unsure of its location or operation on your specific model, consulting your sewing machine’s manual is the best course of action. Identifying this sewing machine reverse control is the first step.
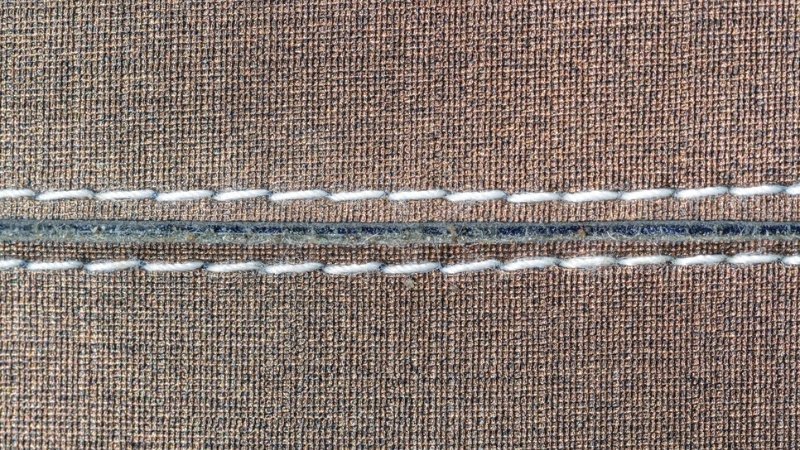
4.2 Standard Machine Backstitching Technique
- Position the fabric layers under the presser foot (the foot that holds the fabric down) so the needle is positioned at the very starting edge of the seam. Lower the needle into the fabric and then lower the presser foot.
- Sew forward approximately 3-4 stitches along the intended seam line.
- Press and hold down the reverse button or lever. The machine will begin sewing backward; gently guide the fabric straight back so that the machine stitches directly over the initial 3-4 stitches, aiming to stop exactly at the starting point.
- Release the reverse control.
- Resume sewing forward, continuing along the designated seam line for the entire length of the seam.
- As you approach the end of the seam, stop sewing precisely where the seam needs to terminate. Keep the needle down in the fabric.
- Press and hold the reverse control again. Stitch backward for 3-4 stitches, ensuring these stitches land directly on top of the last few stitches of the forward seamline.
- (Optional but often recommended for a clean finish) Release the reverse control and sew forward again just to the fabric edge or the precise endpoint of the seam. Lift the needle out of the fabric and raise the presser foot. Trim the threads. This machine technique efficiently secures both ends of the seam.
5. Strategic Backstitching: Knowing When and Where It Matters Most
Effective backstitching involves knowing where it provides the most benefit for structural integrity and reinforcement.
Essential points for securing seams: Backstitching is generally required at the beginning and end of primary structural seams, including:
- Side seams of tops, dresses, skirts.
- Shoulder seams.
- Sleeve seams (both setting the sleeve into the armhole and closing the underarm seam).
- Waistband attachments.
- Inseams and outseams on pants and shorts.
- The beginning and end points of darts (tucks sewn to shape fabric).
- The start and finish of standard hems (unless using a decorative stitch that self-locks).
- Exception: You might omit backstitching if that specific seam end will be fully enclosed and secured by another seam crossing over it later in the construction process.
High-stress zones needing reinforcement: Pay extra attention to backstitching in areas subject to more strain:
- Crotch points on pants and shorts.
- Underarm points where sleeves meet the bodice.
- Corners, such as on collars, cuffs, or patch pockets, before turning them right-side out.
- Points where straps, handles, or tabs are attached.
- The start and end points of zipper installations.
- The beginning and end of machine-stitched buttonholes.
When to skip: The main exception for omitting backstitching is when a raw edge will be definitively stitched over and secured when joining another pattern piece. A common example is in quilting, where block edges might be sewn together later with sashing.
Another is when a lining edge will be sewn into a facing, enclosing the raw edge completely. This is done strategically to avoid unnecessary bulk only where the seam end is otherwise secured. If there is any doubt about whether an edge will be crossed by another seam, it is generally safer to backstitch.
6. Troubleshooting & Pro Tips for Flawless Backstitching
6.1 Issue: Seam Bulkiness
A common concern, especially when working with lightweight or fine fabrics, is that the overlapping stitches created by standard backstitching can result in noticeable thickness or a small lump at the seam’s beginning or end. This bulkiness can sometimes affect the drape or appearance of the finished garment.
6.2 Solution 1: Shorten Stitch Length
To minimize bulk while still ensuring a secure lock, try adjusting the stitch length temporarily. When you begin the seam, reduce your machine’s stitch length setting – for example, from a standard 2.5mm down to 1.0mm or 1.5mm – for just the initial 3-4 forward stitches and the subsequent 3-4 backward stitches.
Immediately after completing the backward segment, reset the stitch length to your normal setting for the remainder of the seam. Repeat this process in reverse at the seam’s end (sew to the end, shorten stitch length, backstitch 3-4, stitch forward 3-4 to the edge if desired, then reset).
Shorter stitches lock securely with less thread accumulation in a small area, this method effectively reduces bulkiness by using shorter, less intrusive stitches to lock the seam.
6.3 Solution 2: Alternative Start Method
Another technique to reduce bulk at the very start of a seam involves altering the initial sequence:
- Instead of starting at the fabric’s edge, position the needle about 1/2 inch (or 1 cm) in from the raw edge.
- Immediately engage the reverse function and stitch backward towards the starting edge of the fabric, stopping right at the edge.
- Release the reverse control and then sew forward, stitching directly over the reversed stitches and continuing along the main seam line. This method results in only two layers of stitching at the very beginning (the backward segment and the first part of the forward segment), compared to the standard technique’s three layers (forward, back, forward), thus noticeably reducing bulk.
6.4 Tip: Fabric & Thread Considerations
Consider slightly adjusting the number of backstitches based on the material. For very sheer or lightweight fabrics where any bulk is highly visible, reducing the backstitch to only 2-3 stitches (instead of 3-4) back and forth might be sufficient and less intrusive. Always strive to match your thread weight and thread material to the fabric type for optimal results and compatibility.
6.5 Tip: Use the Right Needle
Remember that selecting the correct sewing machine needle type (e.g., Universal for wovens, Ballpoint/Jersey for knits, Microtex/Sharp for fine wovens or microfibers) and size for your specific fabric is fundamental to good stitch quality overall.
A proper needle helps prevent skipped stitches, puckering, or fabric damage, which can be particularly important during the direction changes involved in backstitching. Using the appropriate needle type contributes to smoother execution.
7. Beyond Construction: Backstitch in Decorative Needlework
7.1 Brief Overview
While crucial for construction, the backstitch also holds a significant place in the world of hand embroidery. It is a fundamental and versatile embroidery stitch valued for its clean lines and strength. Common decorative applications include creating crisp outlines for shapes and motifs, forming neat lettering and text, and adding fine linear details to embroidered designs.
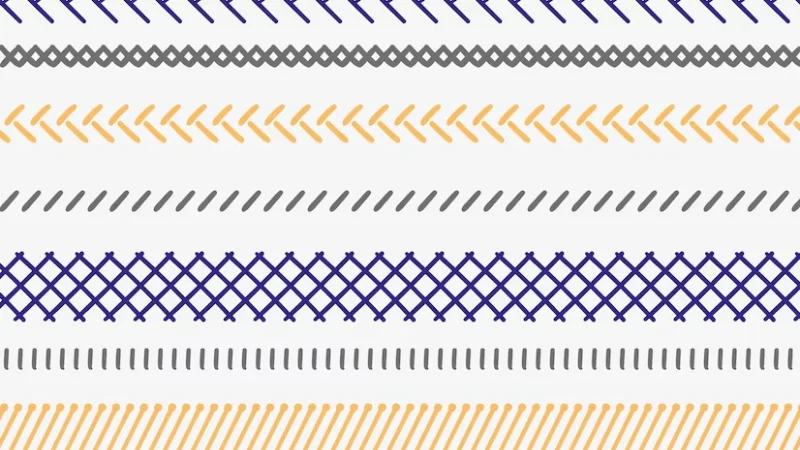
7.2 Mentioning Variations
For achieving different visual effects in needlework, several variations related to the backstitch exist. Notable examples include Stem Stitch, which produces a slightly raised, rope-like twisted line often favored for depicting plant stems or curved lines.
Another is Split Stitch, where the needle specifically pierces through the thread of the previous stitch, resulting in a textured, chain-like line. These are part of a broader family of needlework techniques that build upon the basic back-and-forth motion of the backstitch for decorative purposes.
8. Related Questions
8.1 What’s the best thread for strong backstitching?
For most garment construction requiring strong seams, a good quality all-purpose polyester thread is an excellent choice. Polyester offers strength, durability, resistance to abrasion, and a slight amount of give, making it suitable for backstitching on a wide variety of fabrics.
If working with 100% natural fiber fabrics like cotton, a high-quality cotton thread can be used, though it may be less durable than polyester over time. Regardless of fiber, ensure the thread weight is appropriate for your fabric – using thread that’s too thick or too thin can compromise stitch quality.
8.2 Can I backstitch on knit or stretchy fabrics?
Standard backstitching with a straight stitch on knit fabrics or highly stretchy materials can sometimes cause problems. Because the straight backstitch itself has no stretch, it can lead to popped threads or puckering when the fabric stretches.
If your sewing machine has a built-in stretch lock stitch (often looks like three tiny straight stitches overlapping or a small lightning bolt symbol), that is the ideal choice for securing seam ends on knits. Alternatively, using a very narrow zig-zag stitch (e.g., 0.5mm width, 1.0-1.5mm length) for the backstitching portion can provide some flexibility.
If you must use a straight stitch, backstitch very carefully with a reduced stitch length (around 1.0-1.5mm), or secure the seam by setting the stitch length to almost zero and taking 3-4 stitches in the same place instead of reversing.
No reverse button doesn’t mean you can’t secure your seams! One effective method is manual knotting: leave longer thread tails (around 4-6 inches) at both the beginning and end of your seam. After sewing the seam, simply tie these top and bobbin thread tails together securely using a square knot (right over left, then left over right) pulled snug against the fabric.
Another machine-based alternative is to utilize the stitch length control: at the very beginning and very end of the seam, reduce the stitch length setting to its lowest possible value (usually 0 or very close to it) and sew 3-4 stitches directly in place. This effectively locks the stitches without needing to sew backward.
8.4 Is backstitch the same as lockstitch?
No, backstitch and lockstitch refer to different concepts in sewing. Backstitch is the technique or action of sewing backward for a few stitches over the beginning or end of a seam line specifically for reinforcement. Lockstitch, on the other hand, describes the type of stitch structure that most standard home sewing machines create.
A lockstitch is formed when the upper (needle) thread and the lower (bobbin) thread interlock together in the middle of the fabric layers. Your sewing machine produces lockstitches constantly as it sews forward, and it continues to produce lockstitches even when you use the reverse function to perform the backstitching technique.
Read more:
In summary, the backstitch, whether executed by hand or machine, is a straightforward yet indispensable sewing technique. Its consistent application is fundamental for creating strong, durable seams capable of withstanding wear and tear. Mastering and diligently using this skill directly translates to higher quality, longer-lasting apparel.
This enhances customer satisfaction and builds a reputation for reliable, well-made products – critical factors for success in the clothing business. Integrating proper backstitching is a key step in refining your fundamental sewing techniques.
Make backstitching a conscious and standard part of your sewing process to ensure every garment meets a high standard of construction. For further guidance on enhancing your garment construction, or advice on choosing the best labels, tags, zipper bags to package your finished products professionally, explore available resources or seek tailored support to elevate your brand presentation.


