


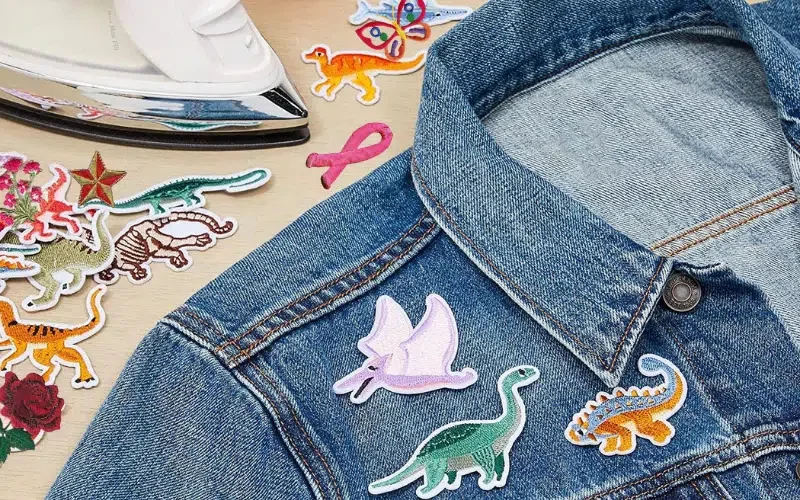
Can You Use A Steamer For Iron On Patches? Why Not And Best Way


Personalizing apparel with iron-on patches is a fun way to showcase your style, but achieving a durable bond is key. This guide directly addresses the common question: can you use a steamer for iron on patches? We’ll explain exactly why a steamer’s moist heat and lack of direct pressure are unsuitable for activating patch adhesive.
Instead, you’ll learn the definitive method using a traditional iron for a secure, long-lasting application. You will also discover practical techniques and clever alternatives for when an iron isn’t available, ensuring your patches are applied perfectly and stay put every time.
1. Understanding why steamers and iron-on patches don’t mix
To understand why a steamer isn’t the right tool, it helps to know how iron-on patches work. Even though steamers and irons both get hot, the way they deliver heat is very different.
1.1 How heat-activated adhesive works
Iron-on patches have a special layer of heat-activated glue on the back that is solid at room temperature. For the adhesive to activate and create a strong bond, it needs two things: direct, dry heat to melt and become sticky, and firm pressure to push the melted glue deep into the fabric fibers.
1.2 The problem with using a steamer
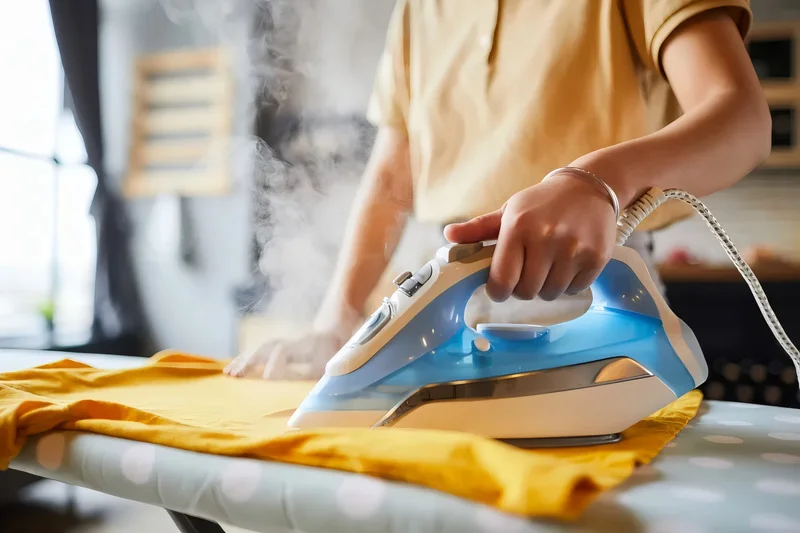
A garment steamer is designed for removing wrinkles with moist heat, not for attaching patches. Here’s why it’s a poor match for your iron-on projects.
- Moisture is the enemy: Steam is hot water vapor, and this moisture interferes with the patch adhesive. Water can prevent the glue from sticking properly or can significantly weaken the bond. This is the biggest risk of using steam on an iron-on patch.
- Lack of direct, even heat: Steamers release heat in a dispersed way to relax fabric wrinkles. This is very different from the concentrated, dry heat that patches need to melt the adhesive evenly across the entire patch.
- No consistent pressure: Patches need firm, even pressure to push the melted glue into the fabric. A steamer’s nozzle isn’t designed to press down hard or evenly, which is a critical step for a strong bond.
1.3 What happens if you try it anyway?
If you attempt to use a steamer for your iron-on patches, you will likely face these problems. The patch may not stick at all, or it might stick partially and begin to peel off easily at the edges. In some cases, the combination of moisture and uneven heat can create a messy glue residue or even damage the patch or your fabric. This is why proper application is essential, especially for patches with high-quality adhesives designed for dry heat.
2. Applying patches with a dry iron
Now that we know why a steamer isn’t suitable, let’s focus on the best household tool for the job: a standard clothes iron set to dry heat. This method provides the direct heat and firm pressure needed for a strong, lasting bond.
2.1 What you’ll need
Before you start, gather these items:
- Your iron-on patch: These instructions are suitable for all standard embroidered patches and heat transfer labels.
- The garment: Ensure it’s clean and made from a heat-tolerant fabric like cotton, polyester, or denim.
- A household iron: The most important step is to ensure the steam function is turned off.
- A pressing cloth: A thin piece of cotton fabric, like a pillowcase, or a sheet of parchment paper will protect your patch and garment from direct heat.
- A hard, flat, heat-resistant surface: An ironing board can be too soft. A wooden table with a towel on it often works better for applying firm pressure.
2.2 Step-by-step application guide
Follow these steps for a perfect application.
- Prepare your garment: Make sure it’s clean and dry. Iron the area where the patch will go first to remove wrinkles and pre-warm the fabric.
- Set your iron: Use a medium-high setting, like the one for cotton. Crucially, ensure the steam is off. If you’re unsure, test the iron on a hidden part of the fabric first.
- Position your patch: Carefully place the patch exactly where you want it.
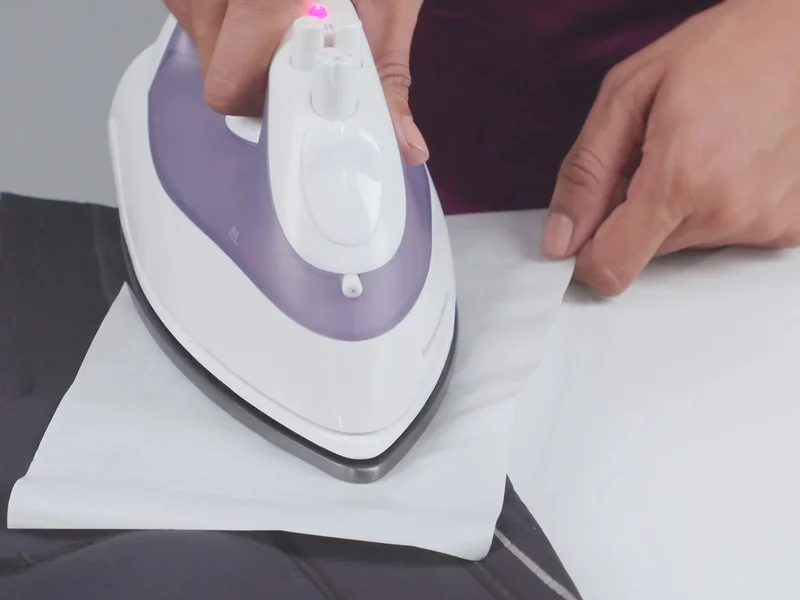
- Use a pressing cloth: Cover the patch with your pressing cloth. This prevents the patch or fabric from getting shiny or scorched.
- Press firmly: Place the hot iron on top and press down hard. Hold it still for 30-60 seconds; don’t move it around like you’re ironing clothes. Always check the instructions that came with your specific patch.
- Flip and press again: For an even stronger bond, we recommend turning the garment inside out and pressing the area behind the patch for another 20-30 seconds.
- Let it cool: This is a critical step! Allow the patch and fabric to cool down completely. This lets the adhesive harden and create a permanent bond. Trying to check the patch while it’s still hot is a common reason for application failure.
- Check the adhesion: Once cool, gently try to lift an edge. If it lifts, repeat the pressing steps with a bit more time or pressure, then let it cool again.
2.3 Tips for success
- Know your fabric: Iron-on patches work best on cotton, polyester, and denim. They can be tricky on silky, very stretchy, or waterproof materials.
- Ensure no steam: Double-check that your iron’s steam function is turned off. Moisture is the primary reason for adhesive failure.
- Patience is key: Let the patch cool completely before you check it or wear the item.
- Use quality patches: The durability of your patch depends not only on the application method but also on the quality of the adhesive itself. High-quality patches and labels are designed for a stronger, more permanent bond when applied with dry heat.
3. Alternatives for applying patches without an iron
While a dry iron is the best household tool, what if you don’t have one? Let’s look at some alternative methods.
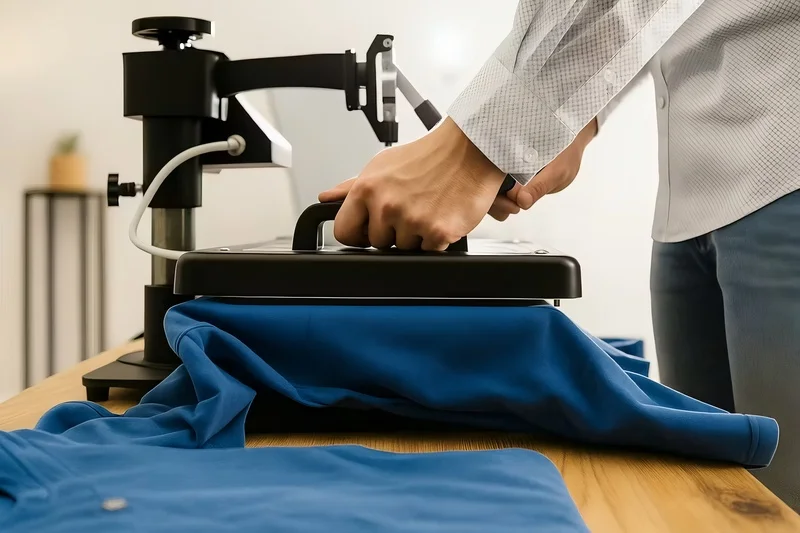
3.1 Using a heat press machine
A heat press machine is specialized equipment that provides perfectly even heat and consistent pressure, which is ideal for applying patches. While it can be expensive for casual use, a heat press is a great investment for the best, most professional results, especially if you’re applying many heat transfer labels or running a small business.
3.2 Using a hair straightener
For very small patches, a hair straightener might work in a pinch. Its heated plates can provide direct heat and some pressure. However, it’s difficult to get even pressure, and there’s a high risk of overheating spots, damaging the patch, or even the straightener itself. We do not officially recommend this method. If you try it, do so at your own risk and always use a pressing cloth.
3.3 Can you use a hair dryer?
No, a hair dryer is not effective. It blows hot air but does not provide focused, direct heat or the essential pressure needed to bond the adhesive to the fabric. It has the same problems as a steamer.
4. If a steamer is your only option
We strongly advise against using a steamer for iron-on patches. The risk of the patch not sticking, peeling, or being damaged is extremely high due to moisture interference and lack of pressure.
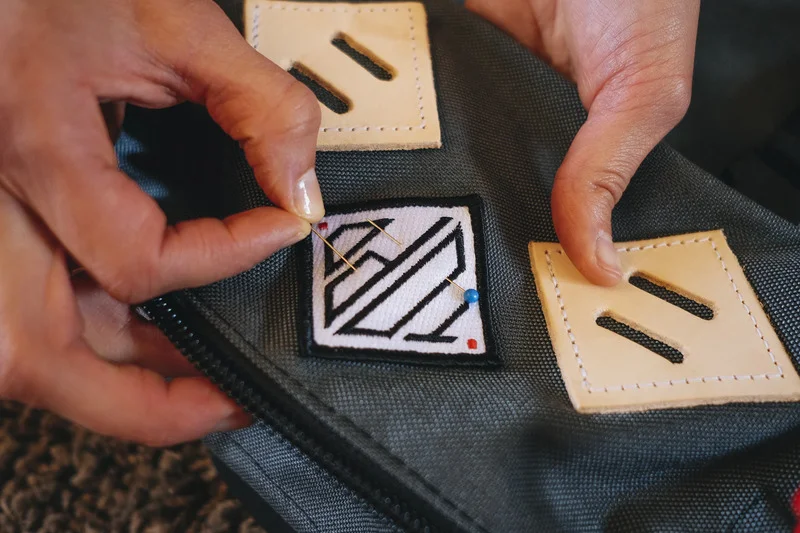
Honestly, it’s better to borrow an iron or consider patches that don’t require heat. Packlove offers excellent sew-on options like high-quality woven labels and durable rubber labels, which provide a professional look and are securely attached by sewing.
5. Troubleshooting common iron-on problems
Even with an iron, issues can arise. Here’s how to solve them.
5.1 Patch edges are peeling
- Cause: Usually not enough heat, pressure, or time was applied to the edges. It could also be that the patch wasn’t allowed to cool completely.
- Solution: Place the pressing cloth over the patch and re-press the peeling edges firmly for another 15-20 seconds. Let it cool completely.
5.2 Patch isn’t sticking at all
- Cause: The iron might not be hot enough, the steam function may have been on, or the fabric is unsuitable (e.g., nylon, highly textured, or heat-sensitive).
- Solution: Double-check your iron settings for dry, high heat. If the fabric is the issue, a sew-on patch is a better choice.
5.3 Fabric is scorching or looks shiny
- Cause: The iron is too hot for the fabric, or you didn’t use a pressing cloth.
- Solution: Prevention is key, as scorching is often permanent. Always use a pressing cloth and test your iron’s temperature on a hidden spot first.
6. How to care for garments with iron-on patches
Proper care will help your patches look great and last longer.
6.1 Washing instructions
- Wait: Allow at least 24-48 hours for the adhesive to fully cure before the first wash.
- Turn inside out: Protect the patch from abrasion by turning the garment inside out.
- Use cold water: Wash on a gentle cycle with cold water, as hot water can weaken the glue over time.
6.2 Drying instructions
- Air dry is best: Lay the garment flat or hang it to air dry for the gentlest option.
- Low heat for tumble drying: If you must use a dryer, use the lowest heat setting. High heat can damage the patch or soften the adhesive.
7. Frequently asked questions (FAQs)
7.1 So, can I use a steamer for iron-on patches at all?
No, it is not recommended. A steamer uses moist heat and lacks the direct pressure required for the adhesive to bond properly. For the best results, use a dry iron or a heat press.
7.2 Why is steam bad for iron-on patches?
Steam is moisture, which compromises and weakens the patch adhesive. Steamers also fail to provide the direct, even heat and firm pressure that are essential for a strong, lasting bond.
7.3 What is the best tool for applying iron-on patches?
For household use, a standard iron on a dry setting is the best tool. For professional or high-volume applications, a heat press machine is ideal because it provides perfectly even heat and pressure.
7.4 Can I apply Packlove heat transfer labels with a steamer?
No, Packlove advises against using a steamer for our heat transfer labels. Please use a dry iron or a heat press and follow the application instructions we provide for a successful bond.
7.5 What if my patch still comes off after ironing?
This usually means it needed more heat, more pressure, or more time. It could also indicate that the fabric was not suitable for an iron-on application. Please refer to our troubleshooting section for solutions.
Explore more:
While a steamer is excellent for removing wrinkles, it’s the wrong tool for applying iron-on patches. Success depends on the essential combination of direct, dry heat and firm, consistent pressure. Using a standard iron or a heat press is the only way to ensure your patches adhere securely and look fantastic for years to come.
At Packlove, we’re dedicated to helping you achieve professional results. Whether you choose our high-quality iron-on heat transfer labels or our durable sew-on options, we provide the tools and guidance to bring your brand’s vision to life with confidence.


