


Convert Iron-On Patches to Velcro: Expert Guide


Seeking greater versatility than permanent iron-on patches offer for your apparel business? Directly attaching velcro to heat-activated backing is unreliable. This guide details exactly how to make an iron-on patch velcro, transforming your existing inventory into removable, swappable options.
Master the primary no-sew method using strong fabric glue, explained step-by-step for a secure attachment. Explore alternative techniques like sewing for maximum durability. Successfully converting your patches unlocks greater customization flexibility for jackets, bags, and gear, enhancing product appeal and meeting customer demand for adaptable style.
1. The advantage: Why convert an iron-on patch to a hook and loop patch?
Converting iron-on patches to hook and loop patches (commonly known as Velcro patches, though Velcro is a brand name) offers significant advantages for apparel customization:
- Flexibility & swappability: Velcro patches allow end-users or businesses to easily swap patches between different garments or gear (like jackets, bags, or hats) without permanent commitment. This enables quick style changes or updates.
- Compatibility with heat-sensitive items: Ironing is unsuitable for delicate fabrics or items like certain synthetics, leather, or gear that cannot withstand high heat. Converting to velcro allows patches to be used on these items safely.
- Easier removal & replacement: If a patch needs to be removed later for cleaning, replacement, or repositioning, a velcro attachment is far simpler and less likely to damage the underlying fabric compared to removing a fully bonded iron-on patch.
- Offering customer choice: For businesses, providing patches with a velcro option gives customers more control over how and where they display the patches, increasing the product’s appeal and perceived value. This adaptability enhances apparel customization possibilities.
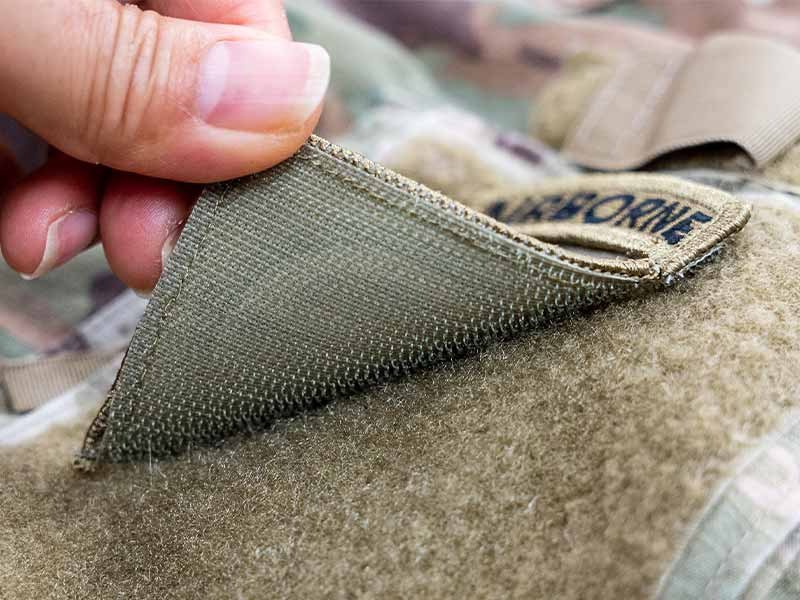
2. Understanding the core challenge: Iron-on backing meets Velcro
The core challenge in this patch conversion lies in material incompatibility and the nature of the attachment methods. Iron-on patches feature a heat-activated adhesive backing designed to melt and bond with fabric fibers when ironed. Standard hook and loop fastener strips, however, are typically made from nylon or plastic materials.
Attempting to directly iron a standard velcro strip onto an iron-on patch backing rarely works effectively; the iron-on adhesive isn’t formulated to create a strong bond with the smooth, non-porous surface of the velcro backing.
Furthermore, applying the high heat required to activate the iron-on adhesive poses a significant risk of melting or warping standard velcro strips, rendering them unusable. This fundamental incompatibility between the heat-activated backing and standard velcro necessitates alternative attachment methods like using fabric glue or sewing for a successful patch conversion.
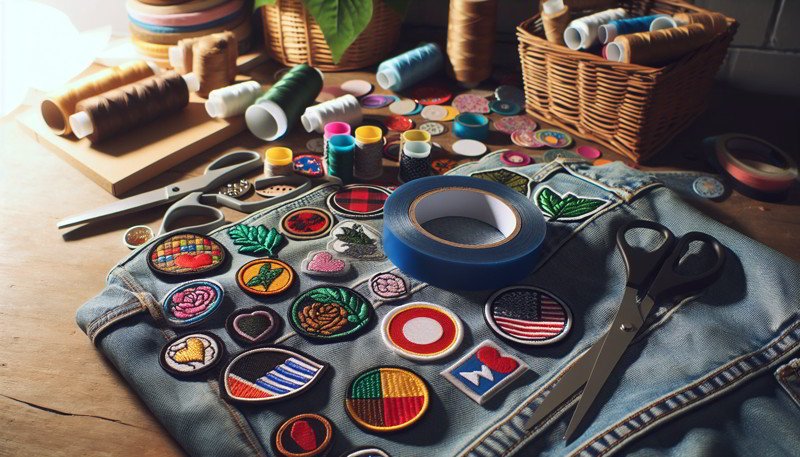
3. Gathering your supplies: Materials for patch conversion
To convert your iron-on patches, gather the following materials and tools:
3.1 Essential items
- Your iron-on patch: The patch you intend to convert.
- Velcro strips (hook and loop): You’ll need both the rough hook side and the soft loop side. Ensure you have enough to match the size of your patch.
- Strong fabric adhesive: Choose a high-quality glue specifically designed for fabrics that remains flexible and is washable after curing. Adhesion type should provide a strong bond.
- Sharp scissors: For precise cutting of the velcro strips.
- Ruler or measuring tape: To measure the patch and velcro accurately.
3.2 Optional but recommended items
- Clamps or heavy objects (books): To apply even pressure while the adhesive cures.
- Rubbing alcohol or mild cleaner: To clean the patch backing before applying glue (ensure patch material is compatible).
- Needle and thread: For the sewing alternative or reinforcing the glue method. Choose a thread color that matches the velcro or patch edge.
- Iron (tool) & pressing cloth: Only needed if using specialized *iron-on* velcro strips (Alternative Method 3). Do not use with standard velcro.
4. The primary method: Converting with fabric glue (no-sew technique)
This section details the most common and accessible method for converting iron-on patches using fabric glue, requiring no sewing skills. This technique provides a strong bond when performed correctly.
4.1 Step 1: Prepare patch and cut velcro
- Clean the patch backing: Ensure the back surface of the iron-on patch is clean, dry, and free from dust or oils. If suitable for the patch material, gently wipe with rubbing alcohol and let dry completely. A clean surface promotes better adhesion.
- Measure and cut hook velcro: Measure the dimensions of your patch. Cut a piece of the hook side (the rough, stiff side) of the velcro strip. Aim to cut the velcro slightly smaller (about 1/8 inch or 2-3mm) than the patch outline on all sides. Precise cutting prevents the velcro from showing around the patch edges and ensures a neater finish.
4.2 Step 2: Apply fabric adhesive
- Apply glue to velcro: Apply a thin, even layer of your chosen fabric adhesive to the *back* (smooth side) of the cut hook velcro piece.
- Ensure edge coverage: Pay special attention to applying glue close to the edges of the velcro strip, as this area is prone to peeling if not adequately secured. Avoid applying excessive glue, which can squeeze out and create lumps or a messy finish.
4.3 Step 3: Bond velcro to patch backing
- Position carefully: Immediately align the glue-coated hook velcro piece onto the center of the iron-on patch’s backing. Ensure alignment is correct before pressing down.
- Apply pressure: Press the velcro firmly onto the patch backing. Apply consistent, even pressure across the entire surface for several minutes (as per glue instructions) to ensure good contact and initiate the bond.
4.4 Step 4: Secure and cure
- Secure with weight: Place the patch (with velcro attached) under clamps or heavy objects like books. This maintains even pressure while the adhesive cures fully.
- Allow full curing time: Let the adhesive cure completely according to the manufacturer’s instructions. This is crucial for achieving a strong, lasting bond. Curing time typically ranges from 24 to 72 hours depending on the adhesive type and environmental conditions. Patience during this stage prevents premature bond failure.
4.5 Step 5: Prepare and attach the loop side to your gear
- Cut loop side velcro: Cut a piece of the *loop side* (the soft, fuzzy side) of the velcro to match the size of the hook piece you attached to the patch.
- Attach to fabric: Position the loop side piece onto the desired location on your garment or gear (e.g., jacket sleeve, bag flap, hat panel). For maximum durability, especially on items that will be washed frequently, sewing the loop side onto the fabric is highly recommended. Alternatively, you can use the same fabric adhesive following steps 2-4, but sewing provides a superior mechanical bond to the fabric.
5. Alternative approaches for attaching velcro
While fabric glue is often preferred for its ease, other methods exist for attaching the hook velcro to your iron-on patch back, depending on durability needs and available skills.
5.1 Method 2: Sewing for maximum durability
Sewing the hook velcro directly onto the back of the iron-on patch offers the most secure and durable attachment.
- Pros: Extremely strong bond, highly washable, less likely to peel over time compared to adhesives.
- Cons: Requires basic sewing skills (hand or machine), stitches may be visible on the front of thinner patches, can be time-consuming.
Matching the thread color to the velcro or patch border minimizes visual impact. Use a sturdy needle appropriate for the patch thickness. This method involves securing the velcro with stitches around its perimeter.
5.2 Method 3: Using specialized iron-on velcro strips
Some manufacturers produce specialized hook and loop strips with their own heat-activated adhesive. This is *not* the same as standard velcro.
- Pros: Potentially faster application than gluing if done correctly.
- Cons: Requires careful heat control (usually medium heat) to avoid melting the velcro itself, bond strength can vary, risk of damaging the patch or velcro is higher.
Crucially, follow the specific product instructions precisely, including temperature settings, pressing time, and using a pressing cloth (a protective layer between the iron and the velcro). Attempting to iron standard velcro will likely result in melting. This method carries more risk than gluing or sewing.
6. Expert tips for a professional & lasting velcro patch
Achieving a durable and neat conversion relies on attention to detail. Consider these tips:
- Choose the right glue: Select a high-quality, fabric-specific adhesive known for flexibility and washability after curing. Standard craft glues may become brittle or fail when washed.
- Prioritize surface preparation: Ensure both the patch back and the velcro back are clean and dry before applying adhesive. Any dust or grease will weaken the adhesion.
- Respect curing time: Do not rush the adhesive curing process. Allowing the full recommended time (often 24-72 hours) is essential for the glue to reach maximum bond strength. Testing the bond too early can compromise the secure attachment.
- Cut velcro slightly smaller: Cutting the hook velcro piece just slightly smaller than the patch ensures the edges won’t peek out, providing a cleaner look and reducing potential snagging points.
- Consider edge reinforcement: For extra security with the glue method, after the main bond has cured, you can carefully apply a very thin bead of glue around the edge where the velcro meets the patch, or add a few reinforcing stitches at the corners if possible.
- Test the bond gently: Once fully cured, gently try to peel the velcro from the patch. A secure, lasting bond should resist gentle pulling. If edges lift easily, reapplication or reinforcement may be needed. This helps ensure successful patch customization.
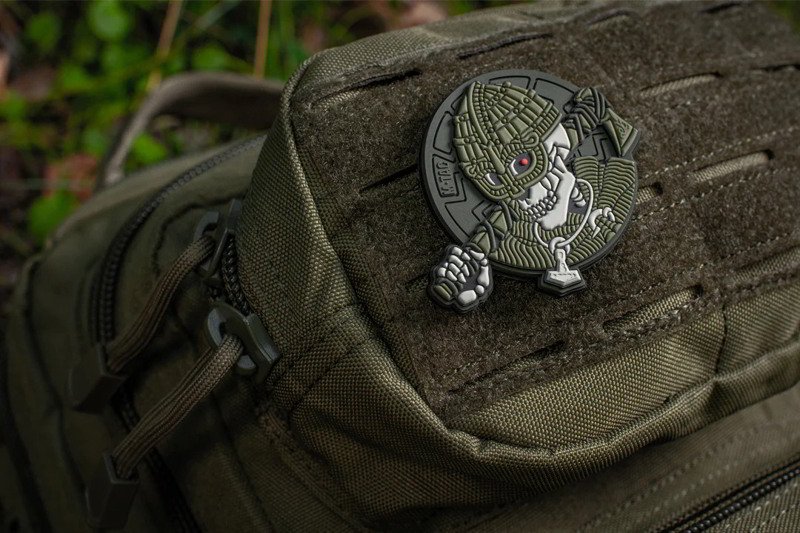
7. Ideas for using your newly converted removable patches
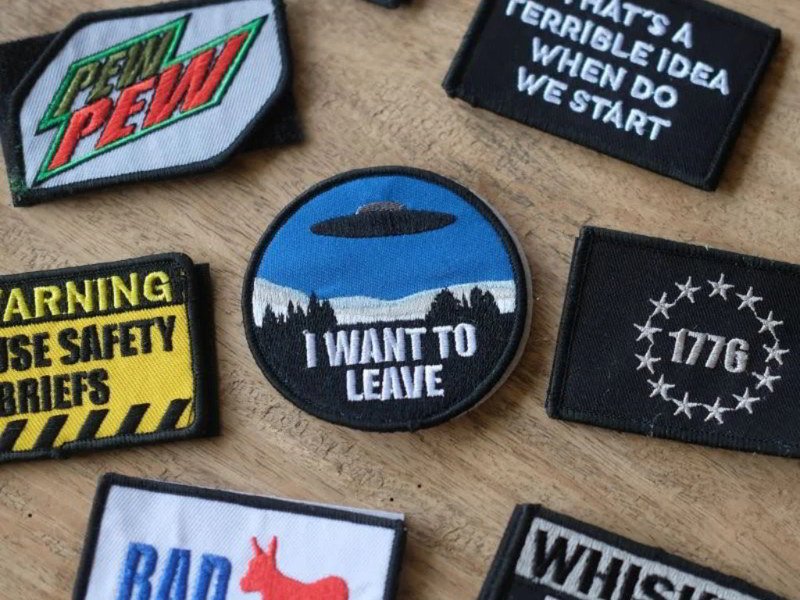
The beauty of converting iron-on patches to velcro lies in their newfound versatility. Use your removable patches on:
- Apparel: Jackets (denim, bomber, tactical), vests, hoodies, shirts.
- Accessories: Backpacks, messenger bags, tote bags, duffel bags.
- Headwear: Baseball caps, beanies, tactical hats.
- Gear: Tactical vests, plate carriers, tool rolls, equipment cases.
- Vehicle headliners: Some fabric headliners allow direct attachment of the hook side. (Test compatibility first).
This adaptability allows for easy patch customization and swapping across your entire wardrobe and gear collection.
8. Related questions (FAQs)
Here are answers to common questions about converted velcro patches.
8.1 Can I wash a patch converted with fabric glue?
Generally, yes, provided you used a high-quality, washable fabric glue and allowed the adhesive to cure completely before the first wash. However, longevity depends on the specific glue and washing conditions.
For best results, turn the garment inside out, use a gentle wash cycle with cold water, and air dry the item. Avoid high heat dryers, which can weaken the adhesive bond over time. Repeated or harsh washing may eventually degrade the bond strength.
8.2 What’s the strongest way to attach the velcro?
Sewing offers the maximum mechanical strength and durability for attaching the hook velcro to the patch backing and the loop velcro to the garment or gear. A securely sewn attachment is highly resistant to peeling and withstands washing better than most adhesives alone.
A strong runner-up combines fabric glue for the initial bond with reinforcing stitches around the perimeter of the velcro, providing both chemical and mechanical adhesion.
8.3 Will converting it ruin the original iron-on capability?
Yes, converting an iron-on patch to a velcro patch effectively disables its original iron-on functionality. The process involves covering the heat-activated backing with either glue and velcro or stitches and velcro. The patch becomes a dedicated velcro patch and can no longer be attached using heat. This is the nature of the patch conversion.
Read more:
Transforming standard iron-on patches into versatile hook and loop patches significantly enhances their usability, particularly for apparel businesses and individuals seeking customization options. The primary method using quality fabric glue offers a reliable and accessible no-sew solution when executed carefully.
Remember that proper preparation, using appropriate materials like fabric-specific adhesive, and allowing adequate curing time are crucial for a durable result. By adopting these techniques, you unlock greater flexibility for your patches, allowing them to be used across a wider range of apparel accessories and gear.
Should you encounter unique challenges or require advanced customization, exploring further resources or consulting with fabrication experts can provide additional guidance.


