


Gluing on Patches: Your Ultimate Guide to Perfect Application


Applying patches with fabric glue offers a versatile and accessible alternative to sewing or ironing, particularly useful for delicate fabrics or when heat application isn’t ideal. This comprehensive guide provides detailed, step-by-step instructions, material recommendations and essential troubleshooting advice. Gain the confidence to personalize your clothing and accessories with ease, achieving professional-looking results every time. Let’s see!
1. Choosing the Right Materials for Patch Gluing
1.1 Patch Types and Their Best Uses
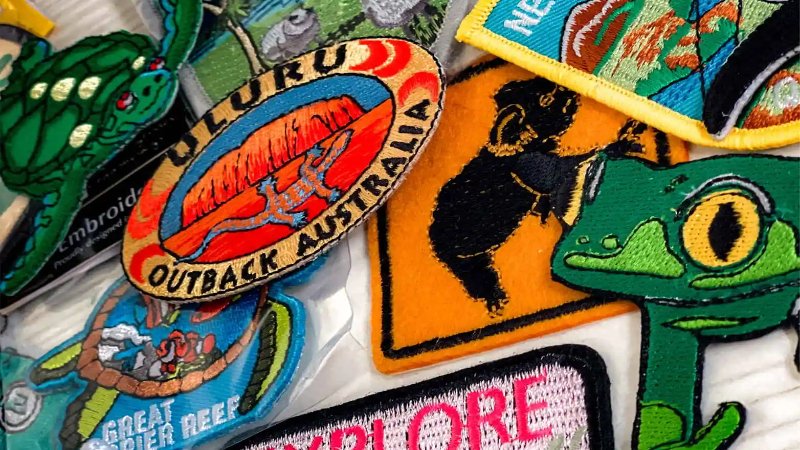
Embroidered patches offer intricate designs and a classic look, suitable for jeans, jackets, and bags. Chenille patches provide a plush, textured feel, ideal for jackets and bags. Leather patches add a rugged, high-end aesthetic, perfect for jackets and bags. Printed patches offer vibrant colors and detailed graphics, well-suited for various applications. Woven patches, with their durable construction, are excellent choices for clothing and accessories.
Choosing the right patch depends on your needs. For a rugged look on denim, embroidered or leather patches work best. Woven patches provide a professional finish on jackets, while chenille patches add a softer, more luxurious feel. For vibrant, detailed designs, printed patches are ideal.
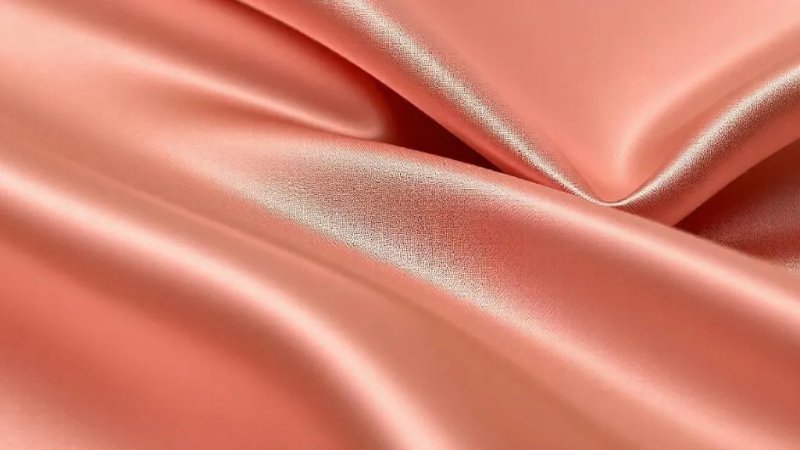
1.2 Fabric Compatibility with Glues
Fabric glue selection is crucial for a secure and lasting patch application. Porous fabrics like cotton, denim and flannel absorb glue readily, requiring a strong, quick-drying adhesive. Non-porous materials such as nylon, PVC and leather necessitate a glue with excellent adhesion to slick surfaces. Glue for patches should be compatible with both the patch material and the garment fabric. Using the incorrect adhesive can result in a loose patch or damage to the garment. Matching glue to fabric is key to a successful project.
2. Step-by-Step Guide to Gluing on Patches
2.1 Preparing the Surface for Gluing
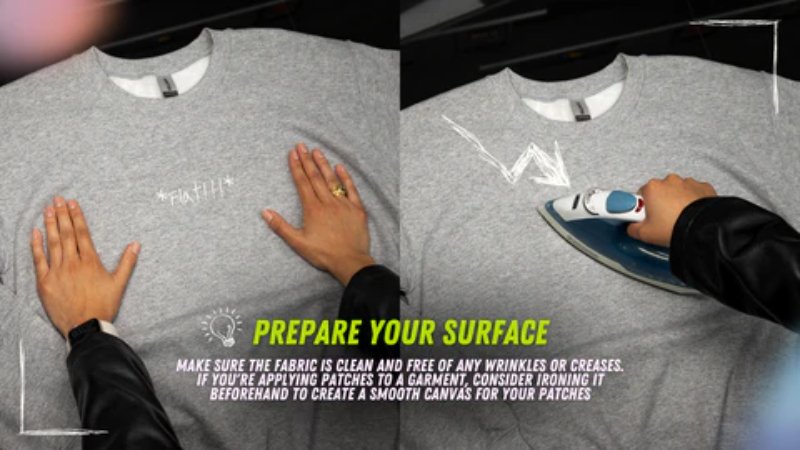
Preparing the fabric surface is crucial for successful patch adhesion. Clean the area thoroughly, removing dust, dirt and oils. A lint roller effectively removes debris from the fabric. Ironing the fabric ensures a wrinkle-free surface for optimal patch placement. A smooth, clean surface maximizes glue contact, preventing peeling or lifting. Drying the area completely before applying glue ensures optimal adhesion. Proper surface preparation is key to a long-lasting result. For best results, thoroughly clean and dry the garment’s surface before applying the patch.
2.2 Selecting and Applying the Right Glue
Choosing the correct glue is vital for a secure bond. Fabric-specific glues like Aleene’s, Beacon Fabri-Tac and E6000 offer excellent adhesion and flexibility. Avoid unsuitable glues such as super glue or hot glue, which can damage fabric or cause discoloration. Apply glue evenly with a toothpick, small brush or cotton swab to avoid excess. Even glue distribution ensures consistent adhesion. Consider the drying time of the adhesive when choosing a glue.
2.3 Ensuring Proper Adhesion and Drying
After applying the patch, firm, even pressure is necessary for optimal adhesion. Use your fingers, a roller or a heavy object to press the patch firmly against the fabric for several minutes. A hairdryer on a low heat setting can speed up the drying process carefully. Gently smoothing outwards from the center removes air bubbles and ensures a flat, smooth finish.
Remove any air bubbles during the drying process by gently smoothing the patch from the center outwards. This will prevent air from becoming trapped, which can lead to the patch peeling up.
2.4 Sealing the Patch (Optional)
For added durability, consider sealing the patch edges with a fabric sealant or seam sealer. This is particularly beneficial for frequently washed items or patches in high-stress areas. A waterproof sealant adds further protection. This step significantly extends the patch’s life and prevents fraying or peeling. Choose a sealant compatible with both the patch and garment fabric.
3. Troubleshooting Common Patch Gluing Problems
3.1 Glue Not Drying/Slow Drying
Slow-drying glue can be frustrating. Increase ventilation in the area to help the glue cure faster. A low-heat hairdryer, used cautiously and from a distance, can gently accelerate drying. Thick glue application slows drying; apply thinner, more even coats. Troubleshooting glue problems often involves addressing application techniques.
If glue is taking too long to dry, improving airflow can help. A well-ventilated space promotes faster evaporation. Use a hairdryer on a low, cool setting to avoid high heat. Remember to always test the hairdryer method in a hidden area of your garment first.
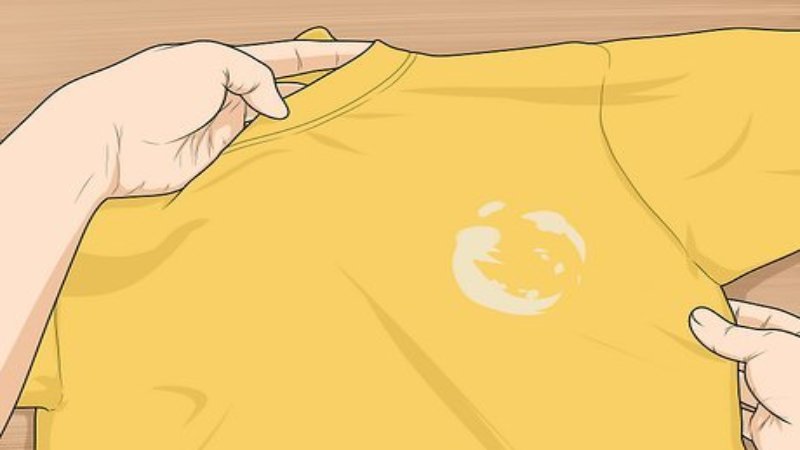
3.2 Glue Marks and Residue
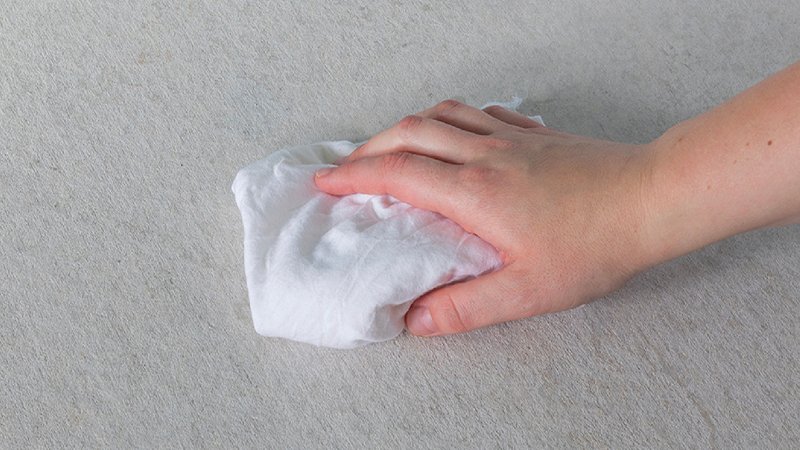
Preventing glue marks begins with testing the glue in an inconspicuous area. If excess glue appears, remove it immediately while it’s still wet using a damp cloth or cotton swab. Specific glue removers are available for stubborn residue; always check compatibility with your fabric before use. Harsh chemicals can damage the fabric; use caution and milder options first. Cleaning glue stains requires a delicate approach.
3.3 Weak Adhesion and Peeling
Weak adhesion can result from several factors. Use stronger adhesives designed for fabric. Apply a thin, even layer of glue to both the patch and fabric. Slightly roughening smooth surfaces with fine sandpaper can improve grip. Sewing the patch, especially in high-stress areas, provides extra security. Incompatible materials can also cause weak bonds.
If a patch is peeling, consider using a stronger, more durable adhesive designed for the specific fabric types involved. Ensure both surfaces are completely clean and dry before applying the glue.
3.4 Fabric Stiffness and Discoloration
Fabric stiffness often arises from using unsuitable glues. Choose flexible fabric glues designed to remain pliable after drying. Glue compatibility with the fabric is crucial. Excessive heat from a hairdryer or iron can also cause stiffness; use low settings or air dry. Check the glue label for warnings about potential discoloration. To prevent fabric stiffness, use a flexible fabric glue that is specifically designed to remain pliable after drying, allowing for movement without cracking.
3.5 Air Bubbles and Uneven Surfaces
Air bubbles create uneven surfaces and weaken adhesion. Smooth out air bubbles before the glue dries using fingers, a roller, or a credit card. Work quickly and carefully, gently pressing outwards from the center. If bubbles remain trapped, carefully use a pin to pierce and release the air, then smooth the area immediately. Working quickly is key to preventing bubbles from becoming permanently trapped.
4. FAQs about Gluing on Patches
4.1 Can I wash clothes with glued-on patches?
Washing clothes with glued-on patches requires careful attention to protect the patch’s adhesion. Always turn the garment inside out before washing to protect the patch from abrasion. Use a gentle wash cycle and avoid harsh detergents or bleach, which can weaken the glue.
4.2 What types of fabrics are unsuitable for gluing patches?
Certain delicate fabrics are unsuitable for glue-based patch application. Silk, velvet and very stretchy materials may be damaged by the glue or may not hold the patch securely. The glue’s solvents could affect the fabric’s color or texture. For these materials, sewing the patch is a far more reliable and safer method to ensure a lasting bond and avoid damaging the garment.
4.3 Can I remove a glued-on patch?
Removing a glued-on patch can be tricky and may result in fabric damage. Apply gentle heat to soften the glue, then carefully try peeling the patch from an edge. Test a solvent on an inconspicuous area first as it may damage or discolor the fabric. Aggressive peeling may damage the garment.
4.4 Is gluing or sewing patches better?
Gluing and sewing are both viable methods for attaching patches, each with its own advantages and disadvantages. Gluing offers a faster, easier method, ideal for smaller patches and less-stressed areas. However, glued patches may not be as durable as sewn patches and are more prone to peeling or detachment, particularly in areas subject to frequent wear.
Sewing, while more time-consuming, provides a significantly stronger, more long-lasting bond, making it the preferred method for high-stress areas or larger patches. The best method depends on the patch, fabric and intended use.
4.5 Where can I find high-quality patches for my projects?
High-quality patches are available from various sources. Online marketplaces like Etsy and Amazon offer a wide selection from numerous vendors. Specialty patch stores often carry unique designs and higher-quality materials. Local craft stores may also offer patch options. For truly unique and personalized patches perfectly tailored to your vision, My Pack Love offers custom patch services ensuring the highest quality and design flexibility to meet your specific project needs.
5. My Pack Love – Providing services for Custom Patches and Packaging
My Pack Love offers comprehensive custom patch and packaging solutions, combining design expertise with high-quality printing. We specialize in creating personalized patches tailored to individual and business needs, offering a wide array of materials, sizes, shapes and printing options to ensure your vision is realized. Our experienced team provides support throughout the process, from initial design consultation to final product delivery. We pride ourselves on providing exceptional customer service and crafting superior, long-lasting products.
To explore our product options or request a quote for your custom patch or packaging needs, please visit our website at https://mypacklove.com/, email us at [email protected], or call us at +84 363615867. We also offer design services to help bring your ideas to life. Contact us today to begin your project!
Read more:
- USPS poly mailers: Sizes, regulations & where to buy
- How to print on poly mailers: Methods, costs and eco-friendly options
- How to make custom poly mailers: Design, print & order
This guide has covered essential aspects of successfully gluing patches onto various fabrics. From selecting appropriate adhesives and preparing surfaces to mastering application techniques and troubleshooting common problems, we’ve explored the key steps to achieving a professional and durable result. To elevate your patch projects to the next level, explore the vast selection of high-quality patches and packaging solutions available at My Pack Love. Let My Pack Love help you create something extraordinary!


