


How to Iron on Patches: A Step-by-Step Guide for Perfect Application


Personalizing clothing and accessories with iron-on patches offers a creative and cost-effective way to express individuality or repair damaged items. However, achieving a perfect, long-lasting result requires precision. This guide provides a clear step-by-step process, covering patch types, fabric compatibility and troubleshooting common problems, empowering you to create professional-looking results. Let’s read!
1. Preparing for Patch Application
1.1 Choosing the Right Patch and Garment
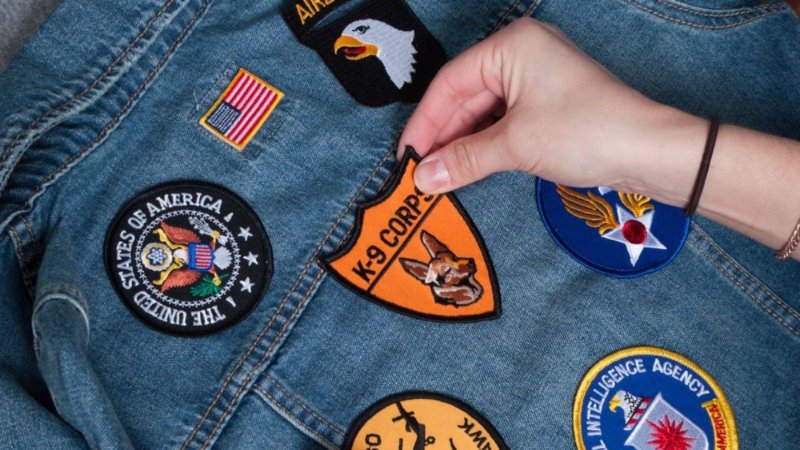
Selecting the appropriate patch and fabric is crucial for a successful iron-on application. Several types of iron-on patches exist including embroidered patches, woven patches, printed patches, PVC patches and leather patches. Each patch type has varying degrees of heat sensitivity and adhesive strength.
Before applying any patch, always check the garment’s care label to ensure fabric compatibility. Denim, canvas and cotton are generally well-suited for iron-on patches while delicate fabrics like silk, leather, suede and stretch fabrics may require alternative application methods. Durable iron-on patches typically utilize a strong adhesive and heat activation for a secure and long-lasting bond.
1.2 Gathering Your Supplies
To successfully apply an iron-on patch, gather the following essential materials: an iron, an ironing board, a press cloth or thin cotton cloth to protect the garment and prevent scorching, a towel and parchment paper. A measuring tape and scissors are helpful for precise patch placement.
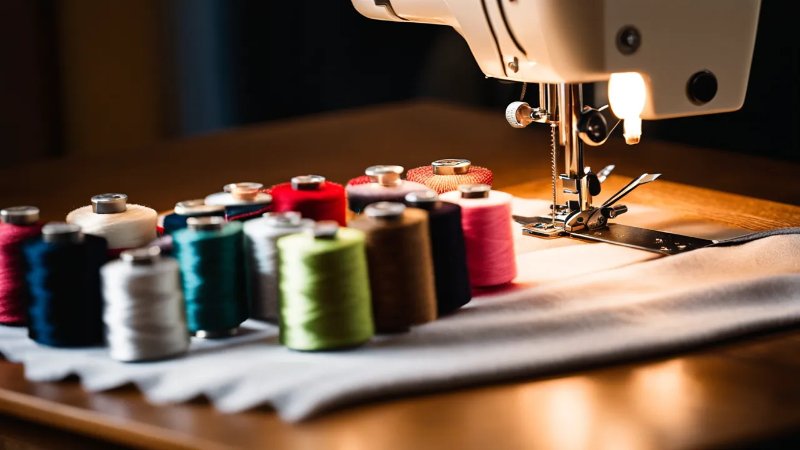
For applying patches in bulk, a heat press offers a more efficient and even heat distribution. Keep in mind that rare attributes like reflective or glow-in-the-dark patches may require specialized application methods.
2. Step-by-Step Iron-on Patch Application
2.1 Preparing the Garment and Patch
Clean the garment area where the patch will be applied, ensuring both the fabric and the patch are lint-free. Preheating the application area improves adhesive bonding and ensures a secure hold. Ease of application and design versatility are key benefits of iron-on patches. This initial step is important for a professional look.
2.2 Positioning and Securing the Patch
Precise patch placement is crucial. Use a measuring tape to accurately center the patch before ironing. Pins can temporarily secure the patch, preventing shifting during the heat application process. Consider design aspects and ensure the placement aligns with your creative vision, whether for customization or repair.
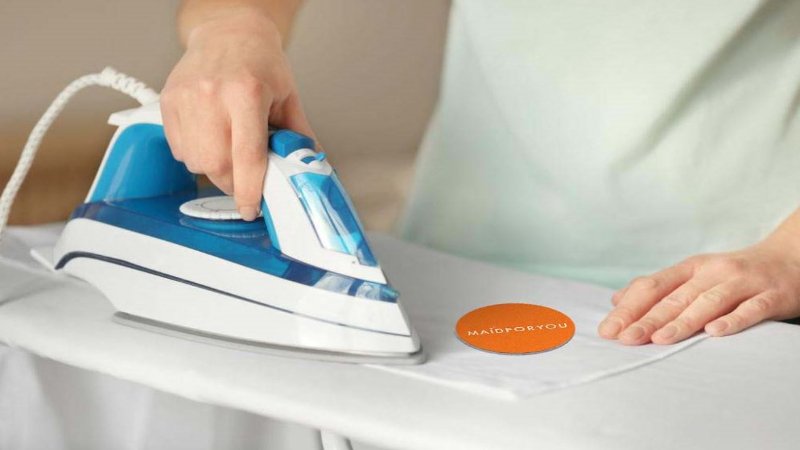
2.3 Applying Heat and Pressure
Use a dry iron set to medium heat. Place a press cloth over the patch to prevent scorching. Apply firm, even pressure for 20-30 seconds, depending on fabric type. Avoid moving the iron; stationary ironing ensures even heat distribution. Different fabrics may need slightly adjusted temperatures.
2.4 Securing the Patch from the Back
Turn the garment inside out and iron the back of the patch for about 30 seconds. This reinforces adhesion and ensures a long-lasting bond. This crucial step enhances the durability of the patch and prevents premature peeling.
3. Tips for Best Results and Troubleshooting
3.1 Cooling and Checking Adhesion
Allow the patch to cool completely after ironing before handling. Check the edges for proper adhesion; gently lift an edge to test. If any area is loose, carefully re-iron that section using a press cloth.
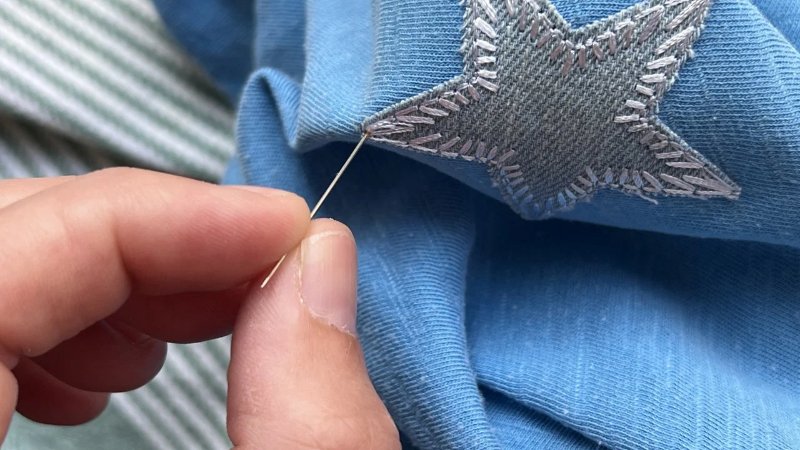
3.2 Sewing for Extra Durability (Optional)
For added security on frequently washed items or patches prone to peeling, sew around the patch’s edges using a needle and thread. This creates a permanent attachment, especially beneficial for embroidered patches or woven patches. This simple step greatly enhances patch longevity.
3.3 Troubleshooting Common Problems
Patch peeling often results from insufficient heat or pressure; bubbling signifies trapped air or uneven heat distribution. Scorching is caused by excessive heat or lack of a press cloth. Adhesive residue can be carefully removed with a damp cloth. Using the correct temperature is vital in preventing these problems. Correcting application errors can avoid costly mistakes.
4. FAQs about Iron-On Patches
4.1 What if I don’t have an iron? Can I use a hair straightener?
While a hair straightener can provide heat, it’s less ideal than an iron due to its smaller surface area and potential for uneven heat distribution. Exercise caution; use a press cloth to protect the garment and avoid extremely high heat settings. Always prioritize safety when using heat application tools.
4.2 What types of fabrics are NOT suitable for iron-on patches?
Delicate fabrics like silk, leather, suede and some stretch fabrics are not suitable for iron-on patches due to their heat sensitivity. These materials can be easily damaged by the heat of the iron. Alternative attachment methods should be considered for these fabrics.
4.3 How do I remove an iron-on patch that I no longer want?
Carefully peel the patch from the garment. If it’s resistant, gently apply heat with an iron to loosen the adhesive. If adhesive residue remains, try rubbing alcohol or a commercial adhesive remover. Always test any cleaning solution on an inconspicuous area first.
4.4 Can I wash my garment with an iron-on patch?
Generally, yes, but wait 24 hours after application before washing. Turn the garment inside out and use a gentle cycle and cool water. For extra durability, consider sewing around the patch’s edges, especially for frequently washed items. Always follow the care instructions for both the patch and garment.
4.5 My patch is peeling after washing. What can I do?
Patch peeling after washing often indicates insufficient heat or pressure during application. Try carefully re-ironing the patch with a press cloth, ensuring even pressure and adequate heat. If the peeling persists, sew around the patch for a more permanent solution.
5. MyPackLove.com – Providing Custom Packaging Solutions for Your Patch Projects
MyPackLove.com offers a range of custom packaging solutions ideal for protecting and presenting your patch projects. From durable zipper bags for storage to secure poly mailers for shipping and custom printed labels for branding, we cater to both individual crafters and businesses involved in the DIY fashion or custom patches market. Our packaging ensures your creations arrive safely and look professional. Contact us at +84 363615867 or [email protected] or visit our website at https://mypacklove.com/ to explore our options.
Read More:
- USPS poly mailers: Sizes, regulations & where to buy
- How to print on poly mailers: Methods, costs and eco-friendly options
- How to make custom poly mailers: Design, print & order
Successfully applying iron-on patches involves selecting compatible patches and fabrics, applying consistent heat and pressure and knowing how to troubleshoot common issues. Well-applied patches offer a fantastic way to personalize clothing, express your creativity and even repair damaged items. Don’t be afraid to experiment; the possibilities are endless! Visit mypacklove.com for custom packaging solutions to showcase your unique creations!


