


How to Make Patches: DIY Embroidered & Iron-On Patch Guide


Creating custom patches offers a rewarding way to personalize items and express individual style. Many find ready-made patches limiting or expensive. This guide empowers you to design and produce your own patches whether through embroidery or the iron-on method. Learning to make your own patches unlocks creative control, significant cost savings and the satisfaction of crafting unique, personalized accessories. Let’s read it!
1. DIY Embroidered Patches: A Step-by-Step Guide
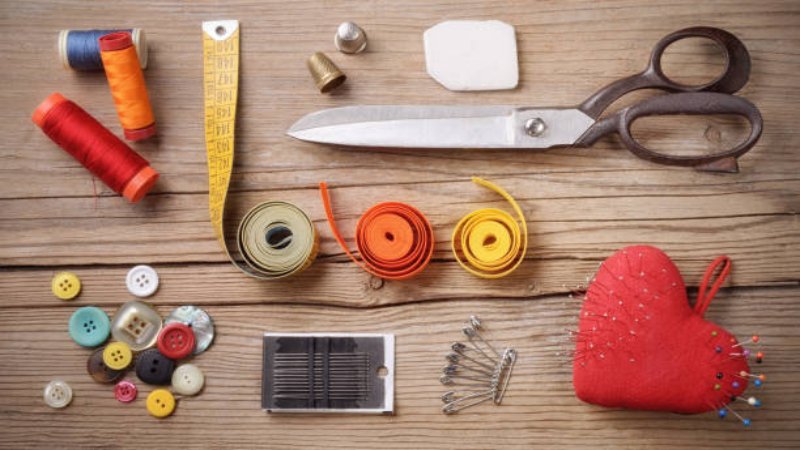
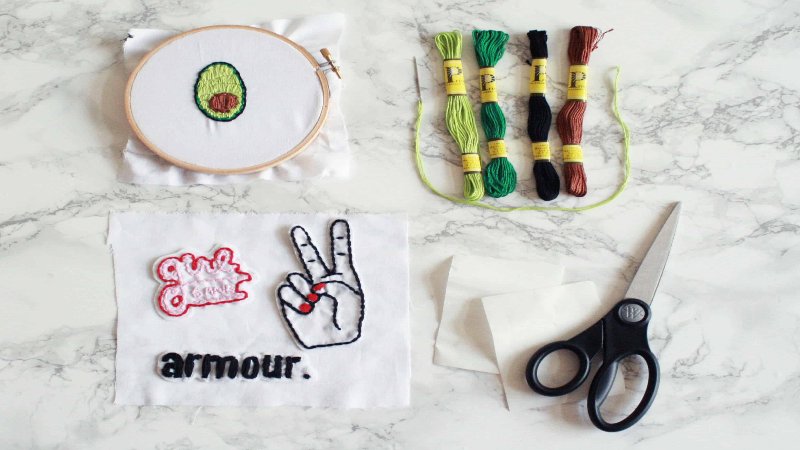
1.1 Gathering Your Materials and Tools
Creating professional-looking embroidered patches starts with quality materials. Essential supplies include: fabric; stabilizers; embroidery thread; embroidery needles; sharp scissors; an embroidery hoop; an iron or heat press; adhesive backing and optional design templates. Using high-quality supplies leads to superior results.
1.2 Preparing Your Patch Design
Patch design creation offers flexibility for different skill levels. Digitize your design using software like Adobe Illustrator or Inkscape for precision. Alternatively, use pre-made templates or create a freehand design. Transfer designs using transfer paper or print directly onto fabric. Experiment with diverse design styles and motifs from intricate details to simple, bold shapes.
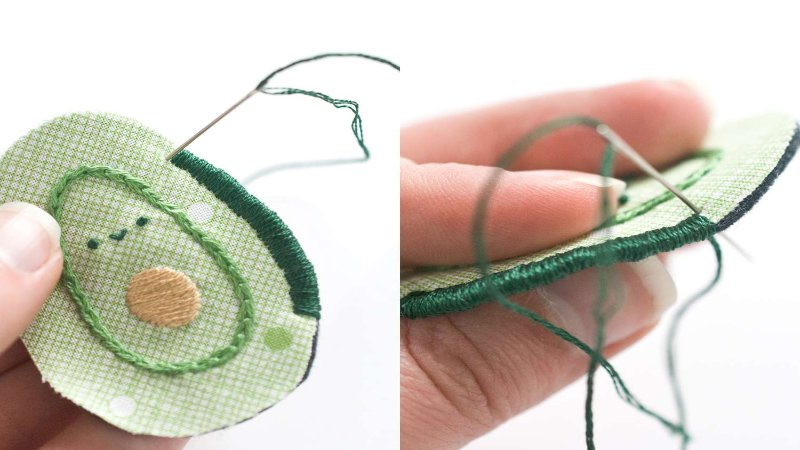
1.3 Embroidering Your Patch
Securely hoop your fabric and stabilizer. Thread your machine, selecting the correct needle and thread for your fabric. Embroider your design using techniques like filling stitch or appliqué. Finish the edges with a satin stitch or blanket stitch for durability and a clean finish. Addressing thread breakage and puckering involves adjusting tension and needle size.
1.4 Applying a Backing and Finishing Touches
Choose an appropriate backing: iron-on, sew-on or adhesive. Apply according to manufacturer instructions for a smooth, even result. Secure edges to prevent fraying; consider using a sealant or additional stitching.
2. Making Iron-On Patches with Heat Transfer Vinyl
2.1 Materials and Preparation
Creating iron-on patches with heat transfer vinyl (HTV) is quick and straightforward. Gather these materials: HTV (in various finishes like glitter, flocked, or holographic), a weeding tool, a cutting machine, an iron or heat press, design software and your chosen patch material. This method is significantly faster than embroidery.

2.2 Designing and Cutting Your Patch
Import or create your design in compatible design software. Cut the HTV using your cutting machine, following the software’s instructions. Weeding involves carefully removing excess vinyl; techniques vary depending on design complexity. Intricate designs might require specialized weeding tools.
2.3 Applying the HTV to the Patch
Carefully position the weeded HTV onto your patch material. Using a heat press or iron, firmly apply heat and pressure. Different HTV types and fabrics require specific settings to ensure a strong, durable bond.
2.4 Finishing and Attaching Your Patch
Finish the edges by sewing with a tight stitch or using a sealant to prevent fraying. Attach the patch to your clothing or accessories via ironing or sewing. Sewing provides extra durability, particularly for frequently washed items. Iron-on patch application requires consistent heat and pressure.
3. Choosing the Right Patch Materials and Supplies
3.1 Fabric Selection for Patches
Various fabrics suit patch making, each with advantages and disadvantages. Twill offers durability and a professional look; felt provides softness and ease of handling; canvas boasts strength and texture and leather adds a luxurious touch. Woven fabrics have a distinct interlacing structure while non-woven fabrics are made from bonded fibers.
3.2 Stabilizers and Backing Options
Stabilizers prevent fabric distortion during embroidery. Tear-away stabilizers are removed after stitching; cut-away stabilizers remain in place for added structure; wash-away stabilizers dissolve in water and fusible stabilizers bond to the fabric with heat. Choosing the correct stabilizer depends on fabric type and embroidery technique. Patch backing options include iron-on, sew-on and adhesive backings.

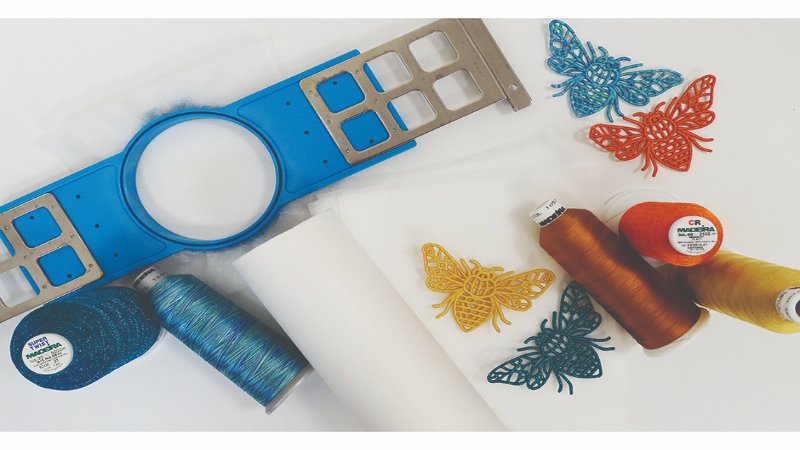
3.3 Threads, Needles, and Other Essential Tools
Appropriate needles and thread are crucial for successful embroidery. Embroidery needles come in various sizes; ballpoint needles are ideal for knit fabrics. Rayon thread offers sheen and drape; polyester is durable and colorfast; cotton offers softness. Essential tools include sharp embroidery scissors, a rotary cutter for precise fabric cutting, a seam ripper for correcting mistakes and a measuring tape.
4. FAQs about Patches
4.1 What’s the difference between embroidered and iron-on patches?
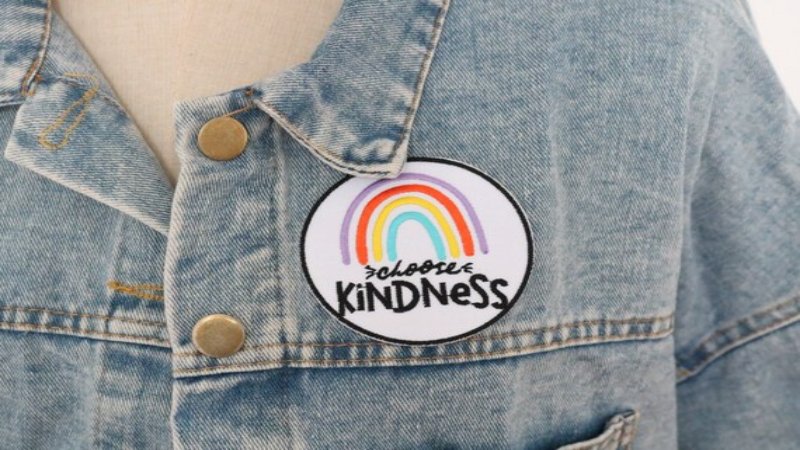
Embroidered patches offer superior durability and a more refined look but are more expensive and require sewing or specialized application. Iron-on patches are simpler, faster, and cheaper but offer less durability and may peel over time. Embroidered patches are best for high-quality, long-lasting applications; iron-on patches suit quick, temporary projects.
4.2 Can I wash my custom patches?
Washing instructions vary by patch type and material. Generally, turn garments inside out, use a gentle cycle and cold water and air dry to prevent damage. Embroidered patches usually withstand washing better than iron-on patches which may require more care. For extra durability, consider sewing around iron-on patches.
4.3 How do I remove an iron-on patch?
Carefully apply heat with an iron to loosen the adhesive. Gently peel the patch away; use an adhesive remover for stubborn residue. Excessive heat or force might damage the fabric. Always test any cleaning solution on an inconspicuous area first to prevent staining.
4.4 What kind of fabric is best for making embroidered patches?
Durable fabrics like poly twill, canvas or felt work well. Twill offers a professional look; felt provides softness; canvas, structure. Consider the design; intricate designs need stable fabrics like twill or canvas. The fabric choice influences patch texture and appearance.
4.5 Where can I find designs for my patches?
Free and paid designs are available from online marketplaces like Etsy, design software and free design websites. Always respect copyright; ensure you have permission to use any design you didn’t create. Attribution is crucial when using designs.
5. MyPackLove – Providing Services for Custom Packaging and Branding Solutions
My Pack Love offers comprehensive custom packaging and branding solutions designed to meet diverse needs. We provide high-quality products including custom-printed zip lock bags, poly mailers, woven labels, heat transfer labels and durable rubber labels, all perfect for complementing custom-made patches.
Our services help create a cohesive brand image, enhancing product presentation and appeal for both individual crafters, businesses. Explore our website for product details, request a quote or contact our team for personalized assistance.
Read More:
- USPS poly mailers: Sizes, regulations & where to buy
- How to print on poly mailers: Methods, costs and eco-friendly options
- How to make custom poly mailers: Design, print & order
This guide explored various methods for creating custom patches from embroidery to heat transfer vinyl. These techniques unlock a world of creative possibilities allowing for personalized accessories and unique self-expression. Explore the resources and tools discussed to begin your own patch-making journey. MyPackLove provides the perfect packaging and branding solutions to showcase your handmade patches and elevate your projects. Start creating your unique, custom patches today!


