


How to Remove Patches from Clothes: A Complete Guide


Removing unwanted patches from clothing can be a frustrating task, often fraught with potential damage. Improper removal methods can lead to fabric tears, unsightly holes, and stubborn adhesive residue. This guide provides safe and effective patch removal techniques tailored to various attachment methods, empowering you to confidently remove patches without harming your garments.
1. Types of patches and identification
1.1 Identifying your patch
Identifying your patch type is key to safe removal. Iron-on patches often have a shiny or plasticky backing, indicating the heat-activated adhesive, and a smooth, slightly raised surface on the front. Sewn-on patches display visible stitching around the perimeter and are attached by a thread or fabric loop.
Combination patches might exhibit both adhesive and stitching, requiring a multi-step removal strategy. To initially identify the type, gently try lifting a corner of the patch. If it readily comes up, it’s likely an adhesive patch.
A more stubborn or resistant lift suggests stitches or a combined method, needing a more cautious approach. Look for any backing fabric or interfacing as well, as these are often clues to the patch’s assembly. These visual cues will determine the safest, most effective removal method.

1.2 Understanding patch construction
Different patch types utilize distinct materials and techniques. Iron-on patches often feature a heat-seal backing and an adhesive layer, enabling direct application with an iron. Sewn-on patches, on the other hand, use various stitch types (like running stitch or backstitch) to securely attach the patch to the fabric, typically with a fabric backing.
Combination patches may employ both adhesive and stitching, providing extra durability and a unique aesthetic. The type of backing material, like fusible interfacing or a heat-activated adhesive layer, plays a crucial role in the patch’s adhesion and stability, determining its suitability for various fabrics and washing conditions.
Embroidery techniques, often found in custom or decorative patches, add intricate detail and texture, creating unique designs. Understanding the construction of different patch types allows for informed decisions about removal methods, ensuring the best outcomes for both the patch and the fabric it’s attached to.
2. Gathering your patch removal tools
A successful patch removal endeavor requires the right tools. A standard household iron, coupled with an ironing board or a heat-resistant towel, is essential for dealing with iron-on patches. A sheet of wax paper or a thin, heat-resistant cloth acts as a protective barrier between the iron and your garment. Tweezers are handy for maneuvering small, delicate patches or removing stubborn threads. Small, sharp scissors are vital for trimming away excess fabric or adhesive residue.
A seam ripper allows you to carefully dissect stitches, crucial for carefully detaching sewn-on patches without damaging the surrounding fabric. Fabric-safe adhesive remover, a crucial tool for dealing with adhesives, is essential for dissolving the glue holding the patch in place.
An old, soft-bristled toothbrush can gently scrub away any remaining residue. Finally, a mild liquid laundry detergent provides an option for cleaning fabric after removal to eliminate lingering adhesive traces. Each tool plays a specific role in the careful and precise removal process, safeguarding both your garment and the integrity of the patch.
3. Removing patches step-by-step
3.1 Removing Iron-On patches
Several methods can safely remove iron-on patches without damaging your clothing.
Method 1: Heat and Steam
This common approach involves using controlled heat to soften the adhesive. Place a protective cloth over the patch to shield the fabric. Use a heat press or iron on a medium to high setting, depending on the fabric, pressing firmly for 10-15 seconds, applying the heat to the front of the patch, on top of the protective cloth.
Carefully peel away the patch while warm. Repeat if needed. Crucially, always test the chosen heat level on an inconspicuous area of the garment first to ensure it won’t cause damage.

Method 2: Cold Treatment
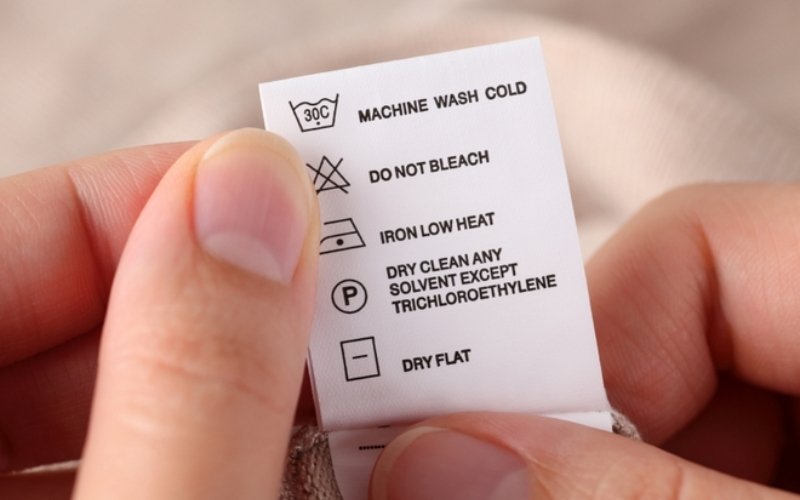
Freezing the patch can make the adhesive brittle and easier to remove. Place the garment in a plastic bag and freeze it for a few hours. Then, gently peel off the patch. Use a tool like a butter knife if needed to help lift the patch, but be extremely gentle to avoid fabric damage. This method might not be suitable for all fabrics; check the care label before proceeding.
Method 3: Chemical Solvent Removal
Chemical solvents can effectively dissolve adhesive, but require caution. Work in a well-ventilated area and wear protective gloves and a mask. Apply a small amount of a suitable solvent, like a fabric-safe adhesive remover, to a clean cloth.
Dab onto the adhesive, avoiding soaking the fabric. Allow the solvent to work briefly, then gently peel off the patch. Repeat if necessary. Thoroughly wash the garment according to its care instructions to remove any residue. Be aware that some solvents, like acetone or nail polish remover, can damage certain fabrics.
3.2 Removing Sewn-On patches
Removing sewn-on patches, while seemingly straightforward, requires patience and precision to avoid damaging the garment. A seam ripper is the essential tool for this task, its pointed blade designed to cut threads without harming the fabric’s integrity. You may encounter patches that are both sewn and ironed onto the fabric. This will require careful attention, patience and possibly a hot iron to further loosen the adhesive.
Steps for Removing a Sewn-On Patch:
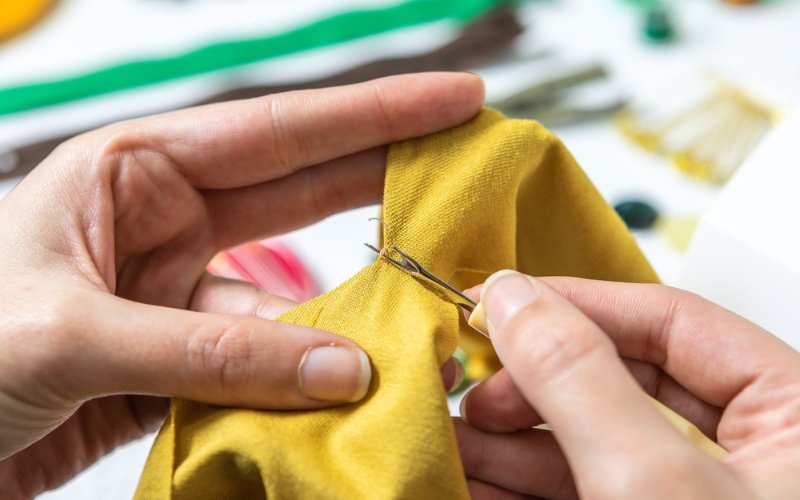
Step 1: Gently bend the fabric beneath the patch to fully expose the stitches. This allows for clearer access to the thread.
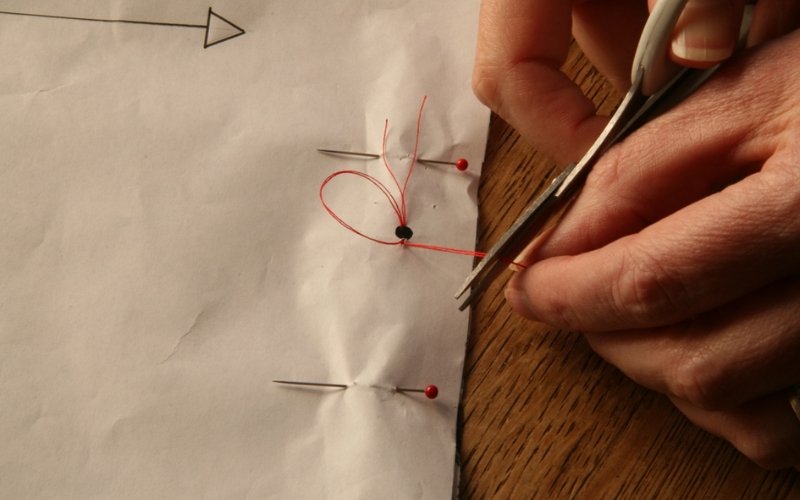
Step 2: Insert the seam ripper’s tip behind a single stitch. Gently push the curved blade against the thread, cutting the stitch. Work slowly and methodically to avoid damaging the fabric underneath, cutting each stitch individually rather than pulling threads to lessen the chance of creating sizable holes.
Step 3: As you cut each stitch, use tweezers to gently pull out any loose thread ends.
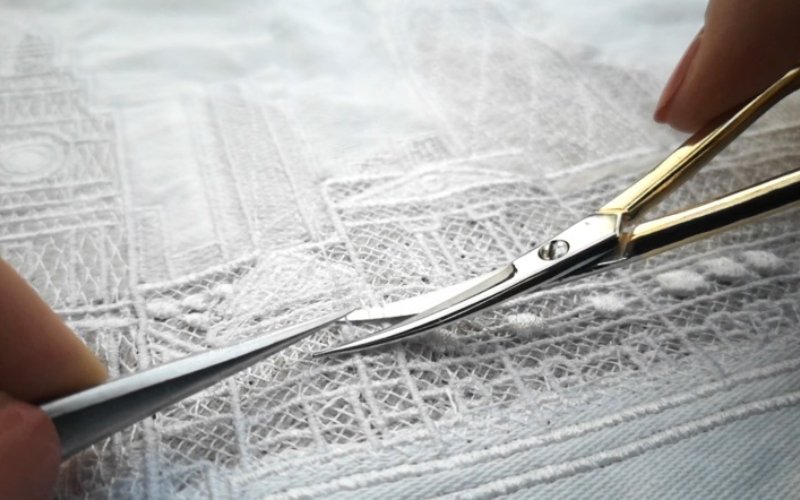
Step 4: Once all stitches are cut, the patch should lift away from the fabric with minimal effort. Using tweezers and small scissors, carefully trim any remaining loose threads or bits of adhesive stuck to the fabric.
Step 5: Wash the garment, hat, or bag according to the fabric care instructions. This helps minimize the appearance of any remaining small holes, and ensures a clean finish.
3.3 Removing patches
To remove patches, you may need to combine techniques, such as using a seam ripper to remove stitching and then using heat or adhesive remover to tackle the adhesive portion. Removing adhesive patches requires a careful approach to avoid damaging the garment. Start by acquiring a fabric-safe adhesive remover. Products based on xylene or orange oil are often effective, and a spray bottle version is particularly convenient.
Step 1: Before applying remover to the entire patch area, perform a patch test on a hidden, inconspicuous spot. Dab a small amount of remover onto this area and gently work it into the fabric. Rinse thoroughly and examine for any discoloration or damage.
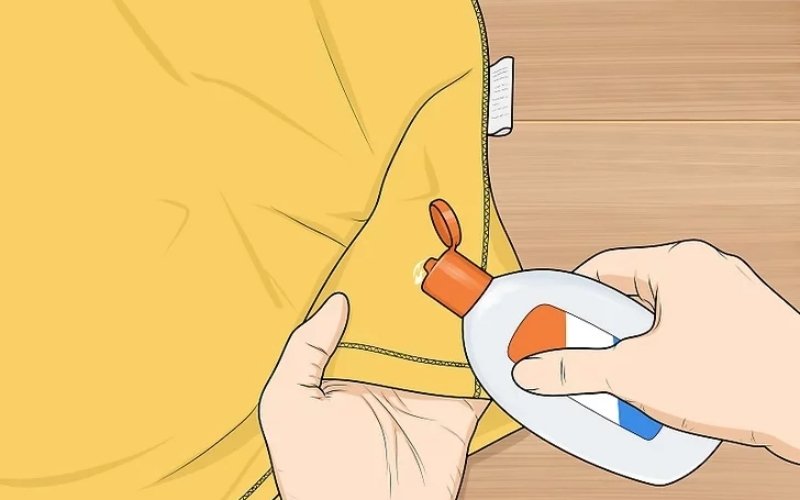
Step 2: Turn the garment inside out (if a garment) or lay it flat, adhesive-side up (if a bag or similar item). This crucial step allows you to apply the remover directly to the adhesive.
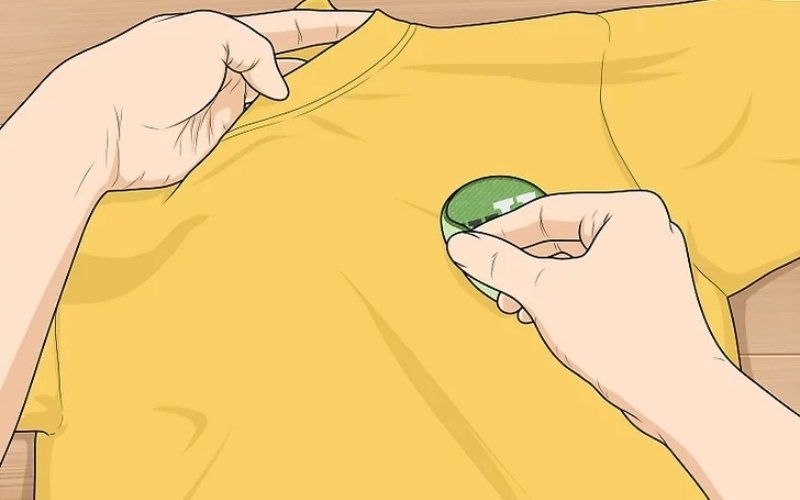
Step 3: Apply a generous amount of remover directly to the back of the patch, where the adhesive is located. Let it soak in for a minute or two. Use your fingers, a cotton ball, or a clean rag to work the remover into the adhesive to loosen it.
Step 4: Once the adhesive is softened, carefully peel away the edges of the patch, working your way around the entire patch. Use tweezers to help if needed. If stubborn adhesive remains, repeat the application of remover and gently peel again.
Step 5: If any part of the patch resists removal, reapply the remover to the stubborn spots and repeat the peeling process. If the remover isn’t effective, try a different type.
Step 6: Once the patch is fully removed, use a lint or wire brush to clean away any remaining adhesive residue. Finally, wash the garment as directed to remove any remaining traces of remover. Trim away any excess patch material for a cleaner look, if desired.
4. Dealing with adhesive residue and repairing damage
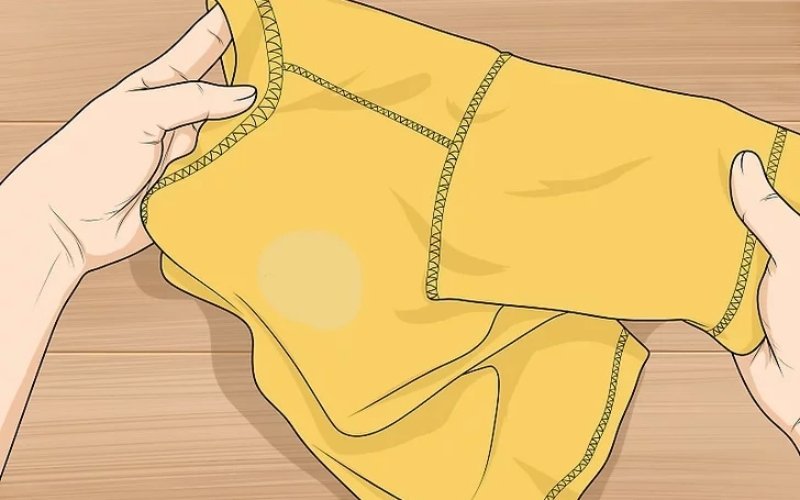
Adhesive residue from patches often lingers after removal. If discoloration or stickiness remains, further action is needed to restore the garment’s pristine appearance.
Step 1: Inspect the area where the patch was attached for any discoloration or stickiness. If the residue is light, a simple wash with your regular laundry detergent might be enough.
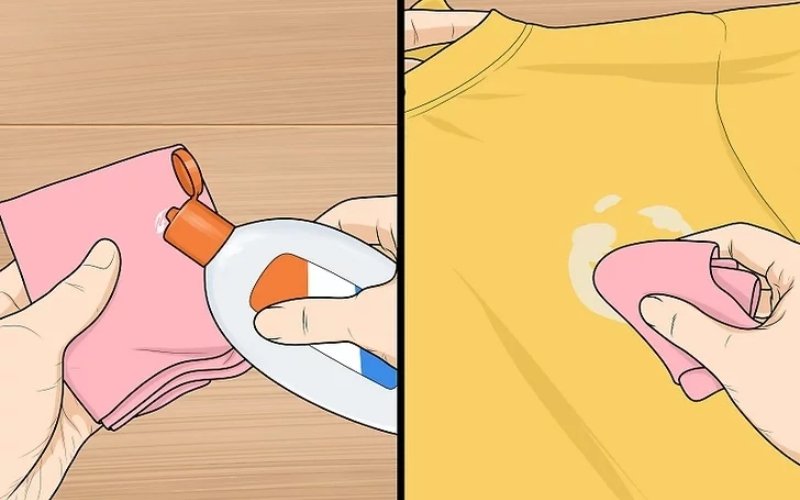
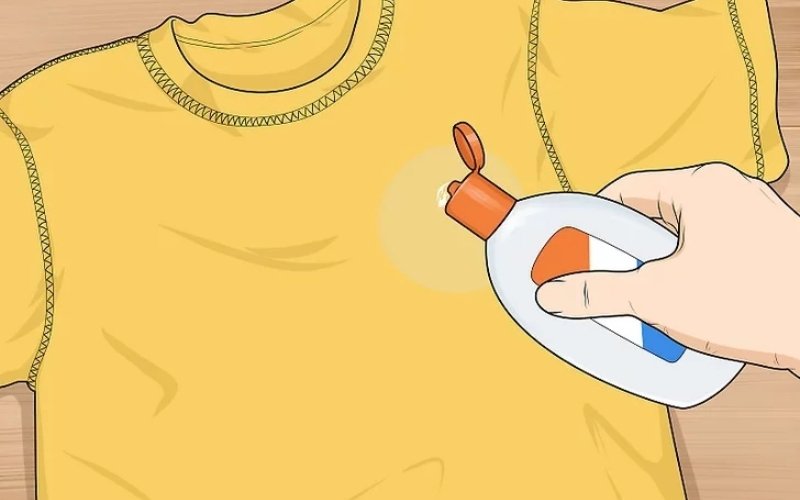
Step 2: Apply the fabric-safe adhesive remover directly to the residue. Gently massage the remover into the fabric with your fingers, a cotton ball, or a soft cloth. Let it sit for about a minute to loosen the adhesive. A homemade remover, like a baking soda, coconut oil, and orange essential oil mixture, can be effective on some types of residue, but use caution—it’s a thicker paste and might not penetrate all fabrics easily.
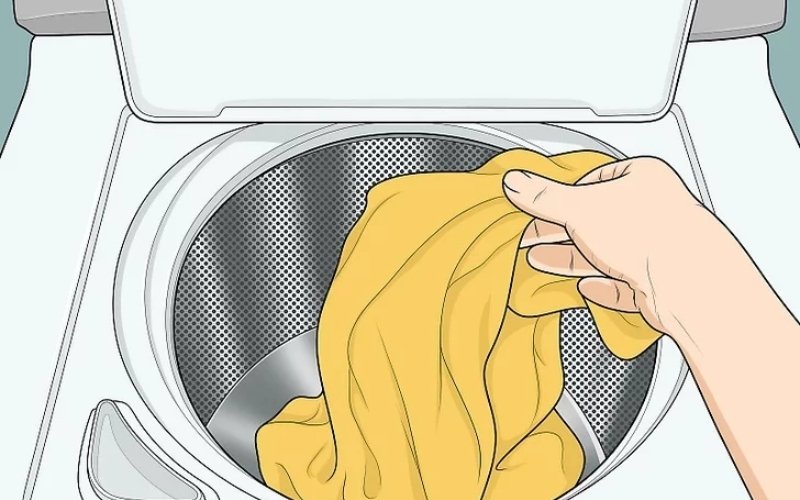
Step 3: Launder the garment according to its care instructions. A machine wash is suitable for machine-washable items, while delicate garments should be hand-washed in cool or room temperature water. If the adhesive is particularly stubborn, gently scrub the area with a soft-bristled toothbrush after applying the adhesive remover. Using a pre-treatment of liquid detergent directly on the residue can also help. Repeat the removal steps if necessary.
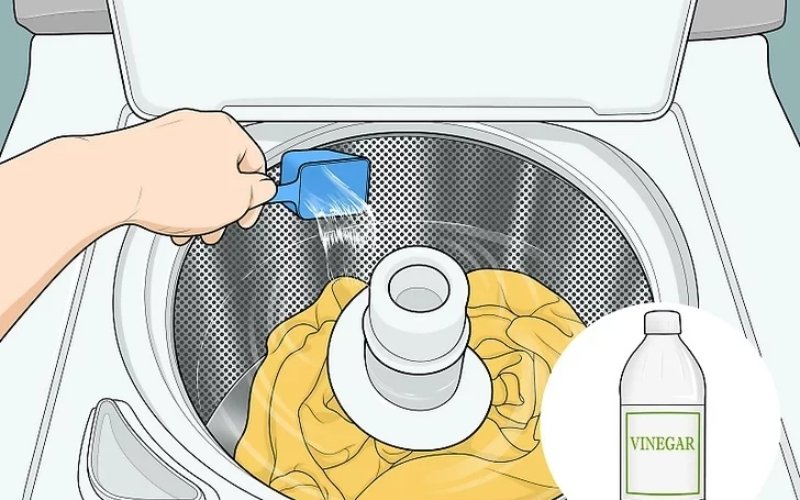
Step 4: If the residue remains, try spot-treating the area with white vinegar, then washing as usual. Use undiluted vinegar for white garments, or dilute it (one cup vinegar per gallon of water) for colored fabrics to prevent color bleeding. Always test a small, inconspicuous area first with any cleaning solution, especially vinegar.
5. FAQs about removing patches from clothes
5.1 Can I remove a patch from delicate fabric like silk?
Removing a patch from delicate fabric like silk requires extreme caution. Use a fabric-safe adhesive remover, dabbing gently with a soft cloth, rather than harsh scrubbing or pulling. Test the remover on a hidden area first to prevent damage to the delicate fibers.
5.2 What if I accidentally damage the fabric?
If you accidentally damage the fabric during patch removal, assess the damage. For small holes or tears, a fabric repair pen or a small amount of clear, fabric-safe glue might suffice. For larger damage, consider using a patch similar in color and texture to cover the area, or seek professional tailoring services. Match the color of the repair as closely as possible to the garment’s fabric.
5.3 What’s the best adhesive remover?
Look for fabric-safe adhesive remover, De-Solv-It, or similar products specifically designed for dissolving adhesives without harming the fabric. Always perform a test on a hidden area of the garment first to ensure the remover won’t cause discoloration or damage before using it on the patch. This precaution is essential to prevent unintended harm to your clothing.
5.4 Can I remove a very old patch?
Removing a very old patch, especially one with deeply set adhesive, might require more persistence and potentially multiple applications of adhesive remover. The adhesive may have aged and become more difficult to dissolve, so multiple attempts or alternative methods might be necessary. Be extra cautious to avoid fabric damage, as the aged adhesive can be more brittle and prone to ripping the fabric.
5.5 My patch left a stain, how do I remove it?
For adhesive stains, try a mild detergent solution, gently dabbing at the stain with a clean, damp cloth. For stubborn stains, a specialized adhesive remover or a mixture of white vinegar and water (diluted for colored fabrics) might be necessary. Always test any cleaning solution on a hidden area of the fabric first to avoid further damage.
Read more:
Proper patch identification and selection of the correct removal technique are paramount for successful results and to prevent garment damage. Iron-on patches often yield to heat and a protective cloth, while sewn-on patches necessitate careful stitching removal. Combination patches may require a combination of methods. Adhesive removers, solvents, and gentle scrubbing are key for adhesive residues. Remember the importance of testing any method on a hidden area first. By understanding these steps, you can confidently approach any patch removal challenge. Ultimately, even after removing a patch, the garment can be reused or repurposed, providing new life for your clothing.


