


Iron Patch onto Hat: Easy Guide & Tips for Perfect Placement


Customizing hats with patches is a fun and easy way to personalize your style. Whether you’re a seasoned crafter or a beginner, this article will give you the knowledge and confidence to apply patches successfully. This step-by-step guide offers clear instructions for applying patches to hats, minimizing the risk of mistakes or damage. You’ll learn about appropriate materials, ideal application techniques and how to troubleshoot common problems. Let’s read it!
1. Preparing to Iron a Patch onto a Hat
1.1 Gathering Your Materials
Before starting, gather all necessary materials. These include your chosen iron-on patch, the hat you plan to customize, a household iron and a pressing cloth. You’ll also need a sturdy ironing board or a thick fabric pad to create a firm. The pressing cloth is vital for protecting your hat and patch from direct heat and ensuring even heat distribution, thus preventing scorching.
Having all materials readily available streamlines the process. The pressing cloth’s role is crucial in safeguarding the hat and achieving an even heat distribution, preventing damage and ensuring optimal results. The sturdy ironing surface prevents uneven pressure and ensures a smooth application.
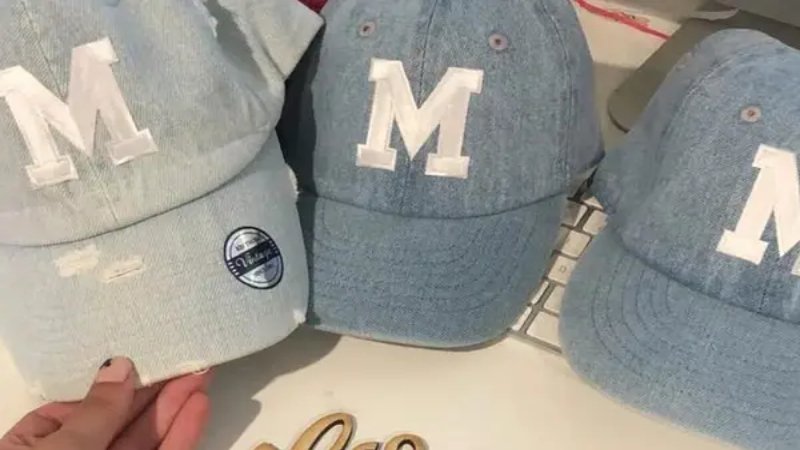
1.2 Choosing the Right Patch and Hat
You should ensure your hat’s material can withstand an iron’s heat. Before applying a patch to the entire area, test a small, hidden section first to check for heat sensitivity. Embroidered, woven and printed patches are available with embroidered and woven patches generally offering better durability for ironing. Avoid patches with plastic backing on heat-sensitive hats.
1.3 Setting up Your Workspace
Prepare a flat, stable surface. An ironing board is ideal however, if your hat is curved and won’t lie flat, stuff it firmly with towels or fabric scraps to create a stable ironing base. Set your iron to its highest dry heat setting to activate the adhesive on the patch effectively. A stable surface is crucial for even pressure distribution. Stuffing the hat creates a flat surface for consistent heat application. You can use dry heat avoids moisture, which might damage the hat or impede adhesive bonding.
2. Step-by-Step Guide to Ironing on a Patch
2.1 Positioning the Patch
Carefully consider the hat’s style and the patch’s design to determine the ideal location. Use a tailor’s chalk or a washable marker to lightly mark the desired position. Ensure proper symmetry and visual balance, particularly for hats like baseball caps, beanies, or fedoras. Accurate marking prevents misplacement and ensures a polished finish.
2.2 Applying the Heat
Position the patch on the marked spot, adhesive side down. Cover it entirely with the pressing cloth. Apply firm, even pressure with a hot iron using small, circular motions for approximately 30 seconds. Concentrate on the edges to create a strong seal. Avoid moving the iron back and forth as this might shift the patch. Consistent heat distribution is crucial.
The pressing cloth protects the hat and patch from direct heat. Circular motions ensure even heat distribution, enhancing adhesion. Focusing on edges creates a secure seal to prevent lifting.
2.3 Cooling and Finishing
After 30 seconds, remove the pressing cloth and allow the patch to cool completely. Once cool, check if the patch is securely attached. Gently tug on the edges; if any area feels loose, repeat the ironing process, focusing on those areas. This simple check ensures a long-lasting application.
4. Tips for Success and Troubleshooting
4.1 Ensuring Long-Lasting Adhesion
For enhanced adhesion, especially with larger patches, you can use a heat press machine. This provides more consistent heat and pressure than a household iron. Applying a heat-resistant seam sealant around the patch edges further improves durability. A heat press offers superior heat and pressure distribution for more secure adhesion. A seam sealant creates an additional barrier, further preventing peeling. Gentle cleaning and careful drying protect both the patch and the hat material.

4.2 Troubleshooting Common Problems
Patch peeling often indicates insufficient ironing time or inadequate heat. Scorching results from excessive heat or a thin pressing cloth. If the patch isn’t adhering to the fabric, confirm that the hat material is suitable for iron-on application. Before applying the patch, always test a small inconspicuous area of the hat. If the patch is peeling, reapply heat carefully using a pressing cloth. Scorching can often be avoided by using a thicker pressing cloth or lowering the iron temperature.
5. FAQs about Ironing Patches onto Hats
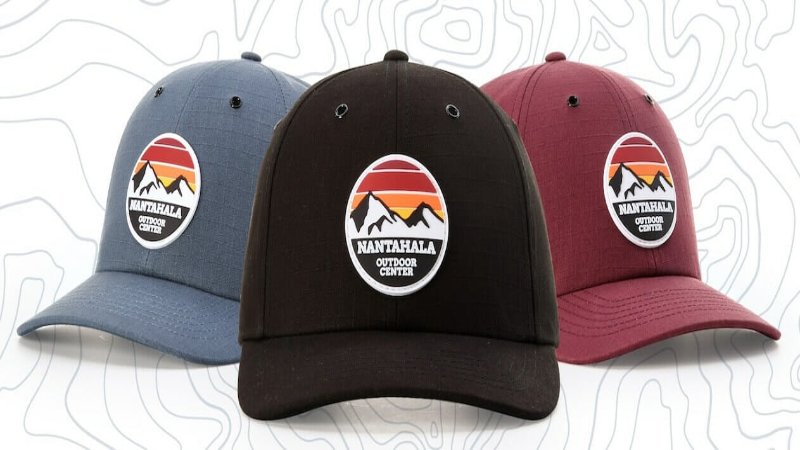
5.1 What type of patch is best for ironing onto a hat?
Embroidered and woven patches generally offer superior durability for ironing onto hats due to their construction. Printed patches can also be used but it’s crucial to ensure the ink is heat-resistant to prevent smudging or damage during the ironing process.
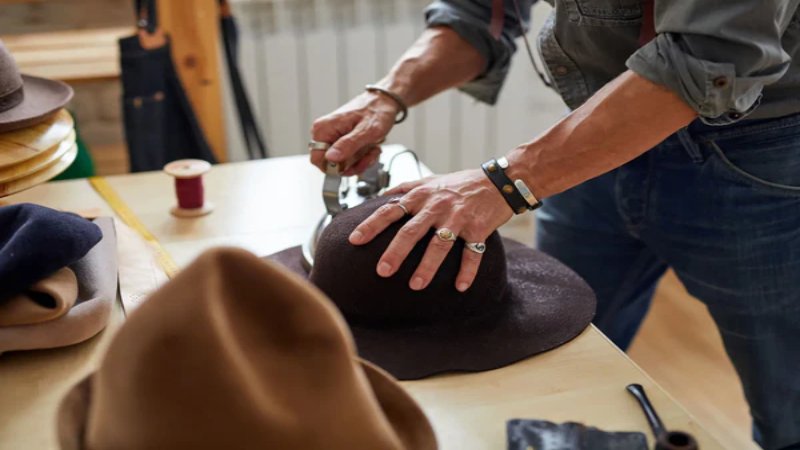
5.2 Can I iron a patch onto any type of hat?
Not all hat materials tolerate high heat. Before ironing a patch onto a hat, always check the care label for material type and recommended cleaning instructions. For delicate fabrics like straw or certain synthetics, sewing or fabric glue are safer and more reliable attachment methods.
5.3 How long should I iron the patch?
Iron the patch for approximately 30 seconds, applying consistent pressure. Monitor the adhesion throughout the process; if the patch feels secure, you can stop. If not, continue ironing for a few more seconds, checking frequently to avoid scorching. Adjust the ironing time based on the patch and hat material’s thickness.
5.4 What should I do if my patch starts to peel off?
If your patch starts to peel, reapply heat using the pressing cloth method described previously, focusing on the loose areas. For added security, use a fabric adhesive to reinforce the edges and prevent further peeling.
5.5 Can I remove an iron-on patch from my hat?
Removing an iron-on patch from a hat is difficult and may cause damage to the hat material. Applying heat with an iron or hairdryer might soften the adhesive, allowing for careful peeling. However, this method isn’t guaranteed to work cleanly and may leave adhesive residue or damage the hat fabric. Removal is not recommended unless absolutely necessary.
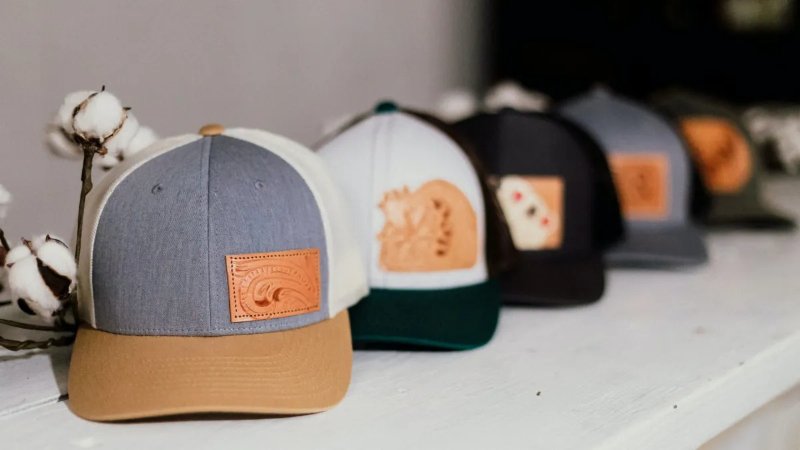
6. My Pack Love – Providing Services for Custom Patches and Packaging
My Pack Love offers comprehensive services for designing and producing custom patches, ideal for creating personalized hats. We provide a variety of materials and customization options to meet your specific needs. Our expertise ensures high-quality patches from initial design to final production. In addition to patches, we offer packaging solutions for businesses seeking to enhance their brand presentation. Contact us today to explore how we can help you realize your vision!
Read more:
- USPS poly mailers: Sizes, regulations & where to buy
- How to print on poly mailers: Methods, costs and eco-friendly options
- How to make custom poly mailers: Design, print & order
This guide equips you with the skills and knowledge to confidently customize your hats. My Pack Love offers a wide range of high-quality patches and packaging solutions perfect for those who want to take their hat customization to the next level. Explore our options to discover the perfect patches for your next project. We are dedicated to helping you achieve professional-looking results with ease.


