


No-Sew Velcro: Easy Fabric Glue and Adhesive-Backed Tips


Have you ever wanted a super-fast, convenient way to attach fabrics without the hassle of needle and thread? Maybe you’re customizing clothes, working on a quick craft project, or need to make a speedy repair. If so, you’ve probably considered velcro (a hook-and-loop fastener).
It’s a fantastic solution, but sewing can be time-consuming, and, let’s be honest, not everyone has a sewing machine or the desire to use one. That’s where no-sew methods come in! This article will unveil the secrets to successfully attaching velcro to fabric using adhesive methods – a quick, easy, and surprisingly effective approach.
You’ll discover the different types of no-sew velcro, learn how to prepare your materials, and master the step-by-step process for a secure and lasting hold. Get ready to say goodbye to sewing struggles and hello to a world of no-sew possibilities!
1. Understanding velcro and no-sew options
1.1 What is velcro?
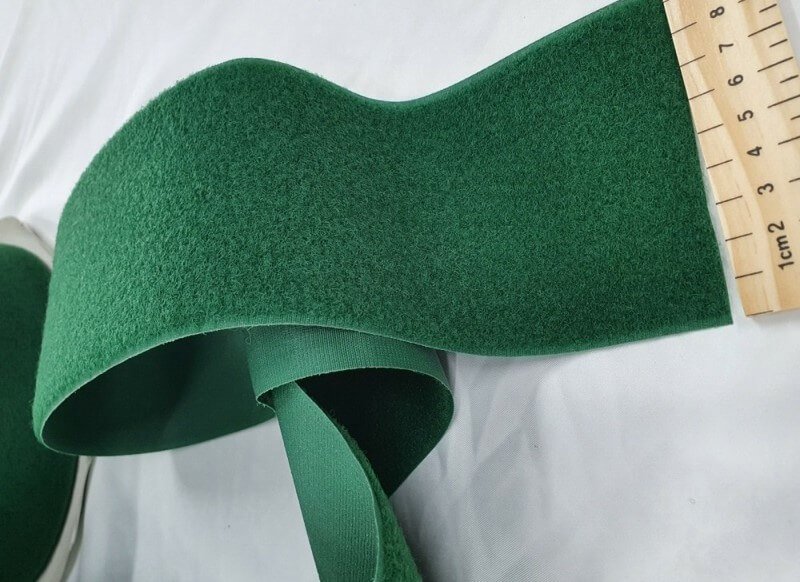
Velcro, that ubiquitous fastener we often take for granted, is technically known as a “hook and loop” fastener. It consists of two strips of fabric: one covered in tiny, stiff hooks, and the other covered in even tinier, softer loops. When pressed together, the hooks catch the loops, creating a surprisingly strong bond.
This ingenious design makes velcro incredibly versatile. The strips can be found in various forms, including long, continuous strips, pre-cut squares, or even small, convenient dots. Most commonly, velcro is made from nylon or polyester, making it durable and resistant to wear and tear.

1.2 Why choose a no-sew method?
For many, the thought of sewing can be daunting. Maybe you don’t own a sewing machine, or perhaps your sewing skills are a little rusty. Or, it may be the case that time is of the essence. That is when the no-sew approach shines. Here are some key advantages:
- Convenience: No-sew methods eliminate the need for specialized equipment like sewing machines or needles and thread.
- Speed: Attaching velcro with adhesive is significantly faster than sewing. Perfect for those last-minute costume adjustments or quick fixes!
- Accessibility: Anyone can use a no-sew method, regardless of their sewing experience.
- Quick repairs: Easily mend a torn seam or reattach a loose strap in minutes.
- Temporary fixes: Ideal for situations where you might want to remove the velcro later, such as adjusting the fit of clothing or creating temporary decorations.
1.3 Types of no-sew velcro
Choosing the correct no-sew velcro is critical for project success. Here’s a breakdown of the primary options:
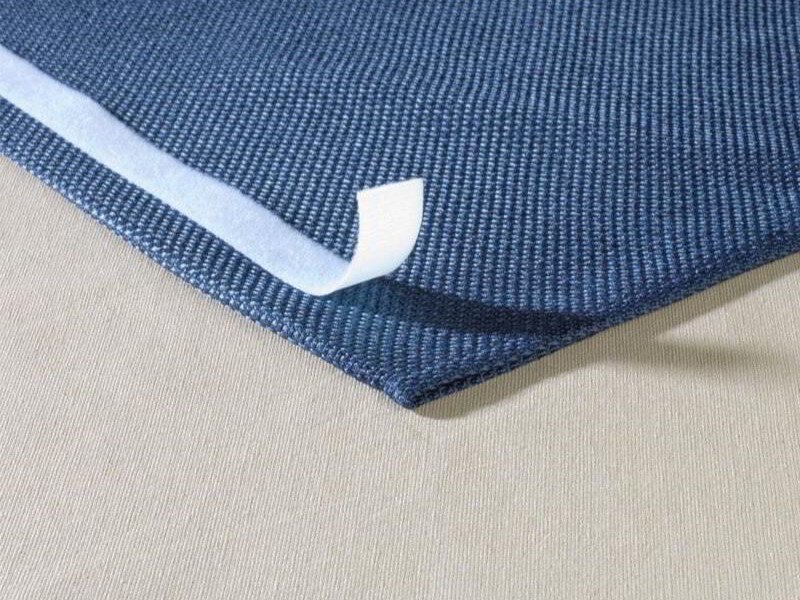
- Adhesive-backed: This is perhaps the most popular no-sew option. These velcro strips come with a pre-applied adhesive protected by a backing paper. Simply peel off the backing and stick the velcro to your fabric. It is important to check that it will adhere to the type of fabric with which you are working.
- Fabric glue: A strong, flexible fabric glue can be used to attach regular (non-adhesive) velcro to fabric. This method provides a very strong bond and is often preferred for heavier-duty applications.
- Iron-on: While iron-on velcro exists, it’s generally not recommended for use without sewing as a reinforcement. The heat required to activate the adhesive can damage some fabrics and may not create a permanent bond on its own. Always test on a scrap piece of fabric first, and seriously consider adding stitches for long-term durability.
2. Preparing your fabric and velcro
2.1 Cleaning the fabric
It’s a crucial step that’s often overlooked, but cleaning your fabric is absolutely essential for creating a strong bond. Any dust, debris, lint, or even oils from your skin can interfere with the adhesive, preventing it from sticking properly.
Here’s how to prepare your fabric:
- Check for dirt: Inspect the area where you’ll be attaching the velcro.
- Brush or wipe: Use a clean, dry cloth or a soft brush to remove any loose particles.
- Spot clean: If there are any stains, gently spot clean the area with a fabric-appropriate cleaner and allow it to dry completely.
- Lint roll: For fabrics prone to lint, use a lint roller to ensure a perfectly clean surface.
2.2 Measuring and cutting velcro
Accuracy is key here. Taking the time to measure and cut your velcro properly will ensure a neat and professional-looking result. It also helps prevent wasting material.
Here’s the process:
- Determine placement: Decide exactly where you want to position the velcro on your fabric.
- Measure: Use a ruler or measuring tape to determine the required length of velcro.
- Mark: If desired, lightly mark the velcro with a pencil or fabric marker to guide your cutting.
- Cut: Use sharp scissors to cut the velcro strips to the desired size. Cutting cleanly will prevent fraying and ensure a strong bond.
2.3 Choosing the right adhesive
If you’ve opted to use fabric glue instead of adhesive-backed velcro, selecting the right glue is paramount. Not all glues are created equal, and using the wrong type can lead to a weak bond or even damage your fabric.
Here are the key factors to consider:
- Fabric compatibility: Make sure the glue is specifically designed for use on fabrics. Check the label for compatibility with your specific fabric type (e.g., cotton, polyester, etc.).
- Washability: If the item you’re working on will need to be washed, choose a washable fabric glue. This will ensure the velcro stays attached even after multiple washes.
- Permanent vs. temporary: Decide whether you need a permanent or temporary bond. Most fabric glues create a permanent bond, but some temporary options are available.
- Drying time: Consider the glue’s drying time. Some glues dry quickly, while others require several hours to cure fully.
3. Step-by-step guide: Attaching velcro with adhesive-backed strips
This section will guide you through the process of using the most convenient no-sew option: adhesive-backed velcro.
3.1 Step 1- Peel off the backing
This is the simplest step, but it’s important to do it carefully. Locate the protective backing paper on the adhesive side of the velcro strip. Gently peel it away, being careful not to touch the adhesive with your fingers. Touching the adhesive can transfer oils and reduce its stickiness.
3.2 Step 2- Positioning the velcro
With the adhesive exposed, carefully position the velcro strip onto your fabric. Double-check the alignment and placement before pressing it down firmly. Once the adhesive makes contact with the fabric, it can be difficult to reposition without weakening the bond.
3.3 Step 3- Applying pressure
This is crucial for creating a strong bond. Once the velcro is in place, apply firm, even pressure over the entire strip. You can use your fingers, the palm of your hand, or even a smooth, hard object to press down. Maintain pressure for at least 30-60 seconds, or as directed by the velcro manufacturer’s instructions.
3.4 Step 4- Allowing for curing time
Resist the temptation to test the bond immediately! Most adhesive-backed velcro needs time to cure fully. This typically takes around 24 hours. During this time, the adhesive sets and forms its strongest bond with the fabric.
4. Step-by-step guide: Attaching velcro with fabric glue
This section outlines the process of using fabric glue to attach velcro, offering a strong and durable alternative to adhesive-backed strips.
4.1. Step 1- Applying the glue
The key here is to apply a thin, even layer of fabric glue to the back of the hook side of the velcro strip. Avoid using too much glue, as this can seep through the velcro and the fabric, creating a messy finish and potentially weakening the bond.
4.2. Step 2- Positioning the velcro
Similar to step 2 of the adhesive-backed method, carefully position the velcro strip onto the fabric. Double-check the alignment before pressing it down.
4.3. Step 3- Applying pressure and clamping
Once the velcro is in place, apply firm, even pressure. For most projects, hand pressure for several minutes will be sufficient. However, for heavier fabrics or applications where a very strong bond is required, clamping may be necessary. You can use clamps, weights (like heavy books), or even binder clips to maintain even pressure while the glue dries.
4.4. Step 4- Curing time
Just like with adhesive-backed velcro, allowing sufficient curing time is essential. Most fabric glues require at least 24 hours to cure completely. Check the specific instructions on your glue product for the recommended curing time. Avoid using or washing the item until the glue is fully set.
5. Troubleshooting and tips
5.1. Adhesive not sticking
This is a frustrating but often fixable problem. Here are some common causes and solutions:
- Problem: Dirty or oily fabric surface. Solution: re-clean the fabric thoroughly, ensuring it’s completely dry before reapplying the velcro.
- Problem: Using the wrong type of adhesive for the fabric. Solution: check the adhesive’s compatibility with your fabric type. You may need to switch to a different adhesive or use fabric glue.
- Problem: Not enough pressure applied. Solution: reapply the velcro, applying firm, even pressure for a longer duration.
- Problem: Adhesive is old or expired. Solution: use fresh adhesive. Check the expiration date on the packaging.
- Problem: The adhesive-backed velcro is not of good quality. Solution: use adhesive-backed velcro of good quality from reputable brands.
5.2. velcro coming loose after washing
This indicates that the adhesive wasn’t truly washable or that the bond wasn’t strong enough to withstand the washing process.
Here’s what to do:
- Prevention: Always use a washable fabric glue or adhesive-backed velcro specifically designed for fabric and laundering.
- Solution: If the velcro has come loose, remove any remaining adhesive residue and reattach it using a fresh application of washable fabric glue. Consider adding a few hand stitches around the edges for extra reinforcement.
5.3. Removing adhesive velcro
Sometimes, you might need to remove velcro that’s been attached with adhesive. This can be tricky, but here are some tips:
- Gentle peeling: Try to gently peel the velcro away from the fabric. If it’s not coming off easily, don’t force it, as this could damage the fabric.
- Adhesive remover: Use a fabric-safe adhesive remover. Test it on an inconspicuous area of the fabric first to ensure it doesn’t cause discoloration or damage.
- Heat: For some adhesives, applying gentle heat (from a hairdryer on a low setting) can soften the adhesive, making it easier to remove. This is not recommended for delicate fabrics.
- If using a solvent to remove glue, test a small area of your fabric to make sure it does not damage your material before proceeding
6. Related questions
6.1 Can I use hot glue to attach velcro to fabric?
While hot glue might seem like a quick and easy option, it’s generally not recommended for attaching velcro to fabric.
6.2 Can I use double-sided tape to attach velcro to fabric?
Double-sided tape is not a durable solution for attaching velcro to fabric.
6.3 What’s the best way to attach velcro to a costume?
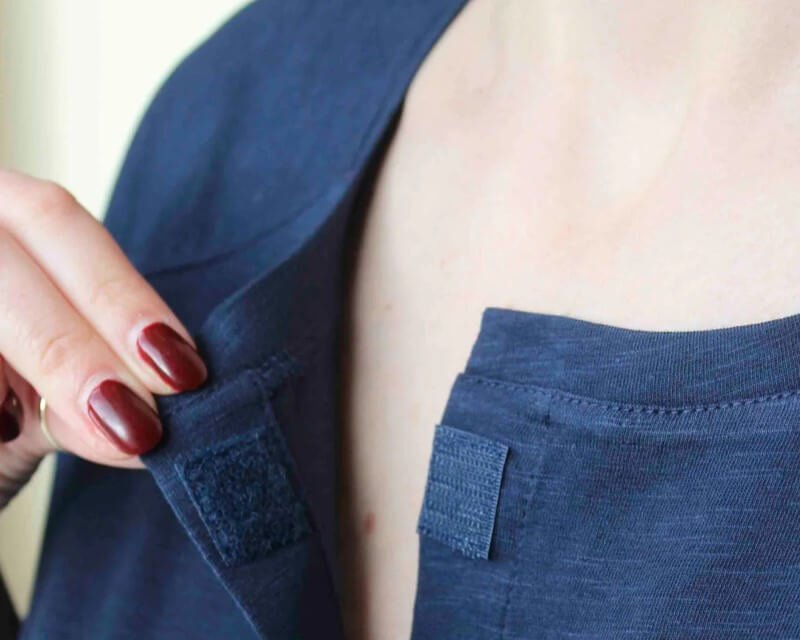
For costumes, adhesive-backed velcro is often the best choice for its speed and convenience. For heavier or frequently worn costumes, consider using fabric glue and adding a few hand stitches for extra security.
6.4 How do I attach velcro to leather or faux leather?
For leather or faux leather, you have several options. A strong, flexible adhesive specifically designed for leather and fabric is a good choice.
Read more:
Attaching velcro to fabric without sewing is not only possible, it’s also surprisingly easy and effective! By choosing the right no-sew method – whether it’s adhesive-backed velcro or fabric glue – and following the steps outlined in this guide, you can achieve a strong, durable bond that will hold up to regular use.
Remember to prioritize proper fabric preparation, apply firm pressure, and allow for sufficient curing time. With these tips in mind, you can confidently tackle a wide range of projects, from quick clothing repairs to creative crafting endeavors. Say goodbye to sewing frustrations and embrace the convenience of no-sew velcro!


