What Is Stay Stitching: Essential Guideo To Perfect Sewing Projects


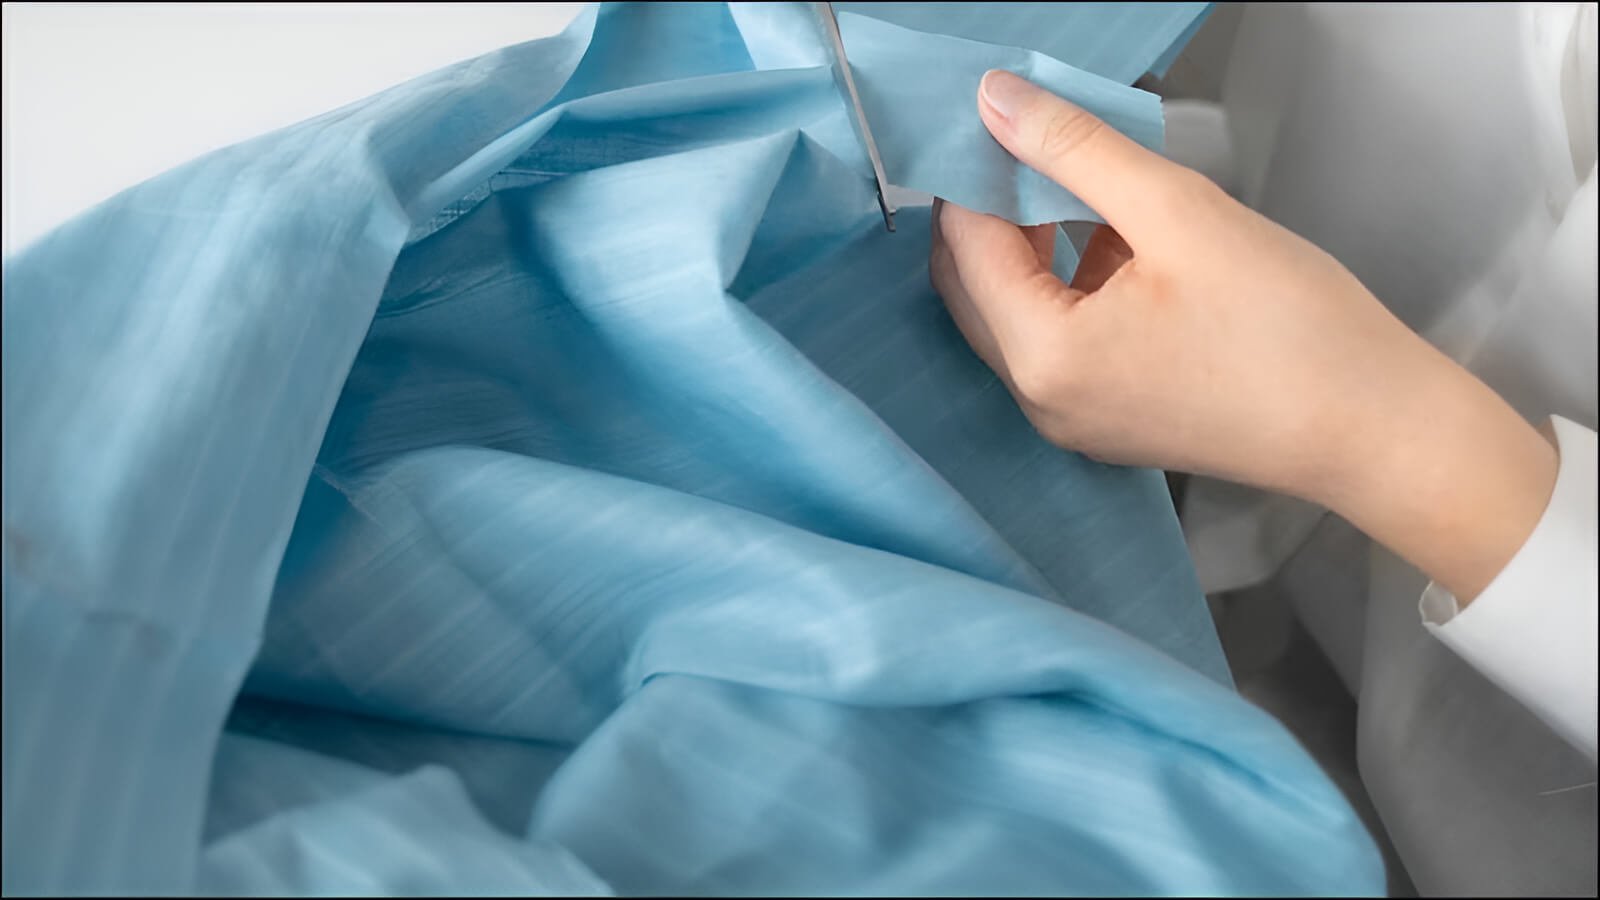
Stay stitching is a simple line of stitches sewn on a single fabric piece within the seam allowance (the area between the fabric’s cut edge and the main sewing line). It prevents curved or bias edges (edges cut diagonally to the fabric’s grain, which are stretchy) from stretching out of shape. This ensures your sewing projects look professional and fit well. This guide teaches you everything you need to know. Let’s dive in!
1. Introduction: What is stay stitching and why it’s your sewing superpower
1.1 What is stay stitching? A simple definition
Stay stitching is one simple line of straight stitches that you sew on only one piece of fabric. Its main job is to stop the edges of your fabric, especially curved ones like necklines or armholes, from stretching or changing their shape while you handle them.
You do this stitching early in your project, right after cutting your fabric pieces and before you sew those pieces to other parts of your garment. Think of stay stitching like putting a little temporary support tape along a delicate edge to keep it steady. It makes the fabric edge more stable.
1.2 Why is stay stitching so important?
Without stay stitching, your necklines can get wavy and wide. Armholes might sag or become too big. Other curved edges can look messy and uneven. This makes your finished clothes look less professional and fit poorly.
It’s a very small step, but it makes a huge difference in how good your finished clothes or projects look. It helps them look neat, sharp, and professional, just like store-bought items. Doing this little bit of stitching at the start saves you from big problems later. Trying to fix a stretched-out neckline after it’s already attached is very difficult, sometimes impossible!
2. The simple science: Why fabric stretches and how stay stitching fixes it
2.1 Understanding fabric: Curves, angles, and “bias”
Most woven fabric (like cotton for shirts, not stretchy t-shirt material) has threads going in two main directions. These are straight up and down (this is called the ‘lengthwise grain’) and straight side to side (the ‘crosswise grain’). Fabric is quite stable and doesn’t stretch much in these straight directions.
The bias is any diagonal direction on the fabric. The ‘true bias’ is exactly 45 degrees to those straight grains. Fabric cut on the bias is very stretchy – much more than on the straight grains. When you cut curved edges like necklines, armholes, or even angled edges, parts of these edges will naturally fall on the bias.
This is why these specific areas are so prone to stretching out of shape easily. Just picking up, moving, and handling your cut fabric pieces can be enough to cause these bias-cut edges to stretch. This happens even before you start sewing your main seams.
2.2 How stay stitching works: Like a tiny fence for your fabric
The line of stay stitches acts like a barrier. It holds the individual threads of the fabric in place along the cut edge. This stops them from shifting, separating, or stretching apart as you work with the piece. It makes the edge stable before you handle it a lot, and before you sew it to another fabric piece. This is key because most stretching happens during these early stages.
Imagine the stitches are like building a tiny, gentle fence right along the edge of your fabric. This fence doesn’t change the fabric itself. But it neatly contains the edge and stops it from changing its shape. Stay stitching doesn’t remove the natural ability of the fabric to stretch. But it controls and supports the cut edge so it doesn’t get distorted beyond its intended shape.
3. When and where to use stay stitching: Your project checklist
3.1 Key places on clothes that need stay stitching
Here are the key areas that benefit most from stay stitching:
- Necklines: All kinds of necklines (round, V-neck, scoop necks, square necks) absolutely need stay stitching. They are almost always curved and contain bias edges. This makes them very easy to stretch out of shape. Stretched necklines look sloppy and don’t fit well.
- Armholes: Armholes are crucial for a good fit and for easily setting in sleeves. They are curved and get handled a lot. Stay stitching keeps them the correct size and shape, preventing gaping or distortion.
- Curved seams: Any seam that has a significant curve, like princess seams (which give shape to a dress or top), benefits greatly. Stay stitching helps you sew a smooth, accurate curve.
- Bias-cut edges: If any edge of your pattern piece is intentionally cut on the true bias, you must stay stitch it. These are the stretchiest edges of all.
- Shoulder seams: Shoulder seams, especially on lightweight or loosely woven fabrics, can sometimes stretch. Stay stitching can help them maintain their intended line.
- Waistlines: The top edge of skirts or pants where a waistband will be attached often needs stay stitching. This is particularly true if it’s curved or slightly shaped. This ensures the waistband fits correctly.
- Pocket openings: Curved or angled pocket openings, like those on slash pockets, should be stay stitched. This prevents them from stretching open and gaping.
3.2 Fabric types: Is stay stitching always needed?
Stay stitching is extra important for fabrics that are:
- Lightweight and delicate (e.g., chiffon, silk, voile).
- Loosely woven (e.g., some linens, gauze). These fabrics can distort very easily.
It’s a very good habit for almost all other woven fabrics too, like cotton and denim, especially on curves. What about knit fabrics (stretchy ones like jersey)? Usually, you use different techniques for knit edges. However, if a knit is very unstable or a pattern says to, you might carefully stay stitch with a slight zigzag. This is less common. Always test on a scrap first.
4. How to do stay stitching: A simple step-by-step guide
4.1 Get your tools ready
You’ll need:
- Your sewing machine (with a basic straight stitch).
- Good quality all-purpose sewing thread.
- Your cut fabric piece(s).
- Your sewing pattern instructions.
- Sharp fabric scissors or a rotary cutter.
- Pins (optional, but helpful for beginners).
4.2 Step 1: Check your pattern papers
Before you start, look at your sewing pattern instructions and pieces. Many patterns will show where to stay stitch, often with a dotted or dashed line. If your pattern doesn’t mention it for an area like a neckline or armhole, use the checklist from Part III.
4.3 Step 2: Set up your sewing machine
Select the straight stitch on your machine. Crucially, shorten your stitch length. For regular seams, you might use 2.5mm to 3mm. For stay stitching, use between 1.5mm and 2.0mm.
Why a shorter stitch? A shorter stitch length creates more stitches per inch. This makes the stitching line stronger and better at holding fabric threads. It also helps you sew smoother curves. Use your normal thread tension.
4.4 Step 3: Where to sew – Inside the seam allowance!
This is very important: You must sew stay stitches inside the seam allowance. The seam allowance is the area of fabric between the raw (cut) edge and your main stitching line. Typically, sew stay stitches about 1/8 inch (about 0.3 cm or 3mm) away from your main seam line, towards the raw edge.
Example: If your pattern uses a standard 5/8 inch (1.5 cm) seam allowance:
- Your main seam line is 5/8 inch from the raw edge.
- Sew your stay stitches at 1/2 inch (1.2 cm) from the raw edge. (Because 5/8 inch minus 1/8 inch = 1/2 inch).
4.5 Step 4: Which way to sew?
Sometimes, the direction you sew makes a difference. This is ‘directional stitching’.
General rule for curves (necklines, armholes): Sew from a wider part of the curve towards a narrower part, or from higher to lower. Stitch with the grain where possible.
Example for Necklines:
- Front neckline: Start at one shoulder seam edge, sew to center front. Stop. Start at the other shoulder edge, sew to center front.
- Back neckline: Similarly, sew from each shoulder to center back.
Example for Armholes: Start at the top of the shoulder, sew down towards the underarm. Do this for both front and back armhole curves.
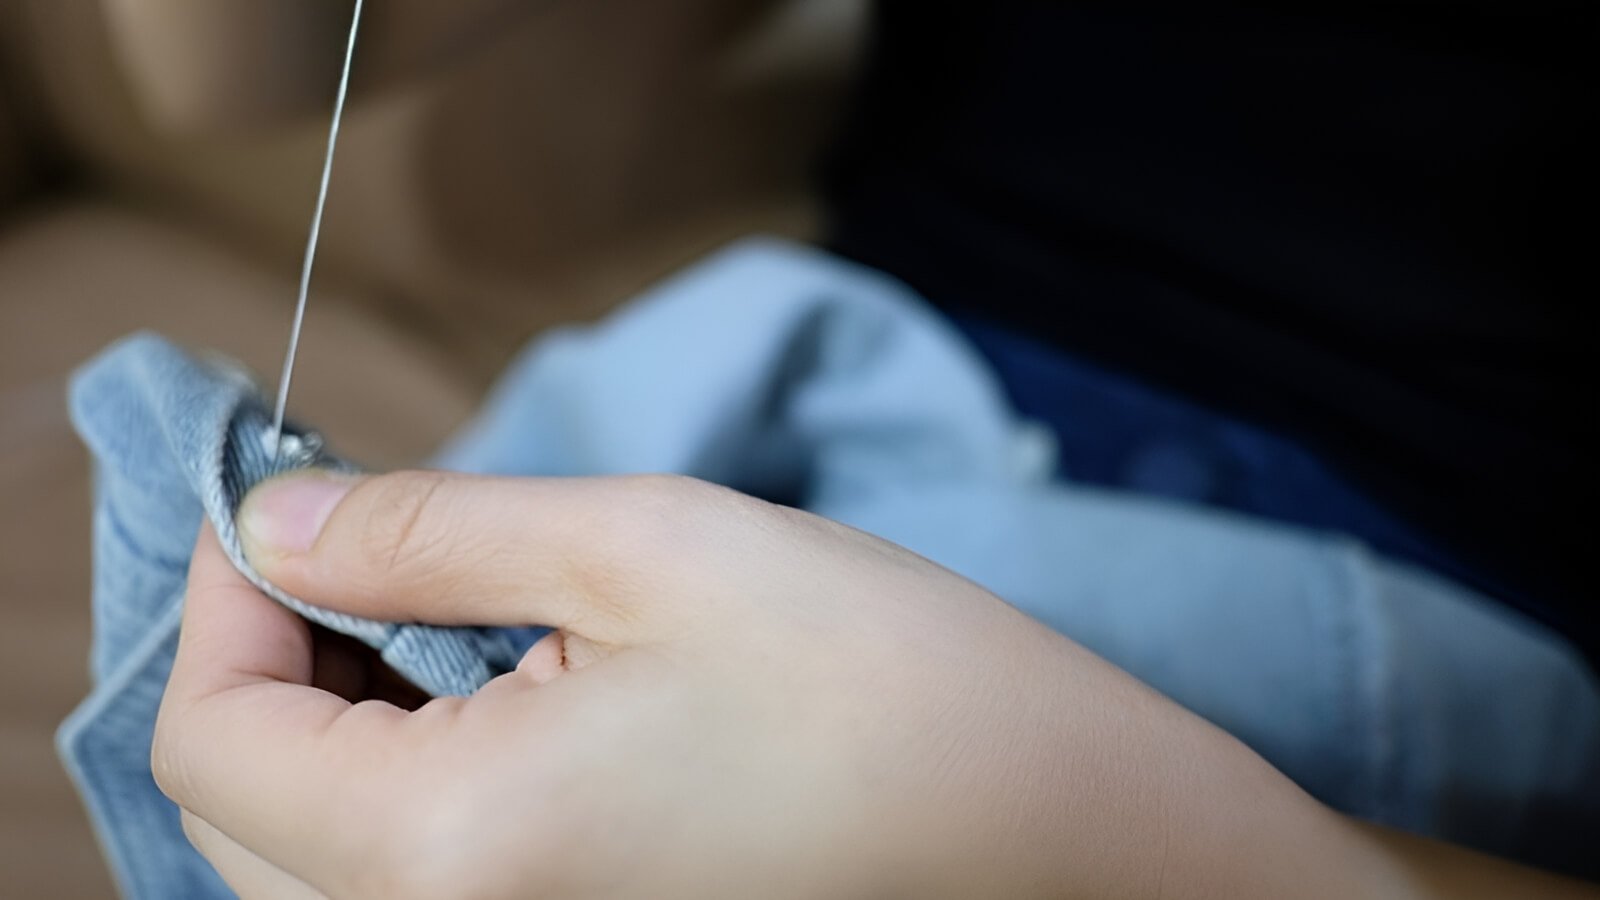
4.6 Step 5: Start sewing!
Remember, you are sewing on only ONE single layer of fabric. Place your fabric under the needle. Lower the presser foot. Sew slowly. Guide the fabric gently. Do NOT pull or push the fabric. Let the machine’s feed dogs (teeth under presser foot) move the fabric.
For stay stitching, it’s usually best NOT to backstitch, or just one or two tiny reverse stitches. Heavy backstitching adds bulk. Your main seam will secure these stitches later. Sew smoothly, keeping stitches inside the seam allowance.
4.7 Step 6: Look at your stitches
Once finished, check your work:
- Is the stitching smooth and even?
- Is it inside the seam allowance?
- Did the fabric edge stay flat? Any new puckers or waves?
If it’s messy or in the wrong place, carefully remove stitches with a seam ripper and try again. Better to fix it now!
5. Pro tips for great stay stitching
5.1 Be gentle: Don’t pull or stretch the fabric before or while you stay stitch
This is key! Handle cut fabric gently until after stay stitching. Avoid pulling or letting delicate edges hang and stretch. The less distortion before stitching, the better.
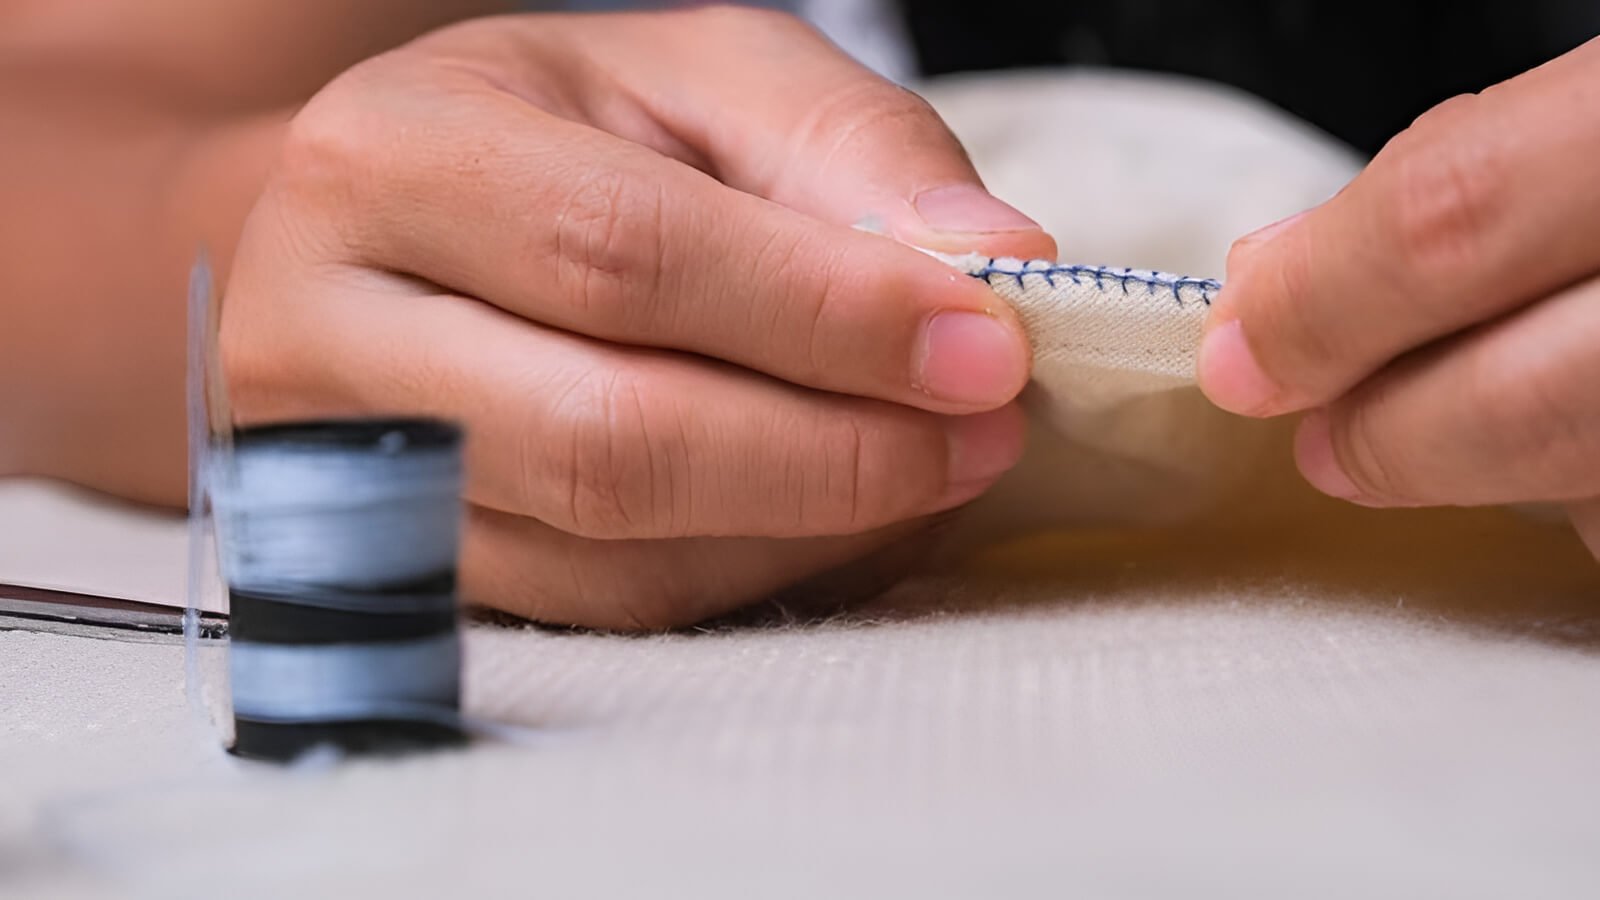
5.2 Use matching or neutral thread color: It won’t show, but it’s a good habit
Using thread that matches your fabric, or a neutral like grey or beige, is good practice. If a tiny bit shows, it will be less noticeable.
5.3 Don’t skip it! It might seem small, but it prevents big problems
It’s tempting to skip stay stitching. Please resist! This small step prevents bigger problems and makes your sewing look much better. It’s worth the extra minute.
5.4 Stay stitching vs. ease stitching vs. gathering stitches: What’s the difference?
You might hear similar terms. Here’s a quick guide:
Stay stitching:
- What: One line of short stitches (1.5mm-2.0mm).
- Where: On a single fabric layer, inside seam allowance.
- Purpose: To prevent stretching. No pulling threads.
Ease stitching:
- What: One or two lines of slightly longer stitches (2.5mm-3.5mm).
- Where: On a single layer, inside or on seam line.
- Purpose: Gently pull threads to ‘ease’ in fullness (like a sleeve cap).
Gathering stitches:
- What: Two parallel lines of very long stitches (4.0mm+).
- Where: On a single layer, around seam line.
- Purpose: Pull threads strongly for gathers or ruffles.
Stay stitching is for stability. Ease and gathering are for shaping.
6. Common stay stitching mistakes
6.1 Sewing outside the seam allowance
- Mistake: Sewing stay stitches too close to, on, or outside the main seam line.
- Problem: Stitches might show on your finished project.
- Solution/Prevention: Double-check seam allowance. Sew stay stitches 1/8 inch (3mm) closer to the raw edge than the main seam line. Use a seam guide.
- Fix: If stitches will show, carefully remove with a seam ripper and re-stitch.
6.2 Stitch length too long
- Mistake: Using a regular seam length (2.5mm, 3.0mm+) for stay stitching.
- Problem: Stitching won’t be effective. Fabric can still stretch.
- Solution/Prevention: Always shorten stitch length to 1.5mm – 2.0mm for stay stitching.
- Fix: If stitches are too long and edge is wobbly, unpick and redo with correct length.
6.3 Stretching the fabric while sewing
- Mistake: Pulling or stretching fabric (especially curves) through the machine.
- Problem: Creates waves or makes the edge longer. Defeats the purpose.
- Solution/Prevention: Let feed dogs pull fabric. Guide gently. Don’t push or pull. Support large pieces.
- Fix: Gentle steam press might help slightly, but hard to fix fully. Prevention is key.
6.4 Forgetting to sew in the right direction
- Mistake: Not using directional stitching on curves (e.g., sewing from neckline center out).
- Problem: Can cause stretching, especially on sharp curves.
- Solution/Prevention: Recall directional rules: necklines (shoulders to center), armholes (top down). Mark arrows if needed.
- Fix: If edge looks stretched, unpick and re-sew minding direction.
7. Little extras: Stay stitching for special cases
7.1 Stay stitching thin or see-through fabrics
For very thin or delicate fabrics (chiffon, organza, silk):
- Use a smaller needle: Size 60/8 or 70/10 Microtex (sharp) needle.
- Consider thinner thread: Fine thread (60wt or 80wt) creates less bulk.
- Tissue paper trick: Place lightweight tissue paper or tear-away embroidery stabilizer under fabric. Sew through both. Gently tear paper/stabilizer away after. This prevents fabric ‘bird nesting’ and adds stability.
7.2 When might you need stronger stay stitching?
One line of short stay stitches is usually fine. For extremely unstable or heavy fabric, you could sew a second line next to the first. Ensure both lines are inside the seam allowance if first is 1/2 inch from edge, second could be 3/8 inch (if SA is 5/8 inch). Not common if first line is correct.
8. The big picture: How good basics like stay stitching make your items shine
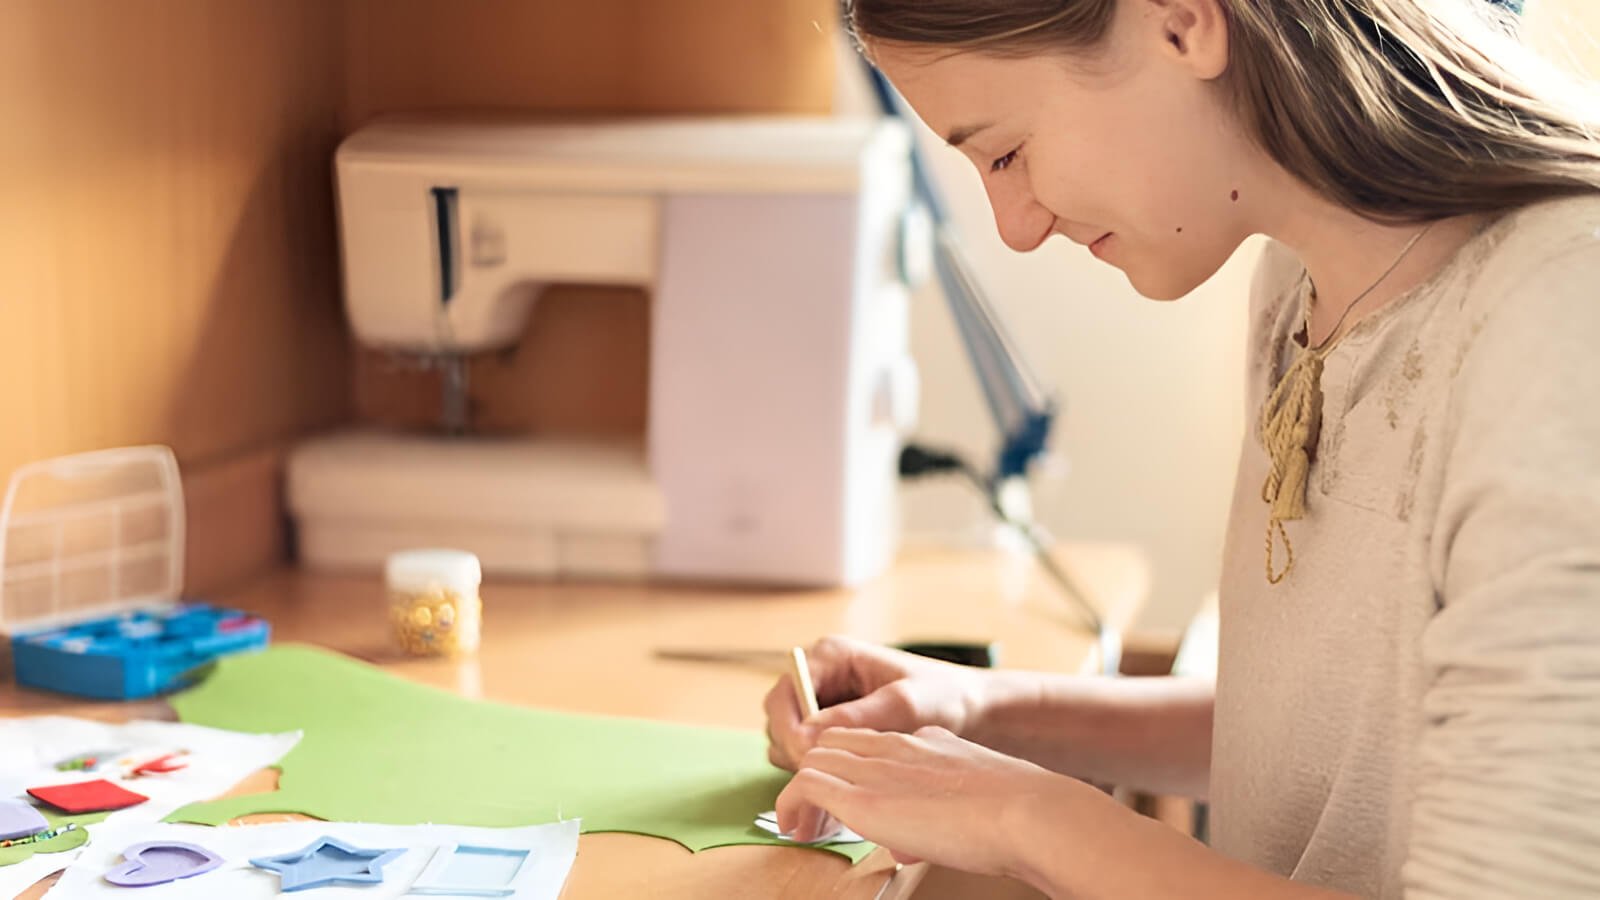
8.1 From homemade to handmade with pride
Details like stay stitching elevate your sewing. They transform projects from ‘homemade’ to ‘handmade with pride’. These skills ensure clothes fit better, last longer, and look professional. It’s a mark of quality craftsmanship.
8.2 Getting your creation ready for the world
Mastering skills like stay stitching creates professional items made with care. When your creations are ready to share, gift, or sell, custom branding can showcase their quality. Packlove helps with that final touch. We offer custom woven labels to sew into garments (on those nicely stay stitched necklines!), elegant hang tags for info or messages, and smart zipper bags or stylish poly mailers for packaging.
Just like stay stitching shows internal quality, lovely custom branding from Packlove shows external quality. It helps your creations stand out. We believe the care you put into sewing, like using stay stitching, deserves branding that reflects that quality. A well-placed custom woven label on a perfectly constructed garment speaks volumes.
9. Your questions answered: FAQ about stay stitching
9.1 Do I really need to stay stitch? Can’t I just be careful?
Being careful is good, but stay stitching adds support your hands can’t guarantee on stretchy edges. It’s like insurance for your fabric’s shape. It prevents big fitting problems and makes projects look professional.
9.2 What’s the best stitch length for stay stitching?
The best is a short stitch, 1.5mm to 2.0mm. These hold more threads, creating a stable edge, and help sew smooth curves.
9.3 Do I backstitch when I stay stitch?
It’s best not to backstitch, or only one or two tiny reverse stitches. Too much backstitching adds bulk or puckers fabric. Your main seam will secure the stay stitches.
9.4 What if my fabric still stretches a little after stay stitching?
On very stretchy fabrics, some ‘give’ might happen. Check you used a short stitch (1.5-2.0mm) and handled fabric gently. If it’s minor, proceed carefully. For future projects, consider testing a thin strip of lightweight fusible interfacing inside the seam allowance before stay stitching for extra stability.
9.5 Can I use a zigzag stitch for stay stitching?
No, use a straight stitch. A zigzag has stretch, opposite of what stay stitching needs. Stay stitching stops stretch.
9.6 When do I do stay stitching in my project?
As one of the first steps after cutting fabric pieces. Do it before much handling, pressing, or sewing main seams. This protects edges from the start.
9.7 Do I remove stay stitching later?
No, stay stitching stays permanently. Because it’s sewn inside the seam allowance, it will be hidden in the finished seam.
9.8 My pattern doesn’t say to stay stitch. Should I do it anyway?
Yes, often it’s a good idea. Even if not instructed, proactively stay stitch necklines, armholes, and curved/bias edges. Especially with fabric prone to stretching. It’s a good habit.
Explore more:
Stay stitching is your sewing superpower! It stops edges from stretching, helps pieces fit accurately, makes projects look professional, and saves frustration. Small effort, big reward. The more you practice, the easier it becomes. Make it a standard step for better quality and fit. Happy sewing from all of us at Packlove!