


Iron-On Not Sticking? Troubleshooting and Expert Fixes

25 March, 2025
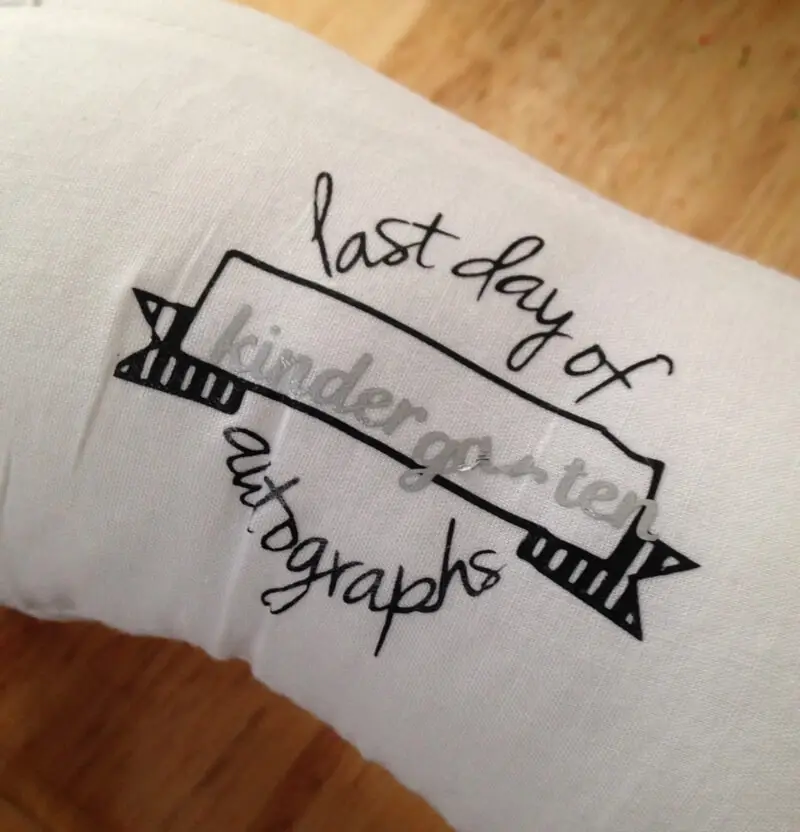
Ready to personalize your clothes or create custom fabric items? Iron-on stickers, transfers, and patches offer an easy and versatile way to do just that. But, if you’ve ever had an iron-on design peel, crack, or fail to stick at all, you know the frustration it can cause.
Achieving professional-looking, long-lasting results isn’t always as simple as it seems. Improper application can ruin garments, waste materials, and leave you feeling defeated. Whether you’re a DIY enthusiast, a crafter, or a small business owner, mastering iron-on techniques is crucial.
This comprehensive guide is your key to success. We’ll explore the different types of iron-ons, explain the critical steps for proper application, and provide troubleshooting solutions for common problems. You’ll learn how to avoid adhesion issues, care for your creations, and confidently achieve stunning, durable results every time.
1. The Frustration of a Failing Iron-On
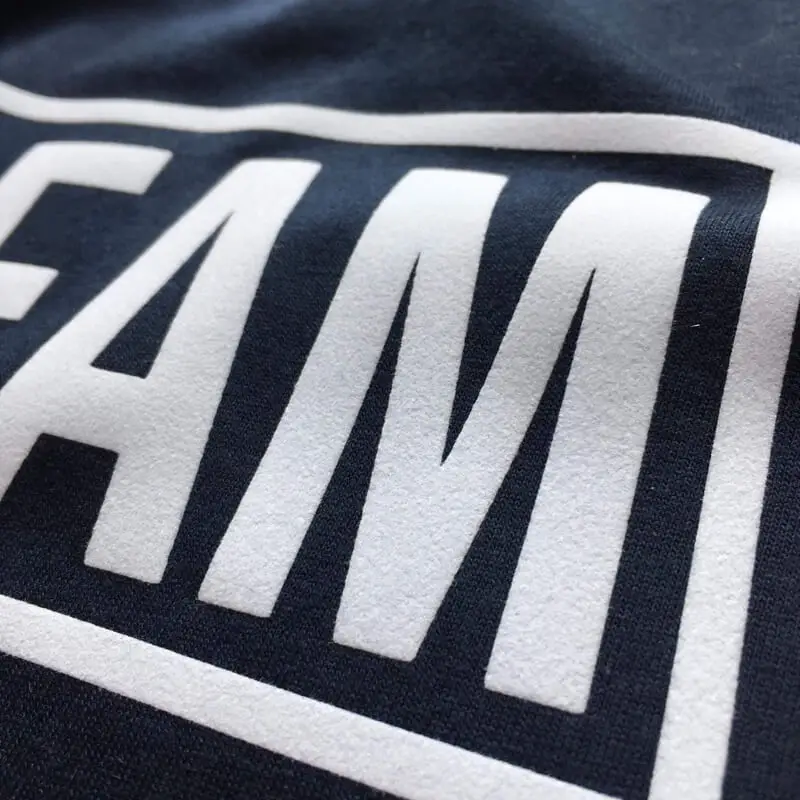
There’s nothing quite as disheartening as spending time and effort on a custom iron-on project, only to have the design fail to adhere properly. Whether it’s a corner lifting, the entire design peeling off, or the image cracking and fading prematurely, iron-on problems are a common source of frustration.
The good news is that most adhesion issues can be resolved, and often with surprisingly simple solutions. This guide will help you pinpoint the cause of your iron-on woes and provide effective fixes, so you can get back to creating.
2. Fabric Factors: Is Your Garment the Culprit?
Sometimes, the reason your iron-on isn’t sticking has nothing to do with the iron-on itself, but rather with the fabric you’re trying to apply it to.
2.1 The Texture Test: Smooth vs. Textured Surfaces
The texture of your fabric plays a crucial role in iron-on adhesion.
- Smooth, Flat Fabrics: These provide the ideal surface for iron-ons. The adhesive can make full, even contact with the fabric fibers, creating a strong bond. Examples include smooth cotton t-shirts, cotton/polyester blend fabrics, and smooth canvas bags.
- Textured Fabrics: Fabrics with a pronounced texture, such as ribbed knits, canvas, corduroy, terry cloth, or even heavily textured wovens, can be problematic. The uneven surface prevents the adhesive from making full contact with all the fabric fibers, resulting in a weaker bond. Areas of the design might not stick at all, or they might be more prone to peeling.
- Uneven Surfaces: Obstructions like seams, zippers, buttons, collars, and thick hems.
If you must apply an iron-on to a textured fabric or near an uneven surface, consider using a pressing pillow or a folded, thick towel underneath the garment. This helps to even out the pressure and allows the adhesive to make better contact with the fabric fibers in the low-lying areas.
2.2 Fabric Compatibility: Choosing the Right Match
Not all fabrics are compatible with iron-ons.
Best Fabrics for Iron-Ons:
- Cotton: 100% cotton is generally the easiest fabric to work with. It’s smooth, heat-resistant, and the adhesive bonds well to its fibers.
- Polyester: Polyester is also a good option, as it’s durable and can withstand the heat required for application.
- Poly-Cotton Blends: These blends combine the benefits of cotton and polyester, offering a good balance of comfort, durability, and heat resistance.
- Canvas: As long as it’s relatively smooth.
- Denim: Denim’s sturdy weave provides a good surface for adhesion.
- Wool
- Linen
Fabrics to Avoid (or Use with Caution):
- Waterproof or Water-Resistant Fabrics: These fabrics often have a coating that repels water – and unfortunately, this coating can also repel the iron-on adhesive, preventing it from bonding properly.
- Delicate Fabrics: Fabrics that are easily damaged by heat, such as silk, rayon, lace, and some very lightweight synthetics, are not suitable for iron-ons. The high heat required for application can scorch, melt, or permanently distort these materials.
- Fabrics with Anti-Crease Coatings: Some garments are treated with anti-crease coatings to reduce wrinkling. These coatings can interfere with the adhesive’s ability to bond to the fabric.
- 100% Synthetic Fabrics: Some 100% synthetic fabrics, like nylon, satin or acetate, may not withstand the required heat.
- Very Stretchy Fabrics: Fabrics with a high degree of stretch, like Spandex or Lycra, can be challenging. While some specialized iron-on materials are designed for stretch fabrics, standard iron-ons may crack or peel when the fabric is stretched.
Always check the care label of your garment and the instructions for your iron-on material to ensure they are compatible. When in doubt, test a small, inconspicuous area of the fabric first with a scrap piece of the iron-on material (or just with the iron itself, to check for heat sensitivity).
2.3 Prepping the Fabric: Clean, Dry, and Smooth
Proper fabric preparation is essential for successful iron-on application.
- Pre-Wash (Without Fabric Softener): Always pre-wash and dry your fabric before applying an iron-on. This removes any sizing (a chemical applied during manufacturing that can create a barrier between the adhesive and the fabric fibers), dirt, dust, or oil that could interfere with adhesion. Do not use fabric softener or dryer sheets when pre-washing, as these can leave a residue that repels the adhesive.
- Completely Dry: The fabric must be completely dry before you apply the iron-on. Any moisture will turn to steam when heat is applied, preventing proper adhesion and potentially causing the iron-on to bubble or warp.
- Iron Smooth: Iron the fabric to remove any wrinkles before applying the iron-on. Wrinkles can create air pockets and prevent the adhesive from making full, even contact with the fabric.
- Pre-Press: Pre-pressing your fabric for 5-10 seconds with the iron (before placing the iron-on) is a crucial step. This removes any lingering moisture and creates a smooth, warm surface that’s perfectly primed for the iron-on adhesive. Think of it as preparing the canvas before painting – you want a clean, smooth, and receptive surface.
- Lint-Free: Ensure the area where you’ll be applying the iron-on is free of lint or pet hair.
3. Adhesive Antics: Problems with the Sticky Stuff
Sometimes, the problem lies with the iron-on adhesive itself, or with the way it’s being applied.
3.1 Quality Counts: Choosing a Reputable Brand
Just like with any crafting material, the quality of your iron-on makes a difference.
- Choose high-quality iron-on materials from reputable brands. While it might be tempting to opt for the cheapest option, low-quality iron-ons often have inferior adhesives that may not adhere properly, peel easily, crack, or fade quickly.
- Check the expiration date (if there is one) on your iron-on material. While iron-ons don’t necessarily “expire” in the same way food does, the adhesive can degrade over time, especially if stored improperly (in hot, humid conditions).
- Inspect the adhesive: Before applying the iron-on, visually inspect the adhesive side. It should look and feel consistent, without any dry patches, clumps, or unusual textures.
Don’t skimp on your iron-on materials. A good quality product will make a big difference in the final result, both in terms of adhesion and longevity.
3.2 Heat, Pressure, and Time: The Golden Trio
For successful iron-on application, three factors are absolutely crucial: heat, pressure, and time. These elements work together to activate the adhesive and create a strong, permanent bond between the iron-on material and the fabric. Think of them as the “golden trio” of iron-on success. The manufacturer’s instructions for your specific iron-on material are paramount; always follow those guidelines precisely.
- Heat: The adhesive on iron-on materials is heat-activated, meaning it requires a specific temperature to melt and bond with the fabric fibers. Insufficient heat will result in the adhesive not melting completely, leading to a weak bond or the iron-on not sticking at all. Conversely, excessive heat can scorch the fabric, damage the iron-on material itself (causing it to melt, warp, or discolor), and even weaken the adhesive, causing it to fail prematurely. Use an iron thermometer to check the actual temperature.
- Pressure: Firm, even pressure is essential for ensuring full contact between the adhesive and the fabric. This pressure forces the melted adhesive into the fabric fibers, creating a strong, secure bond. Insufficient pressure is a very common cause of adhesion problems, especially when using a household iron. You need to apply significant downward force, using your body weight if necessary, and ensure that the pressure is distributed evenly across the entire design. Excessive pressure is less likely to be a problem than insufficient pressure, but the key is to maintain even pressure throughout the application.
- Time: The adhesive needs to be heated for a specific amount of time (often called the “dwell time”) to allow it to fully melt and bond with the fabric. Insufficient time means the adhesive won’t have enough time to activate and create a strong bond. Excessive time, on the other hand, can overheat the adhesive, weakening it and potentially scorching the fabric or damaging the iron-on material. The correct pressing time will vary depending on the specific iron-on material and the fabric type, so always refer to the manufacturer’s instructions.
These three factors—heat, pressure, and time—are interdependent and critical for success. Getting any one of them wrong can compromise the adhesion and longevity of your iron-on design.
3.3 Proper Application Technique: Step-by-Step
Achieving a flawless, long-lasting iron-on application requires careful attention to detail and a precise technique. Here’s a step-by-step guide to ensure success:
- Preparation is paramount. Begin by preparing your fabric as described in the previous “Prepping the Fabric” section. This means pre-washing (without fabric softener), drying completely, ironing out any wrinkles, and pre-pressing the application area for a few seconds to remove any lingering moisture.
- Positioning and Protection: Once your fabric is ready, carefully position the iron-on material on the garment in the desired location. Ensure the adhesive side is facing down against the fabric. If you’re using Heat Transfer Vinyl (HTV), remember that the shiny side (the carrier sheet) should be facing up. Before applying any heat, it’s crucial to protect both the iron-on material and your iron. Place a pressing cloth (a thin, clean cotton cloth, like a pillowcase or tea towel) or a sheet of parchment paper (baking paper – not wax paper) over the design. Avoid using Teflon sheets directly over HTV.
- Applying Heat and Pressure: Set your iron to the correct temperature setting, as specified in the iron-on material’s instructions. This is usually the “Cotton” or “Linen” setting, but always double-check. Crucially, ensure the steam function is completely off, and the iron is empty of water. With the pressing cloth or parchment paper in place, press down firmly with the heated iron, applying even pressure across the entire design. Don’t move the iron around as if you were ironing wrinkles; hold it still and apply consistent pressure using your body weight.
- Time and Movement: Maintain this firm pressure for the entire duration specified in the iron-on material’s instructions. This “dwell time” is critical for proper adhesive activation. If the iron-on design is larger than your iron’s soleplate, carefully lift and reposition the iron, overlapping the previously pressed areas slightly, to ensure that every part of the design receives adequate heat and pressure. Some people find moving the iron slowly is best. Others find using the tip of the iron is better.
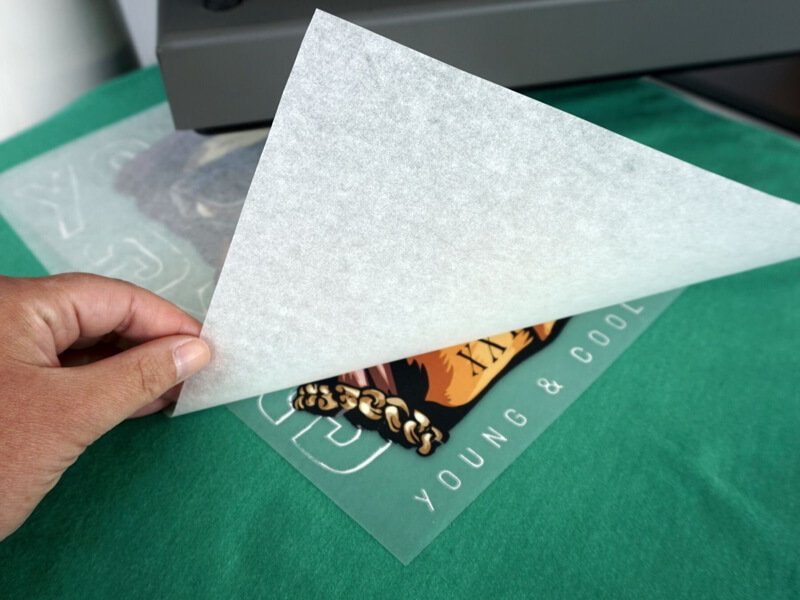
- Cooling and Peeling: After the recommended pressing time, follow the instructions for your specific iron-on material regarding cooling and peeling. Some materials are “hot peel,” meaning you can remove the carrier sheet (the clear plastic backing on HTV) immediately after pressing. However, most iron-ons, especially HTV, are “cold peel,” requiring you to wait until the design and fabric are completely cool to the touch before removing the carrier sheet. Peeling too early can cause the design to lift from the fabric. Once cooled (if required), carefully peel away the carrier sheet or backing paper. If you notice any areas where the design hasn’t fully adhered, re-cover it with the pressing cloth or parchment paper and re-press for a few more seconds, applying firm pressure.
4. Equipment Errors: Ironing Out the Issues
Sometimes, the problem isn’t the fabric or the adhesive, but the equipment you’re using.
4.1 Iron Issues: Temperature and Steam
Two of the most critical factors related to your iron itself are temperature and steam – and getting either wrong is a frequent cause of iron-on adhesion problems.
- Temperature: Using the correct iron temperature is absolutely essential. The specific temperature setting will vary depending on the type of iron-on material you’re using and the fabric you’re applying it to. Always consult the manufacturer’s instructions for the recommended temperature. Generally, most iron-ons require a relatively high heat setting, often corresponding to the “Cotton” or “Linen” setting on a household iron. However, this is just a guideline; the instructions are paramount. If the iron is too cool, the adhesive won’t melt sufficiently to bond with the fabric fibers. If the iron is too hot, you risk scorching the fabric, damaging the iron-on material (melting, warping, or discoloring it), and even weakening the adhesive itself.
- Steam: Steam is the enemy of successful iron-on application. The adhesive requires dry heat to activate and bond properly. Any moisture, even a small amount of steam, will interfere with this process. It can prevent the adhesive from sticking, cause the iron-on to bubble or warp, and lead to premature peeling. Therefore, it’s crucial to ensure that the steam function on your iron is completely turned off. Furthermore, you should empty all the water from your iron’s reservoir to prevent any accidental steam release.
- Finally, before you begin, check the soleplate (the bottom surface) of your iron for cleanliness. Any residue from previous ironing projects (starch buildup, dirt, or melted adhesive) can block heat transfer and create uneven heating, leading to inconsistent adhesion. Clean the soleplate according to your iron’s instructions if needed.
4.2 Pressing Surface Problems: Firm and Flat is Key
The surface you use when applying an iron-on is just as important as the iron itself. A common mistake is using a standard ironing board. While ironing boards are designed for removing wrinkles with steam, they are not ideal for iron-on application.
The padding on most ironing boards is designed to give way under pressure, and this is precisely what you don’t want. That padding absorbs heat and prevents you from applying the firm, even pressure that’s crucial for a strong adhesive bond. The fabric needs to be held taut and firm against a solid surface.
Instead of an ironing board, choose a hard, flat, heat-resistant surface. Excellent options include a wooden cutting board (make sure it’s large enough for your project), a heat-resistant mat specifically designed for crafting, or a sturdy table (protect the table surface with a thick towel or a heat-resistant material).
You can even use the floor if you have a hard, flat surface (like tile or wood), placing a piece of wood or a heat-resistant mat underneath the garment. Avoid plastic surfaces, as they can be damaged. Avoid stone surfaces, as these can absorb the heat. The key is to have a surface that won’t flex, bend, or give way under pressure, allowing you to apply the maximum force needed for proper adhesion.
4.3 Heat Press Headaches: Checking for Consistency
Heat presses are specialized machines designed for heat transfer applications. They offer several advantages over household irons:
- Consistent Temperature: Heat presses maintain a consistent temperature across the entire heating plate (platen).
- Even Pressure: They allow you to apply firm, even pressure across the entire design.
- Larger Surface Area: Heat presses typically have a larger surface area than household irons, making it easier to apply larger designs in a single press.
- Precise Control: They offer precise control over temperature and pressing time.
However, even heat presses can have issues:
- Faulty Heating Element: If the heating element in your heat press is faulty, it may not reach the correct temperature, or it may heat unevenly.
- Uneven Heat Distribution: Even with a functioning heating element, some heat presses can have hot spots or cold spots on the platen, leading to inconsistent heat transfer.
Solution: If you suspect your heat press is not heating evenly, use a temperature gun (infrared thermometer) to check the actual temperature at different points on the platen. If you find significant temperature variations (more than a few degrees), your heat press may need to be serviced or replaced.
5. Post-Application Pitfalls: Caring for Your Creation
Even after you’ve successfully applied your iron-on, proper care is essential for maintaining its appearance and longevity.
5.1 Handling and Laundering: Gentle Care is Key
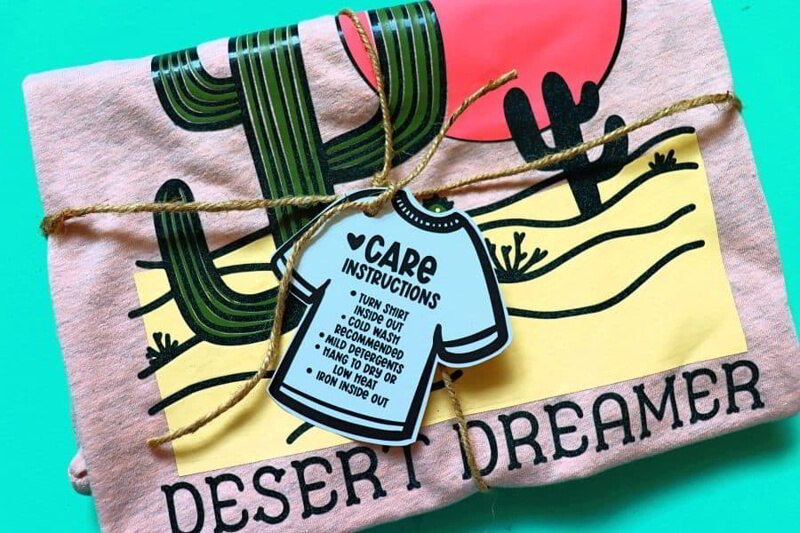
Proper handling and laundering are essential for maintaining the longevity and appearance of your iron-on creations. After applying the iron-on, allow the garment and design to cool completely before handling, wearing, or washing. This cooling period allows the adhesive to fully set and harden, creating the strongest possible bond.
When it’s time to wash the garment, always turn it inside out first. This protects the design from direct abrasion against other items in the washing machine and helps prevent fading. Choose a gentle or delicate wash cycle and use cold or warm water, never hot.
High temperatures can weaken the adhesive and cause the iron-on to crack, peel, or fade. Use a mild detergent, and avoid bleach or harsh chemicals, which can also damage the adhesive and the design’s colors.
5.2 Storage: Avoiding Stress
Storing garments in a way that puts unnecessary stress on the patch (e.g., folding directly over it) can cause it to lift.
6. HTV Specific Considerations: Mastering the Art of Vinyl
Heat Transfer Vinyl (HTV) is a popular material for creating custom iron-on designs, and it has some specific considerations:
6.1 Peeling Process: Hot Peel vs. Cold Peel vs. Warm Peel
Different types of HTV have different peeling requirements for the carrier sheet (the clear plastic sheet that covers the vinyl).
- Hot Peel: The carrier sheet is removed immediately after pressing, while the vinyl is still hot.
- Cold Peel: The carrier sheet must be removed after the vinyl has completely cooled to the touch. This is the most common type.
- Warm Peel: The carrier sheet is removed while the vinyl is still slightly warm, but not hot.
It’s crucial to follow the manufacturer’s instructions for the specific HTV you’re using. Peeling at the wrong time can cause the vinyl to lift from the fabric, ruining your design.
6.2 Ultra-fine/Thin Designs: Adhesion Challenges
Very thin or intricate designs cut from HTV may have less surface area for the adhesive to grip, making them more prone to peeling or lifting, especially after washing.
Tips for Improving Adhesion of Thin Designs:
- Use high-quality HTV: Choose a reputable brand known for its strong adhesive.
- Ensure adequate pressure: Apply firm, even pressure during application.
- Consider a second press: After removing the carrier sheet, you can cover the design with parchment paper and press again for a few seconds to further secure the edges.
6.3 The Teflon Sheet Debate: Use with Caution
Teflon sheets are often used in crafting and heat transfer applications to protect the fabric and the heating element. However, when working with HTV, Teflon sheets are generally .
- Heat Deflection: Teflon can deflect heat, preventing the HTV from reaching the optimal temperature for proper adhesion. This can lead to inconsistent results and peeling.
Recommended Alternatives:
- Parchment paper (baking paper): This allows for better heat transfer and is a readily available option.
- Thin cotton pressing cloth: A clean, thin cotton cloth (like a pillowcase or tea towel) can also be used.
If you must use a Teflon sheet, increase the pressing time slightly to compensate for the heat deflection.
7. FAQs About Iron-On Adhesion
7.1 Can I re-iron an iron-on that’s not sticking?
Yes, you can often re-iron an iron-on that’s not sticking properly. Here’s what to do:
- Identify the Cause: Try to determine why it’s not sticking. Was the iron not hot enough? Did you not apply enough pressure? Is the fabric incompatible?
- Re-Cover: Place a pressing cloth or parchment paper over the design.
- Re-Press: Re-apply heat and pressure, using the correct settings for your iron-on material and fabric type. You may need to increase the temperature slightly or press for a longer time, but be careful not to scorch the fabric.
- Focus on Problem Areas: If only a small section is lifting, concentrate the heat and pressure on that area.
- Cool and Check: Let the design cool according to the instructions before removing the parchment paper.
7.2 What if my iron-on is peeling at the edges?
If the edges of your iron-on are peeling, you can try these solutions:
- Re-iron: As described above, carefully re-iron the edges with firm pressure, using a pressing cloth.
- Fabric Glue (Last Resort): For small areas of peeling, you can use a tiny amount of fabric glue specifically designed for fabric as a supplemental adhesive. Apply the glue sparingly with a toothpick or small brush, and press the edges down firmly until the glue dries. Be aware that fabric glue may affect the appearance or washability of the design.
7.3 Can I use parchment paper instead of a Teflon sheet?
Yes, parchment paper (baking paper) is generally a better choice than a Teflon sheet for heat transfer applications, especially with HTV. Teflon sheets can sometimes deflect heat, leading to uneven heating and adhesion problems. Parchment paper allows for more direct and even heat transfer.
7.4 My iron-on is sticking to the carrier sheet, not the fabric!
This usually indicates one of two things:
- Peeling at the Wrong Temperature: You are either peeling the carrier sheet (the clear plastic backing) too early or too late. Check the instructions for your specific iron-on material to determine if it’s a “hot peel,” “cold peel,” or “warm peel” product.
- Insufficient Temperature: The temperature of your iron or heat press is too low. The adhesive hasn’t melted enough to bond with the fabric. Increase the temperature slightly and press again, making sure to apply firm, even pressure.
7.5 Can I iron directly onto the iron-on material?
Generally, no. You should always use a pressing cloth, parchment paper, or the carrier sheet (if applicable) to protect the iron-on material and your iron from direct heat. Direct contact with the hot iron can:
- Melt or damage the iron-on material: Especially vinyl.
- Leave residue on your iron’s soleplate: Making it difficult to clean and potentially damaging future projects.
After the iron-on is fully adhered and the carrier sheet is removed, you should never iron directly on the design. Always turn the garment inside out and iron from the back.
8. My Pack Love – Providing Service for Clothing Labels and Tags
While iron-ons are a fantastic way to add custom designs and personalization to garments, professional labeling is essential for clothing businesses. My Pack Love specializes in providing high-quality, custom labels and tags for clothing brands.
With over 8 years of experience in the garment industry, particularly in labels and tags, we possess a deep understanding of fabrics, garment construction, and branding. We also offer zipper bags and poly mailers. We can advise on the best labeling solutions to complement your iron-on designs and create a cohesive and professional brand image.
Contact My Pack Love today for a free consultation on your custom label needs! We can help you choose the perfect labels to enhance your brand and provide essential information to your customers. Visit our website at mypacklove.com.
Read more:
Iron-on stickers, transfers, and patches provide a fantastic way to personalize fabric items. However, success hinges on understanding the materials, mastering the application process, and practicing proper care. The most common adhesion problems stem from fabric issues, incorrect heat/pressure/time, equipment malfunctions, or improper technique.
By following the guidelines in this guide and troubleshooting methodically, you can overcome these challenges. Don’t give up easily – with practice and the right knowledge, you can create stunning, long-lasting iron-on designs. Unleash your creativity and enjoy the endless possibilities of fabric customization!