


Can You Sew an Iron On Patch? Pro Guide And Benefits


You absolutely can sew an iron-on patch. In fact, many people choose to sew their patches for extra strength, even if they already have heat-activated glue. It’s a smart way to ensure your patch lasts longer and stays securely attached.
The glue on iron-on patches can weaken over time, especially after many washes, leading to peeling edges. Adding a few stitches provides superior durability and peace of mind. In this guide, we’ll show you why sewing is a great idea and provide simple, step-by-step instructions for both hand and machine sewing.
1. Why bother sewing an iron-on patch?
Sewing an iron-on patch might seem like extra work, but taking a few extra minutes to add stitches offers significant benefits.
1.1 Achieve a super strong hold
The glue on an iron-on patch is a good start, but for a truly strong hold that lasts, sewing is best. Stitches physically anchor the patch to the fabric, which is much more secure than glue alone, especially after repeated washing.
1.2 Prevent peeling edges
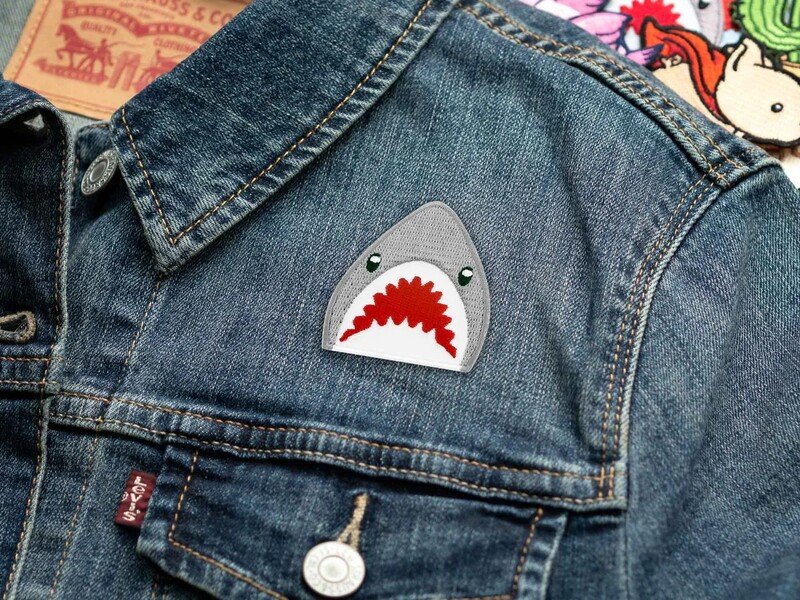
One of the most common issues with iron-on patches is that the edges and corners can peel up, making your design look messy. When you sew around the perimeter of your patch, you prevent this from happening. The stitches hold the edges down flat, ensuring a clean and lasting look.
1.3 Works on almost any fabric
Some fabrics don’t handle heat well. Materials like nylon, certain synthetics, or leather can be damaged by a hot iron. Sewing is the perfect solution, allowing you to attach your patch to almost any fabric, including delicate or textured materials, without worry.
2. What you’ll need to sew your patch
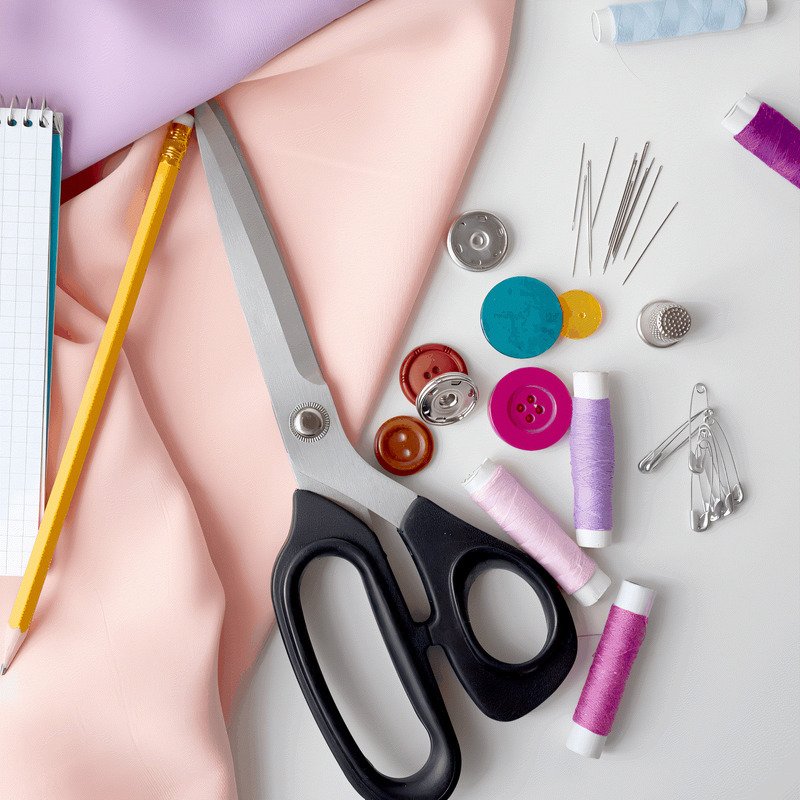
Ready to get started? Here’s a simple list of the tools you’ll need.
- The patch: Your cool iron-on patch, of course! It can be any style, such as embroidered, woven, or printed.
- Needle: A standard sewing needle will work for most projects. If your patch is very thick or stiff, a stronger sharps needle is a good idea.
- Thread: Use a strong thread. Polyester or all-purpose thread is great because it’s durable. You can choose a color that matches your patch to hide the stitches or a contrasting color to make them stand out.
- Scissors: Small, sharp scissors are best for cutting your thread neatly.
- Pins: While not required, straight pins are very helpful for holding your patch in place while you sew, especially if you skip the initial ironing step.
- Thimble: A thimble is a finger-saver when pushing the needle through thick fabric or a stiff patch. It’s highly recommended for hand-sewing projects.
- Iron: You will need a regular household iron if you plan to use the heat-activated adhesive to tack your patch down before sewing.
3. Preparing your patch and clothes
A little prep work makes sewing your patch much easier. Here’s what to do.
3.1 Wash and dry first
It’s always a good idea to wash and dry your garment or bag before you attach the patch. Washing and drying your garment first is crucial. This pre-shrinks the fabric, preventing it from puckering around your patch after a future wash.
3.2 Finalize the placement
Think carefully about where you want to put your patch. Pin it in place and try on the item. Look in a mirror to check if it looks straight and is in a good spot. It’s much easier to adjust the placement now than after it’s sewn on.
3.3 Iron first for stability
For an iron-on patch, lightly ironing it first can hold it steady while you sew. Always follow the patch’s instructions for iron temperature and pressing time. The goal here is just to tack it in place, not to rely fully on the glue. Let the patch and fabric cool down completely before you start sewing.
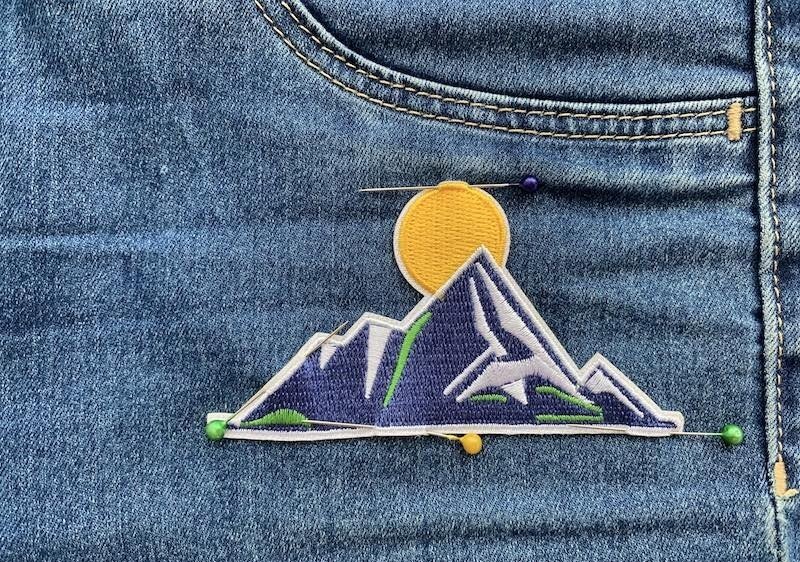
3.4 Pin it down
Whether you ironed the patch first or not, using a few pins adds extra security. Push two or three straight pins through the patch and fabric to stop it from moving while you sew.
4. How to sew an iron-on patch by hand
Sewing by hand is easy, even for beginners. This guide uses the backstitch as an example because it’s strong and reliable, but other stitches work too.
4.1 Thread your needle
Cut a piece of thread about 18-24 inches long. A longer piece can easily get tangled. To thread the needle, cut the end of the thread cleanly. You can also wet the tip slightly to help it pass through the needle’s eye. Tie a knot at the long end of the thread.
4.2 Choose a simple stitch
- Running Stitch: This is a simple in-and-out stitch. It’s quick but not as strong as other stitches. It works well if your patch is already ironed on and just needs extra reinforcement.
- Backstitch: This stitch is very strong and creates a solid line that looks like it was done by a sewing machine. We recommend the backstitch for securing patches because it’s so durable.

4.3 Start sewing with a backstitch
Start from the inside of your garment to hide the knot. Push your needle up through the fabric and the very edge of your patch. For the first stitch, push the needle down through the patch and fabric about 1/8 inch away.
Next, bring the needle up again about 1/8 inch in front of your first stitch. To complete the backstitch, push the needle down into the same hole where your first stitch ended. Repeat this process, keeping your stitches small and even.
4.4 Sew through the patch
Some patches can be thick or stiff due to the material and glue layer. Go slowly, and use a thimble to protect your finger if it’s tough to push the needle through. If the needle gets sticky from the adhesive, simply wipe it clean with a cloth before continuing.
4.5 Finish and tie off
When you’ve sewn all the way around, push the needle to the inside of the garment one last time. To create a strong knot, make a few tiny stitches on top of each other on the inside. Then, make a small loop with your thread, pass the needle through it, and pull tight. Do this twice, then cut the thread close to the knot.
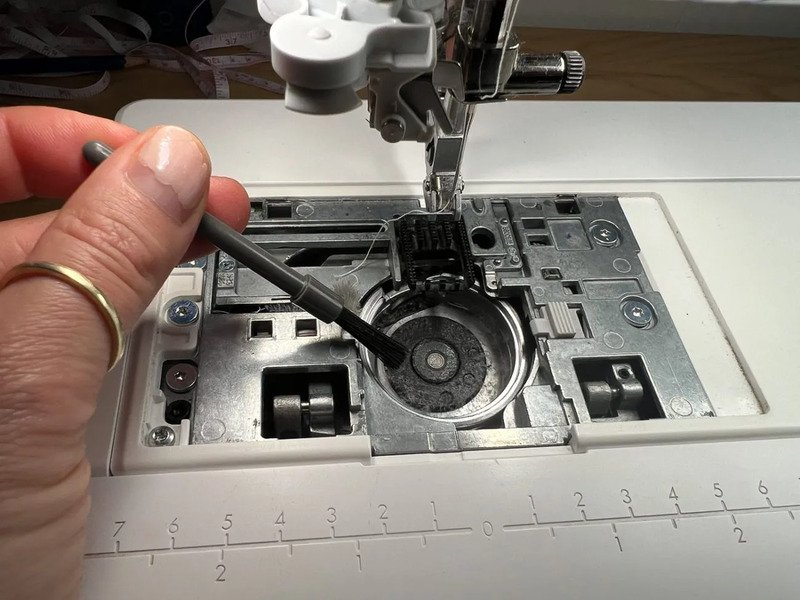
5. Sewing an iron-on patch with a sewing machine
If you have a sewing machine, you can attach your patch even faster. Here are a few quick tips.
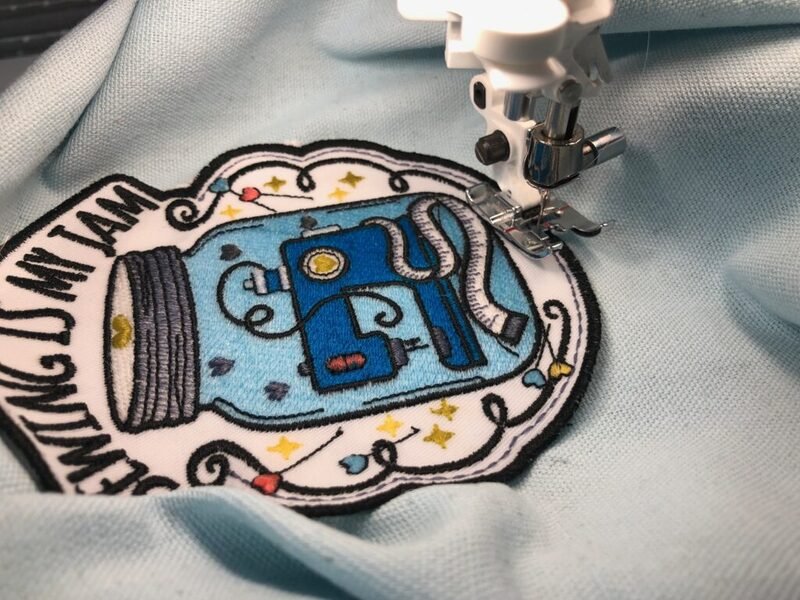
5.1 Preparation
It’s crucial to iron your patch onto the fabric first when using a sewing machine. This holds it firmly in place and prevents it from shifting while you sew.
5.2 Needle and thread
Use a strong needle, like a denim or heavy-duty universal needle (size 90/14 or 100/16). Good quality polyester thread is the best choice for durability.
5.3 Stitch choice
A simple straight stitch close to the edge of the patch works great. You can also use a narrow zigzag stitch or a satin stitch to go over the edge for an even more secure finish.
5.4 Go slow
Sew slowly, especially around corners or curves, to maintain control and create neat stitches. To turn a sharp corner, stop with the needle down in the fabric, lift the presser foot, pivot the fabric, lower the presser foot, and then continue sewing.
6. Pro tips for sewing patches
Here are a few extra tips to make your patch sewing even better.
6.1 Choose your thread wisely
Polyester thread is strong and a top choice. You can match the thread color to your patch to make the stitches invisible or use a contrasting color for a cool decorative border. Thicker embroidery floss can also create a chunky, handmade look.
6.2 Stitch close to the edge
Try to make your stitches as close to the edge of the patch as possible. This is the most effective way to keep the edges from lifting. If your patch has a thick stitched border, sew just inside that border.
6.3 Clean a sticky needle
The glue from an iron-on patch can sometimes make your needle sticky. If this happens, stop and wipe the needle clean with a cloth. A small amount of rubbing alcohol can help remove stubborn residue.
6.4 Practice makes perfect
If you’re new to sewing, practice on a scrap piece of fabric first. This helps you get a feel for the stitch before working on your actual garment.
7. Sewing other types of patches
Sewing is a versatile method that works for all kinds of patches, not just iron-ons. Many labels can also be used as unique patches when sewn on.
7.1 Woven labels as patches
High-quality woven labels can be designed to look just like custom patches. Sewing is the perfect way to attach these for a professional, durable finish that integrates seamlessly into the garment.
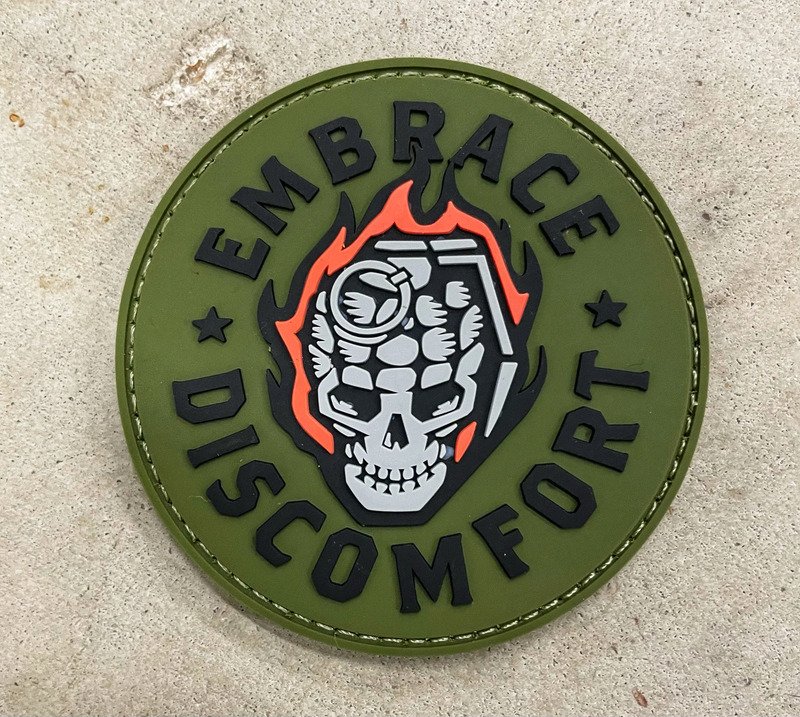
7.2 Rubber labels for a modern touch
For a different look, rubber or PVC labels make cool, modern patches. Due to their flexible and unique material, sewing is the best and most reliable method to attach them securely while keeping them looking sharp.
8. Frequently asked questions about sewing patches
Here are answers to some common questions about sewing patches.
8.1 Will sewing damage my iron-on patch?
No, not if you sew carefully around the edge. Sewing actually helps protect your patch by preventing the edges from peeling or getting caught on things, which extends its life.
8.2 Is it hard to push a needle through an iron-on patch?
It can be tougher than sewing fabric because of the patch material and glue layer. Using a sharp, strong needle and a thimble will make it much easier. Lightly ironing the patch first can also soften the adhesive, making it easier to sew through.
8.3 What’s the best stitch for sewing on a patch by hand?
The backstitch is generally the best choice. It’s very strong and looks neat, similar to a machine stitch. A simple running stitch is also a good option for adding extra security to a patch that has already been ironed on.
8.4 How do I make sure my patch stays on through washing?
Sewing is the best way to ensure durability. Using a strong thread like polyester and a secure stitch like the backstitch will make a huge difference in how well your patch holds up after many washes.
8.5 Can I sew a patch on any type of clothing?
Yes, patches work well on most items like denim jackets, cotton t-shirts, canvas bags, and jeans. For delicate or stretchy fabrics, use a finer needle and thread to avoid damaging the material. Be careful not to pull the stitches too tight, which can cause the fabric to pucker.
Explore more:
In short, learning how to sew an iron-on patch is the single best step you can take to ensure it looks great and lasts a lifetime. Now you have the skills to confidently customize your apparel and accessories.
This commitment to quality and a professional finish is at the heart of what we do at Packlove. If you’re ready to start your next project, explore our custom woven and rubber labels that are designed to be the perfect, durable foundation for your brand.


