Iron On Patches On Leather: A Careful Step-by-Step Guide
Want to personalize your leather goods with patches? Many hesitate, fearing damage to their valued items. This guide tackles that fear, showing you how to iron on patches on leather safely and effectively. We’ll explore the risks of applying heat to leather and provide detailed, step-by-step instructions for a professional, lasting result.
Crucially, we’ll also cover safe alternatives to ironing, because sometimes it is not the best option. You will learn various methods to customize it. Gain the confidence to customize your leather jackets, bags, or accessories without worry, making informed decisions to achieve the perfect look.
1. Can you really iron on patches to leather?
The short answer is yes, it’s possible to iron on patches to leather, but it’s a process that demands extreme caution. Leather, unlike many fabrics, is highly sensitive to heat. This unique characteristic stems from its origin as animal hide, which undergoes a tanning process to become the durable material we know and love. However, this process doesn’t make it immune to the effects of high temperatures.
Different types of leather exhibit varying degrees of heat tolerance. Here’s a brief overview:
- Full-grain leather: This is the highest quality leather, taken from the top layer of the hide and retaining the natural grain. It’s generally more durable but still susceptible to heat damage.
- Top-grain leather: The second-highest quality, top-grain leather has the outermost layer sanded down, making it slightly more pliable but also potentially more sensitive to heat.
- Genuine leather: This term is often misunderstood. It doesn’t necessarily denote high quality; it simply means the product is made of real leather (as opposed to faux leather). Its heat tolerance can vary greatly depending on its processing.
- Faux leather (synthetic leather): Made from synthetic materials like polyurethane (PU) or polyvinyl chloride (PVC), faux leather generally has lower heat tolerance than real leather. It can easily melt or warp.
- Suede: This type of leather has a napped finish, created by sanding the inner layer of the hide. It’s very delicate and easily damaged by heat and moisture.
- Nubuck: Similar to Suede but created by sanding on the outer side. More durable, but still has heat and water sensitivity.
Applying excessive heat to any type of leather can lead to several undesirable outcomes:
- Warping: The leather can lose its shape and become distorted.
- Discoloration: Heat can cause the color of the leather to change, often darkening or becoming uneven.
- Burning: In extreme cases, the leather can actually burn, leaving permanent marks.
- Cracking: Heat can dry out the natural oils in leather, leading to cracking and weakening of the material.
Because of these potential risks, always test the iron-on process on a hidden area of the leather item first. This allows you to gauge the leather’s reaction to heat and the adhesive’s effectiveness without risking visible damage. This small step can save you from a costly mistake.
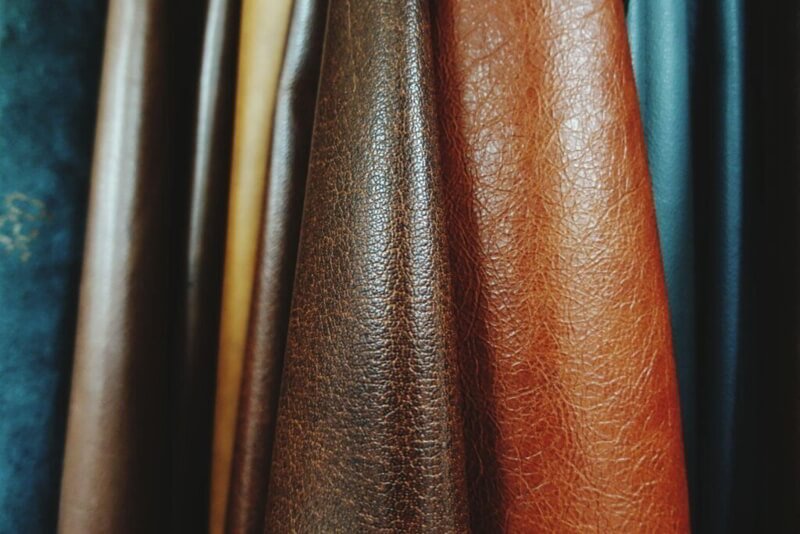
2. Choosing the right patch for leather
Selecting the appropriate patch is just as crucial as understanding the nuances of the leather itself. The right patch material will not only look good but also withstand the application process and provide long-lasting adhesion. For ironing onto leather, some materials are significantly better choices than others.
The best patch materials for ironing onto leather are typically:
- Embroidered patches: These patches are made by stitching thread onto a fabric backing, creating a textured, durable design. The fabric backing (often polyester or a cotton blend) provides a stable base for the adhesive, and the embroidered threads can withstand a reasonable amount of heat.
- Woven patches: Similar to embroidered, but created by weaving threads together. These are great for highly detailed designs that embroidered patches can’t do.
- PVC patches: Made from Polyvinyl Chloride, these patches are very durable, but it is necessary to be more careful when ironing because the material can be damaged by high heat.
These materials are generally preferred because of their:
- Durability: They can withstand the wear and tear that leather items often experience.
- Heat resistance: While no material is completely heat-proof, these can tolerate the low to moderate heat needed for the iron-on process better than many alternatives.
- Adhesive compatibility: The backing materials of these patches typically work well with heat-activated adhesives.
Patches to avoid when working with leather include those made from:
- Delicate fabrics: Materials like silk, lace, or very thin cotton are likely to scorch or be damaged by the heat.
- Patches with heat-sensitive embellishments: Avoid patches with plastic beads, sequins, or other decorations that could melt.
- Patches with weak or low-quality adhesive, which may not bond properly or last long.
The size and design of the patch should also be considered in relation to the leather item. A very large patch on a small leather area might be difficult to apply evenly and could overwhelm the item’s design. Conversely, a tiny patch on a large expanse of leather might look out of place. Consider the proportions and overall aesthetic when making your selection.
3. Essential tools and materials
Having the right tools and materials assembled before you start is essential for a smooth and successful patch application. Gathering everything beforehand prevents interruptions and ensures you’re fully prepared for each step. Here’s a list of what you’ll need:
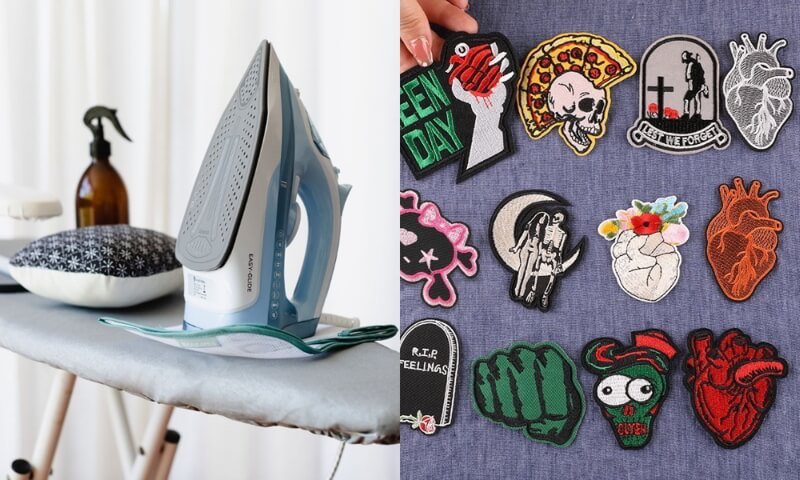
- Iron with adjustable temperature settings: This is a critical tool. The ability to control the iron’s temperature is paramount when working with heat-sensitive leather. An iron without adjustable settings is not recommended.
- Ironing board or heat-resistant surface: While a traditional ironing board can be used, a firmer, heat-resistant surface is often preferable. A solid table protected with a thick towel or a dedicated heat-resistant mat works well.
- Pressing cloth (cotton or parchment paper): This is absolutely essential. The pressing cloth acts as a crucial barrier between the hot iron and the leather, preventing direct heat contact and minimizing the risk of damage. A thin, clean cotton cloth (like a handkerchief or a piece of an old cotton t-shirt) or a sheet of parchment paper are both suitable options.
- Iron-on patch: Naturally, you’ll need the patch you’ve chosen to apply. Ensure it’s the correct size and design for your project.
- Leather conditioner (optional): Applying a leather conditioner after the patch has been applied and cooled can help restore any moisture lost during the heating process and keep the leather supple. Choose a conditioner specifically designed for the type of leather you’re working with.
- Fabric glue (for reinforcement or alternative application) (optional): While this guide focuses on ironing, having fabric glue on hand can be useful. If the patch doesn’t adhere completely with heat alone, a small amount of fabric glue can reinforce the edges. It can also be used as a complete alternative to ironing if you decide that’s a safer option.
- Sewing kit (for alternative application) (optional): Similar to fabric glue, a sewing kit provides another alternative to ironing. If you’re comfortable with basic sewing, stitching the patch onto the leather is often the most secure and durable method.
Having these tools and materials readily available will streamline the process and contribute to a more successful outcome.
4. Step-by-step guide: Ironing on patches to leather
This section provides a detailed, step-by-step approach to ironing on patches to leather, emphasizing safety and precision throughout the process.
4.1 Step 1: Prepare the leather surface
- Before applying the patch, it’s crucial to ensure the leather surface is clean. Any dirt, dust, or oil residue can interfere with the adhesive’s bond, leading to a weaker attachment.
- Use a soft, slightly damp cloth to gently wipe the area where the patch will be placed. If necessary, use a very small amount of mild leather cleaner. Avoid harsh chemicals or excessive moisture, as these can damage the leather. Allow the leather to dry completely before proceeding.
4.2 Step 2: Position the patch
- Carefully position the patch on the prepared leather surface. Take your time to ensure it’s exactly where you want it. Consider the overall design and aesthetics of the item.
- Once you’re satisfied with the placement, you need to secure the patch temporarily. You can do this by carefully placing pins around the edges of the patch, outside the area where the adhesive will be. Avoid pinning directly through the patch itself, as this could leave holes. Alternatively, you could use small pieces of low-tack tape (like painter’s tape) to hold the patch in place, again being careful not to place the tape on the adhesive area.
4.3 Step 3: Set up your ironing area
- Choose a firm, heat-resistant surface. A hard table protected with a thick towel or a heat-resistant mat is ideal. Avoid using a soft ironing board, as it may not provide enough stability and even pressure.
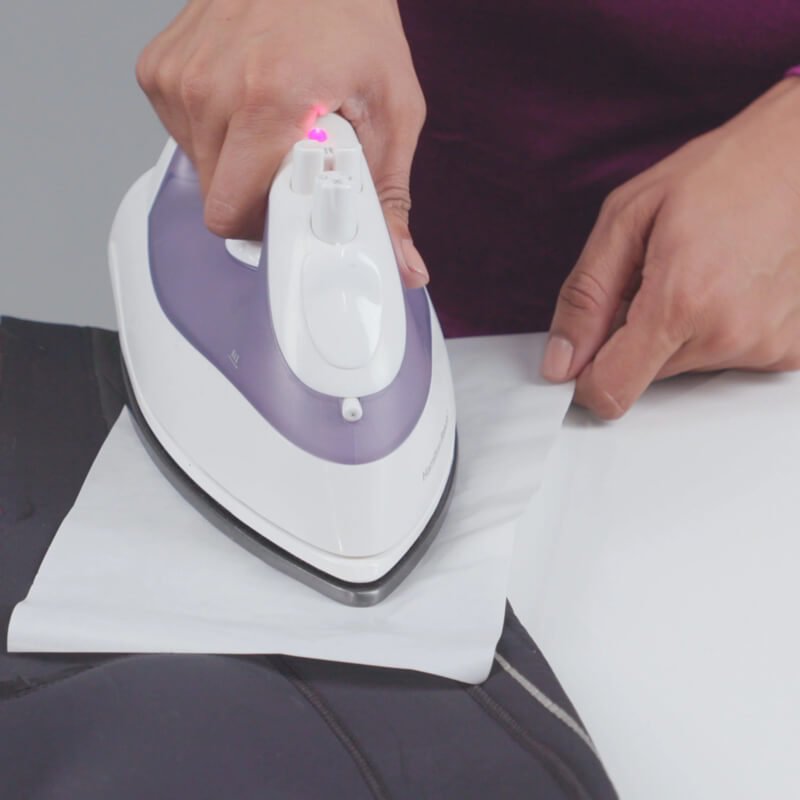
- Place the pressing cloth (cotton cloth or parchment paper) over the positioned patch and the surrounding leather. This is a critical step to protect the leather from direct heat.
4.4 Step 4: Set your iron to the correct temperature
- This is arguably the most important step. Start with the lowest possible heat setting on your iron. For most leathers, this will be a low to medium heat setting, typically around 260°F to 300°F (127°C to 149°C).
- Absolutely no steam. Steam can severely damage leather, causing it to warp, discolor, or become brittle. Ensure your iron’s steam function is completely turned off.
- Be prepared to gradually increase the temperature if needed, but only after testing and observing the results (as described in the next step).
4.5 Step 5: Apply heat and pressure
- With the pressing cloth in place, gently press the iron onto the patch area. Apply firm, even pressure, but avoid pressing too hard, as this could damage the leather’s texture.
- Hold the iron in place for 10-15 seconds initially. Then, use a gentle, circular motion to distribute the heat evenly across the patch.
- Frequently check the edges of the patch by carefully lifting the pressing cloth. See if the patch is starting to adhere.
- If the patch isn’t sticking, reapply heat in short bursts of 10-15 seconds, checking frequently. Avoid prolonged heating, as this increases the risk of damage.
4.6 Step 6: Cool down and check adhesion
- Once you believe the patch has adhered, remove the iron and the pressing cloth. Allow the patch and leather to cool completely (for at least 5-10 minutes). This is crucial for the adhesive to set properly.
- After cooling, gently test the edges of the patch to ensure it’s securely bonded to the leather. If any edges are loose, you can repeat the heating process (briefly, with the pressing cloth) on those specific areas.
This step-by-step approach, with its emphasis on low heat, frequent checking, and a cooling-down period, minimizes the risk of damage and maximizes the chances of a successful patch application.
5. Troubleshooting: Common problems and solutions
Even with careful preparation and execution, you might encounter some challenges when ironing on patches to leather. This section addresses common problems and provides practical solutions.
Patch not sticking: This is a frequent issue, and it can be caused by several factors:
- Insufficient heat: The iron temperature might be too low to activate the adhesive properly. Gradually increase the heat in small increments, checking frequently.
- Uneven pressure: If you’re not applying pressure evenly across the entire patch, some areas might not adhere. Ensure you’re using a firm, flat surface and applying consistent pressure.
- Old or poor-quality adhesive: The adhesive on the patch itself might be old, degraded, or simply not strong enough for leather. Consider using a high-quality fabric glue as a backup (see below).
- Leather surface not clean: Any residue on the leather can prevent proper adhesion. Re-clean the area thoroughly and allow it to dry completely.
Leather damage: This is a serious concern, and it’s usually a result of excessive heat:
- Too much heat: If you notice any discoloration, warping, or a burning smell, immediately stop and reduce the iron temperature.
- Direct heat contact: The pressing cloth is essential. If you’ve accidentally applied the iron directly to the leather, the damage might be irreversible.
- Prolonged heating: Even at a low temperature, prolonged heating can damage leather. Apply heat in short bursts and check frequently.
Solutions:
- Adjusting temperature and pressure: Carefully experiment with slightly higher temperatures and firmer, more even pressure.
- Using fabric glue (as a backup): If the patch refuses to stick with heat alone, a small amount of fabric glue specifically designed for leather and fabric can be applied to the edges of the patch. Use it sparingly and follow the glue’s instructions.
- Considering sewing the patch instead: If you’re concerned about damaging the leather or if the iron-on method proves unsuccessful, sewing the patch is a reliable alternative.
Addressing these problems promptly and using the suggested solutions can help you salvage the situation and achieve a satisfactory result. Remember, patience and a cautious approach are key when working with leather.
6. Alternative methods: Sewing and gluing
While ironing is an option, it’s not always the best or safest method for attaching patches to leather. This section explores two reliable alternatives: sewing and gluing.
6.1 Sewing patches
When it’s the best option: Sewing is often the preferred method, especially for heat-sensitive leathers (like suede or very thin leather) or when maximum durability is required. If you’re attaching a patch to a high-wear area (like the elbow of a jacket), sewing provides the strongest, most long-lasting attachment.
Basic sewing techniques: A simple backstitch or whipstitch is usually sufficient for attaching a patch.
- Backstitch: A strong, durable stitch that creates a solid line.
- Whipstitch: A stitch that wraps around the edge of the patch, securing it to the leather.
Choosing the right needle and thread: Use a heavy-duty needle specifically designed for leather. These needles have a sharp, triangular point that can pierce leather without tearing it. Choose a strong, durable thread, such as nylon or polyester thread. Avoid cotton thread, as it’s more likely to break.
Advantages:
- Most secure: Sewing creates the most secure and permanent attachment.
- Avoids heat damage: Eliminates the risk of damaging the leather with heat.
- Professional look: A well-sewn patch can look very professional and intentional.
Disadvantages:
- Requires sewing skills: You’ll need some basic sewing knowledge and dexterity.
- More time-consuming: Sewing takes longer than ironing or gluing.
- Create small holes: Sewing makes holes in the leather, if you remove the patch, these holes may still be visible
6.2 Gluing patches
When it’s a suitable alternative: Gluing is a good option if you don’t have sewing skills or if you need a quick and easy fix. It’s also suitable for situations where you want to avoid both heat and needle holes.
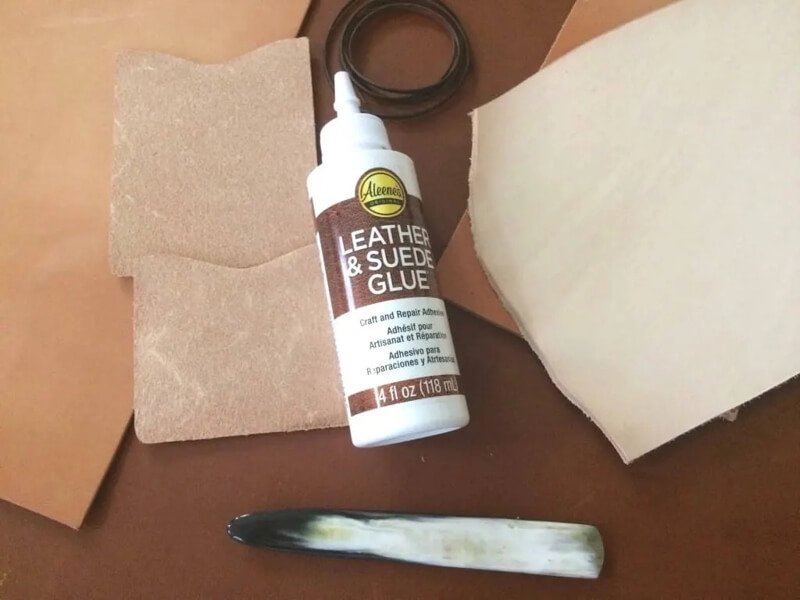
Choosing the right glue: This is crucial. Use a flexible, waterproof adhesive specifically designed for leather and fabric. Avoid general-purpose glues or super glue, as these can be too rigid, crack, or damage the leather. Look for glues labeled as leather glue or fabric glue that are specifically formulated for bonding fabric to leather.
Application process (brief overview):
- Apply a thin, even layer of glue to the back of the patch.
- Carefully position the patch on the leather.
- Press firmly and evenly to ensure good contact.
- Wipe away any excess glue immediately.
- Allow the glue to dry completely according to the manufacturer’s instructions (this may take several hours or even overnight).
Advantages:
- Easier than sewing: No sewing skills required.
- No heat required: Avoids the risk of heat damage.
- Relatively quick: Faster than sewing.
Disadvantages:
- Less durable than sewing: Glue is generally not as strong or long-lasting as a sewn attachment.
- Potential for glue damage: If the wrong glue is used, it can damage or discolor the leather.
- Messy: Glue application can be messy if not done carefully.
By understanding the pros and cons of each method, you can choose the best approach for your specific project and skill level.
7. Post-application care for your patched leather
Once the patch is successfully attached (whether by ironing, sewing, or gluing), proper care is essential to maintain both the patch and the leather item’s integrity and appearance.
Avoid washing immediately: If you’ve used an iron-on adhesive or glue, allow sufficient time for the adhesive to fully cure before exposing the item to any moisture. Check the adhesive’s instructions for the recommended curing time (often 24-48 hours). Even with sewn patches, it’s a good idea to avoid washing the item immediately, allowing the leather to settle after the manipulation.
Spot cleaning around the patch: When cleaning is necessary, avoid submerging the entire item in water, especially if it’s a large leather piece like a jacket or bag. Instead, spot clean the area around the patch using a soft, slightly damp cloth and a mild leather cleaner. Avoid getting the patch itself overly wet, particularly if it’s an embroidered or woven patch.
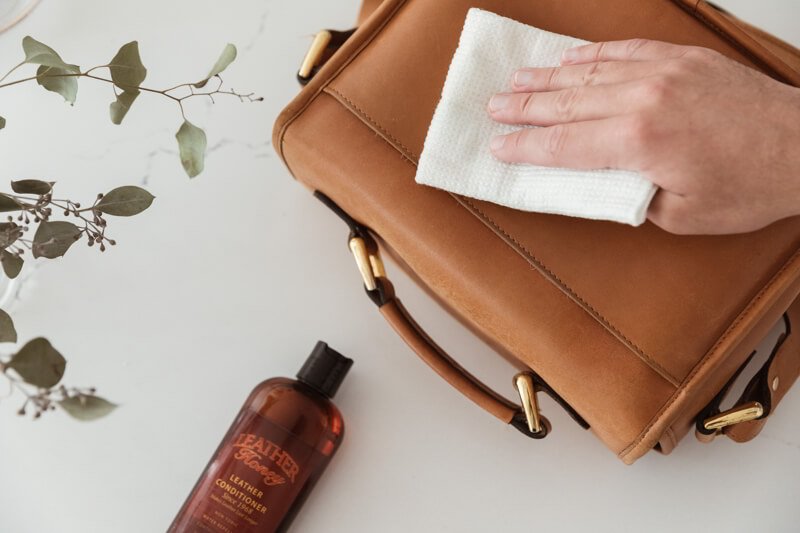
Using leather conditioner to maintain suppleness: Leather can dry out over time, especially after being exposed to heat (even the low heat used for ironing). Applying a leather conditioner specifically designed for the type of leather you have can help restore moisture, keep the leather supple, and prevent cracking. Apply the conditioner according to the product’s instructions, usually after the adhesive has fully cured.
Storing the item properly: Proper storage is crucial for maintaining the longevity of both the leather and the patch.
- Avoid direct sunlight: Prolonged exposure to direct sunlight can fade the leather and the patch, and it can also dry out the leather.
- Avoid extreme temperatures: Store the item in a cool, dry place. Avoid storing it in areas that experience extreme temperature fluctuations (like attics or garages).
- Proper hanging or folding: For jackets and vests, hang them on padded hangers to maintain their shape. For bags and other items, store them in a dust bag or breathable container. Avoid folding leather items in a way that creases the patch, as this could weaken the adhesive or damage the patch design.
By following these care guidelines, you can help ensure that your patched leather item remains in good condition for years to come.
8. Related questions
This section addresses common questions that often arise when considering applying patches to leather, providing concise and informative answers.
8.1 Can I iron patches onto faux leather?
Yes, you can iron patches onto faux leather (synthetic leather), but with even more caution than with genuine leather. Faux leather is typically made from plastic-based materials (like polyurethane or PVC), which are much more sensitive to heat than real leather.
They can easily melt, warp, or become discolored. Use the absolute lowest heat setting on your iron, a very thick pressing cloth, and apply heat for very short intervals, checking frequently. Sewing or gluing is often a safer alternative for faux leather.
8.2 How do I remove an iron-on patch from leather if I change my mind?
Removing an iron-on patch from leather is difficult and carries a high risk of damaging the leather. The adhesive is designed to be permanent. Attempting to peel it off can tear the leather or leave behind a significant residue. It’s often best to consult a professional leather repair specialist if you need to remove a patch. They may have specialized tools and techniques to minimize damage.
8.3 What’s the best type of patch for a leather motorcycle jacket?
For a leather motorcycle jacket, which experiences significant wear and tear, durability is key. Embroidered patches or leather patches, sewn on, are generally the best options. Sewing provides the most secure attachment, ensuring the patch can withstand wind, weather, and the rigors of riding.
8.4 Can I put iron-on patches on leather seats in a car?
It is not recommended to use iron-on patches for leather car seats. Due to the high-use nature of car seats, the adhesive bond is likely to fail over time. Sewing is a much more durable and reliable method for this application.
8.5 Is it better to sew or iron a patch on leather?
In most cases, sewing is the superior option for attaching patches to leather. It provides a more secure and durable bond that can withstand wear and tear and completely avoids the risk of heat damage.
Read more:
This guide has covered applying patches to leather, stressing safety and informed choices. Remember, how to iron on patches on leather requires low heat, a pressing cloth, and caution to prevent damage. Sewing is generally the most secure and durable method.
Gluing, with a leather-specific adhesive, is a viable alternative. Regardless of your chosen method, proper leather care – cleaning, conditioning, and storage – is vital for preserving both the patch and the leather. Personalizing leather with patches is a fantastic way to express your style. By understanding the materials and taking precautions, you can achieve a successful, long-lasting result.


